Indoor gardening can be a fun and rewarding way to bring life into your home. As you watch your plants grow, you may be wondering how to best take care of them and what steps to take to keep them healthy and fit. Pruning houseplants is the perfect way to sustain their growth, and when done correctly, you will not harm them in any way.
How do you prune indoor plants?
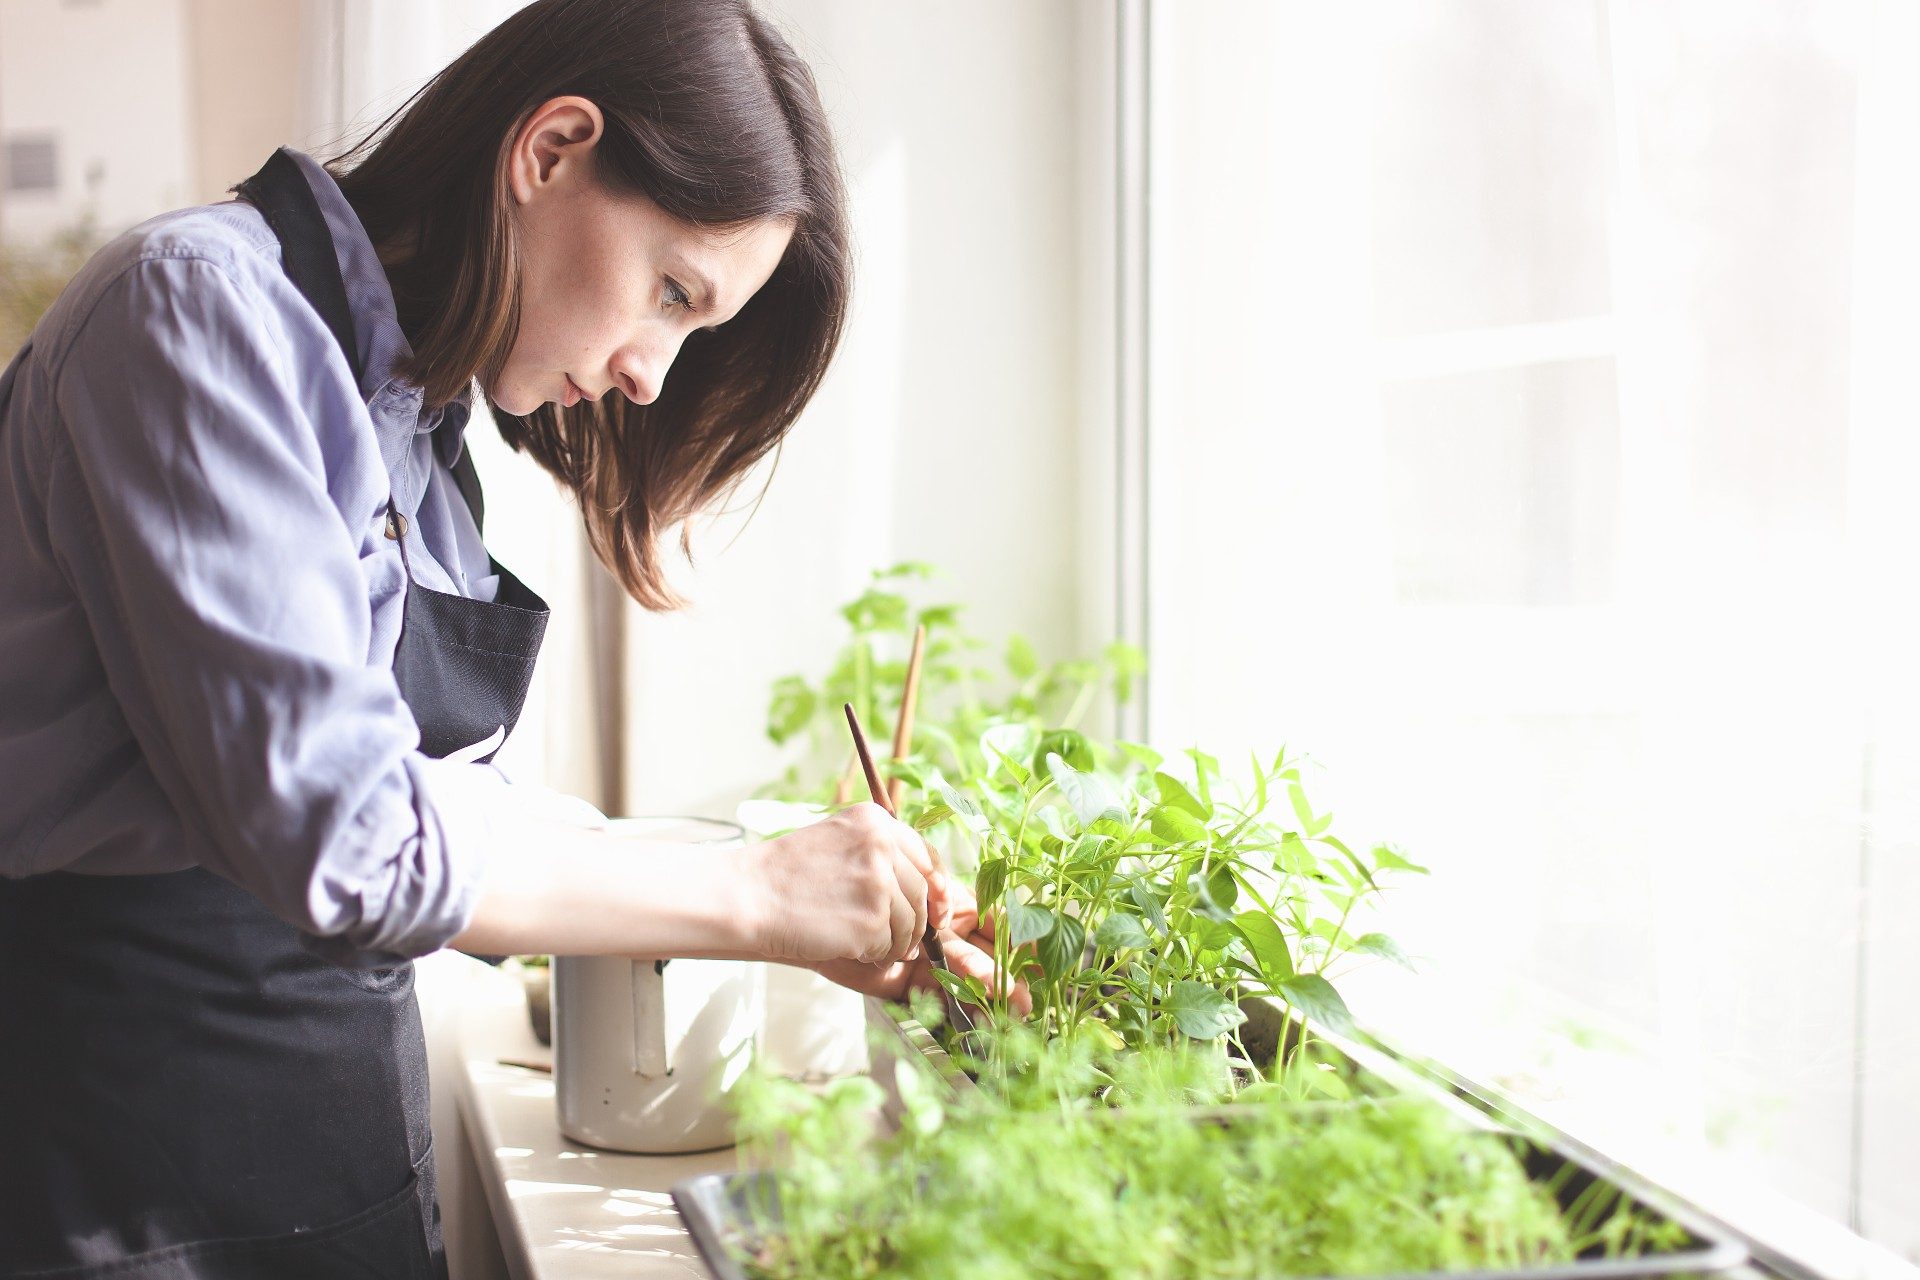
Pruning plants indoors is really not much different than trimming back plants in your outdoor garden spaces. You want to focus the energy of your plants on the areas that are the most healthy and vital. When you prune back areas that are not doing as well, your plant can then redirect its energies toward new growth and sustaining what is already there.
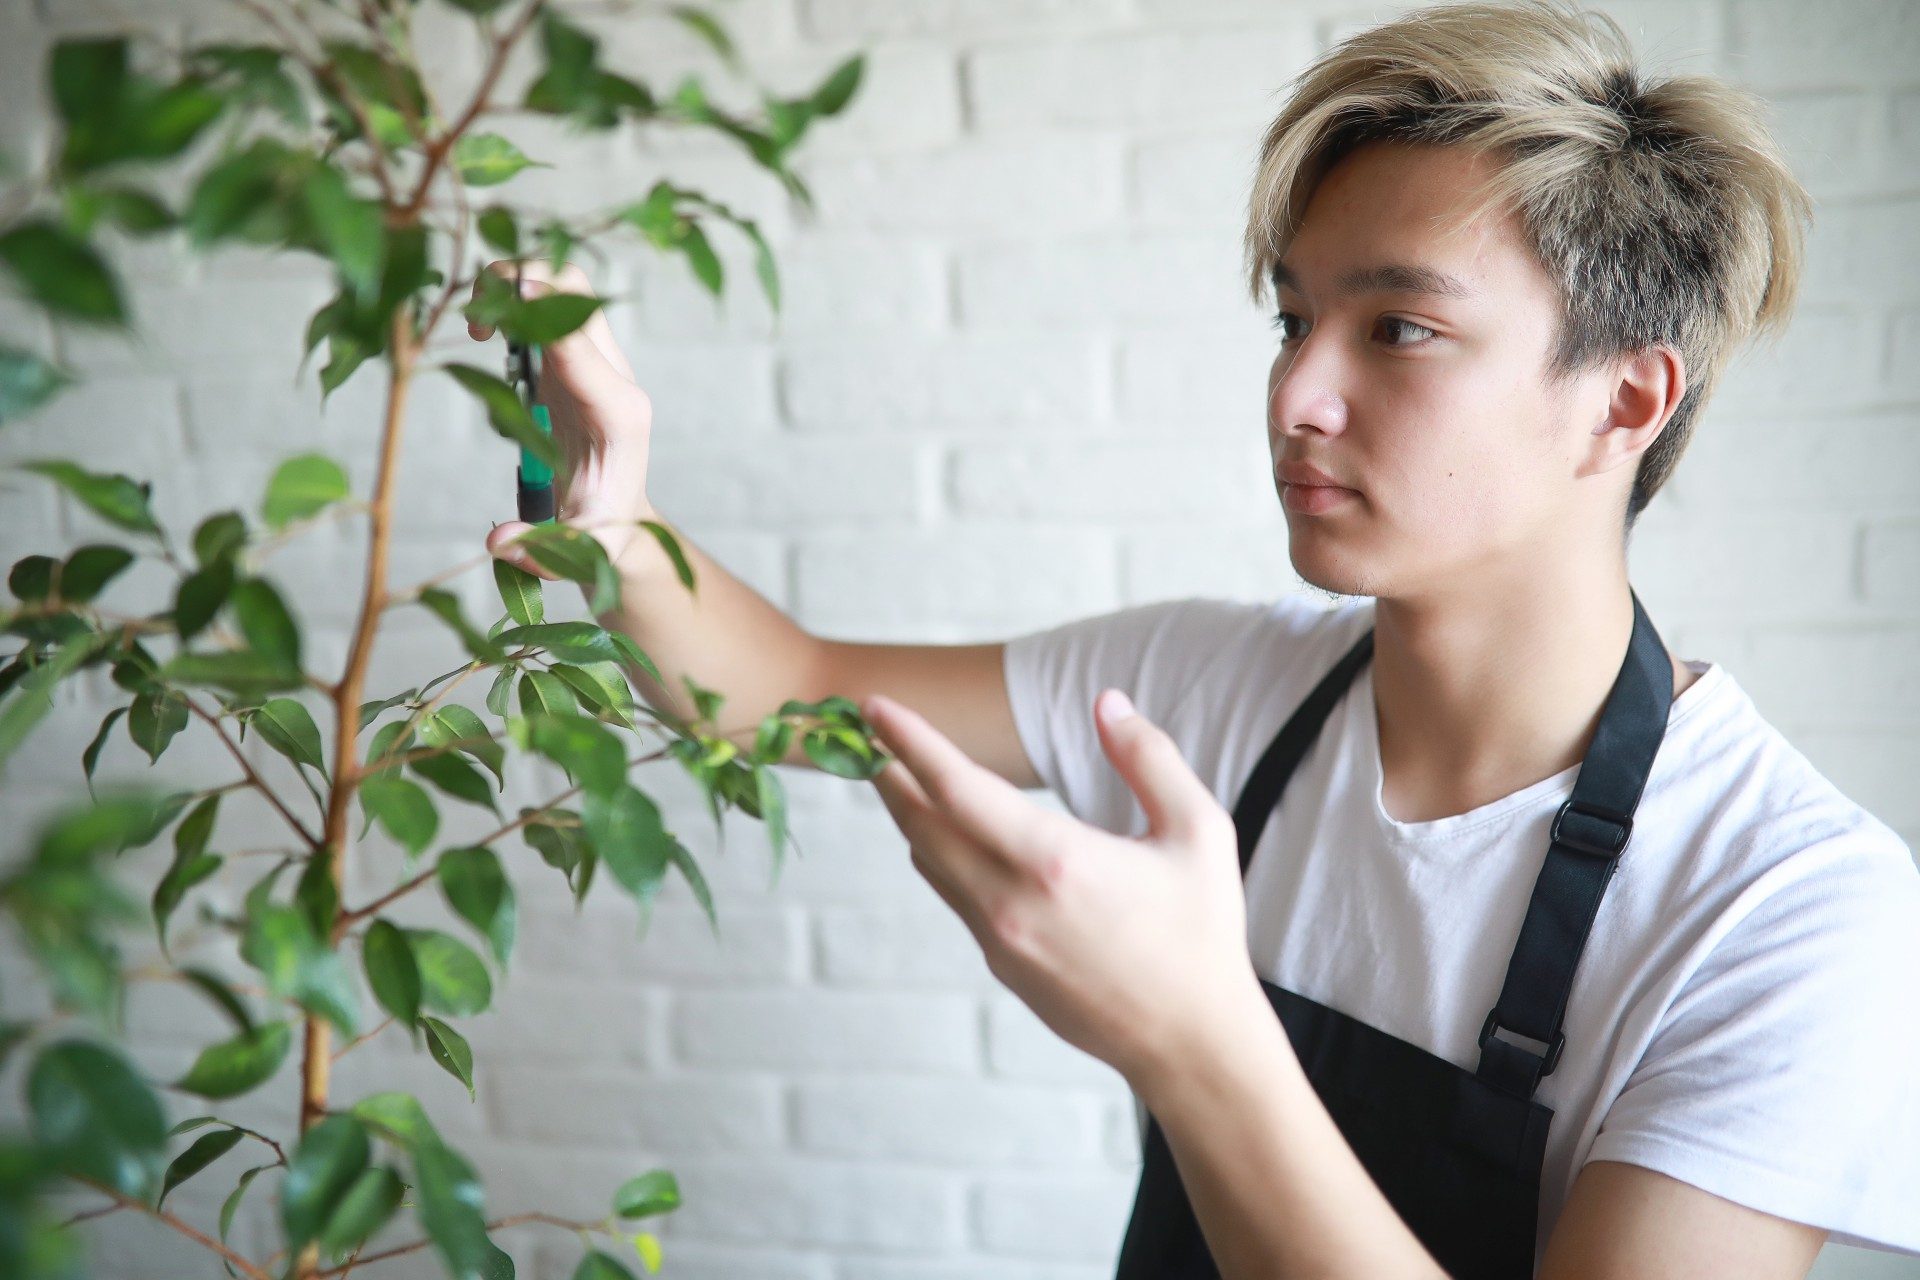
Only trim back parts of your plants that are diseased, damaged, or dead. The characteristics to look for will differ slightly from plant to plant, but generally speaking, anything that has completely dried out, turned from green to yellow or brown, or barely hanging on most likely falls into one of the categories.
Diseased plants differ greatly from species to species. There are many plant identification and photo apps that you can use that will help you to identify what different plant diseases look like. Generally, diseased areas of your plants will look different than everything else. They could be in different colors, have fuzz or mold growing on them, and look like they are starting to decompose. All of these less-than-typical plant looks are signs that you should cut back your flora friend.
Dead leaves, flowers, and stems are pretty obvious because they will be completely dried out. They may change color a bit, but it should be very clear that while one area of the plant is vibrant, green, and strong, other areas will be excessively dry, crumbly, and obviously not looking as healthy as before. Removing dead growth on your plant helps them to function healthier and better. If this is the case, you don’t need to worry about harming the plant.
Damaged leaves, stems, and flowers may have broken because of the wind, your pets, or you walking on them. They may be barely hanging on to the plant. Removing broken pieces is an important home-gardening-maintenance step to take to ensure your plants live their best possible lives. While some gardeners feel bad about pruning, in most cases, it is the healthiest way to deal with the dead, damaged, and diseased areas of your plants.
Be sure to carefully clean your pruning shears after trimming back diseased or damaged leaves, stems, or flowers. You do not want to unintentionally spread any diseases between your houseplants. This is possible but can be easily avoided by washing your gardening tools.
How do you trim overgrown houseplants?
Generally, you do not want to trim too much of a plant back at any one time. You will want to review guidelines for trimming back a specific plant to know what is the best course of action. If you simply want to reduce the size of an overgrown plant, trim some branches only by 1/4 inch, others by a 1/2 inch, and if necessary only cut some all the way to the stem.
We don’t recommend doing all too much trimming in a single day. If you cut back too much and too quickly, you could harm your plant, make it susceptible to disease, or cause it to die. Be gentle and patient about these things — cut back a little bit on different sides over a few days or weeks. The slower and more balanced your trimming, the easier it is for your plant to adapt without becoming overly stressed.
How do you prune plants without killing them?
It’s important that you’re not be too aggressive. Pruning is a delicate art and not become too forceful. Your plants are living, and cutting back dead, diseased, and damaged parts are different than simply trimming back your plant as if you’re styling a person’s hair. Some plants will allow this kind of treatment, but in general, do not get too forceful with your plants — treat them with gentle and loving touches.
Can you cut dead parts off leaves?
We recommend cutting dead parts off your houseplants as soon as you notice them. This will allow the plants to direct their energy toward making other areas grow and flower. When your plants try to direct their energy to dead areas, they will waste some of it trying to revive an area that may already be too far gone. Cut off dead, diseased, or damaged leaves, stems, and
flowers as soon as possible.
Prune with confidence
Pruning is an important part of indoor and outdoor gardening. Prune any dead, diseased, or damaged parts of your plants. General trimming is possible, but you need to be very careful and research what is best for the particular plant you are pruning. Do not trim too aggressively. Pruning and trimming might seem scary at first, but as you practice you will learn how to gracefully support the plants that are around your home.


