If you’re new to pool ownership, you may not know how to install a skimmer on an above-ground pool. Perhaps the company that installed your pool in the first place also installed the skimmer and you've decided you need a new one. Maybe your old one got too cold and cracked over the cold winter months. Maybe you're just tired of picking leaves and bugs out of the pool every time you turn around. Whatever your reason, you’ve decided it's time to get a new skimmer to make cleanup easier.
There are a few different models of pool skimmers. Always consult the instruction manual first, but the general installation instructions are the same across manufacturers.
Below, we’ll show you the quickest and easiest way to install your new pool skimmer.

Remove the old skimmer
Of course, before you can install your new skimmer and replace the liner (if that’s what you also intend), you have to remove the old one.
Step 1: Remove the old skimmer gaskets.
Step 2: Use a drill to remove the screws around the old skimmer. This is as good a time as any to replace the screws as well.
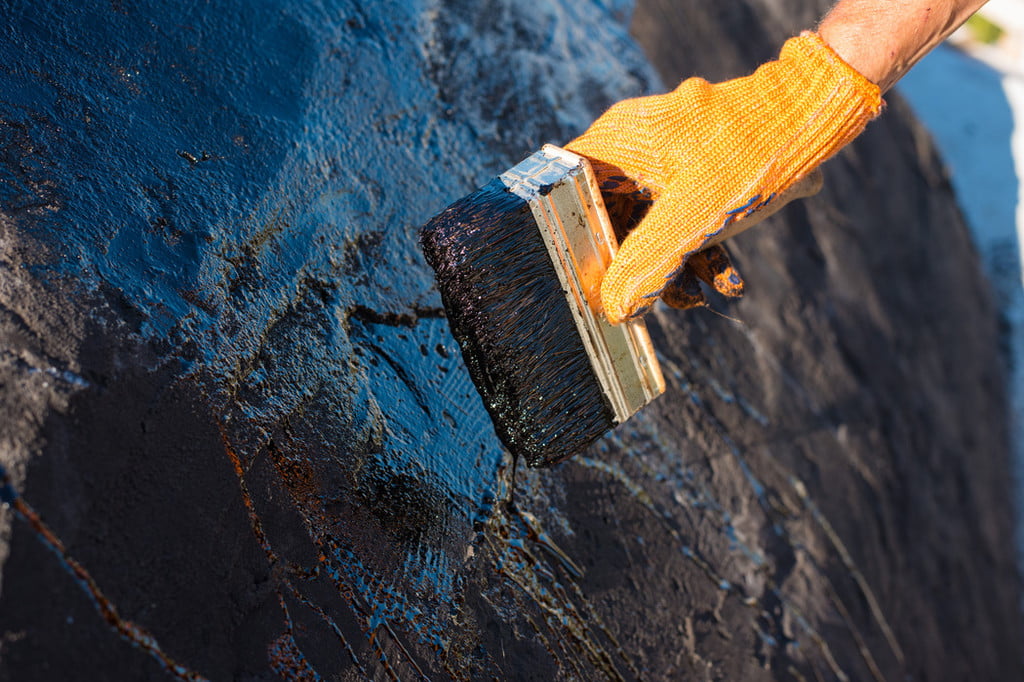
Step 3: Clean the sides of the pool wall of any debris, and remove any signs of calcium or rust. If the wall is very rusty, you may need to sand and then paint over the area with rust-proof paint.

Begin the new skimmer installation
Once the rust-proof paint has dried is, it’s time to position the skimmer.
Step 1: Ensure that the skimmer can reach all areas of the pool when extended. Be sure you get it right because moving it to a different location after installing it can be a challenge.
Step 2: Drain the pool a bit so that you can easily install the skimmer without touching the water.

Install the faceplate
Once you’ve chosen the right location and drained the water to an appropriate level, you need to install the skimmer’s faceplate.
Step 1: Choose a spot for the faceplate, ideally as close to the skimmer's opening as possible, and use a marker or pen to mark the holes in the wall for placement.
Step 2: Use the marks as guides to drill holes into the side of the pool.
Step 3: Add caulk to the faceplate and press it firmly to the pool’s side.

Add the skimmer
Once you’ve installed the plate, it’s time to add the skimmer itself.
Step 1: Put a layer of caulk on the edge of the pool gaskets and place these into the pool’s side.
Step 2: Place the skimmer on top of the gaskets.
Step 3: Push the screws for the skimmer into the faceplate until they hit the gaskets on the pool’s side.
Step 4: Tighten the nuts and bolts on the opposite side of the faceplate. Be sure not to overly tighten them, however, as doing so could break the faceplate.

Finish up
You're almost there! Just a few more steps and your new skimmer will be installed and ready to use.
Step 1: Use scissors or a sharp knife to carefully cut an opening in the pool’s liner at the top of the skimmer faceplate.
Step 2: Follow the skimmer's instructions to install the plumbing and connect it to the pool pump. You may also need to join the pump with clamps and hoses.
Step 3: Refill the pool to its former level.
Step 4: Set up the pool pump and restart it.
Step 5: Skim the water to make sure all the tubes and pipes are clear, and then leave the skimmer in the water until needed again.
With a little bit of patience and a little elbow grease, you'll soon have a new skimmer to make your pool maintenance routine much easier. And remember: sometimes it’s wise to install a second skimmer on an above-ground pool, especially if you have a lot of trees in the area that will drop leaves into the water. Having more than one skimmer can definitely help to keep your pool clean and ready for you when you're ready to take a dip.


