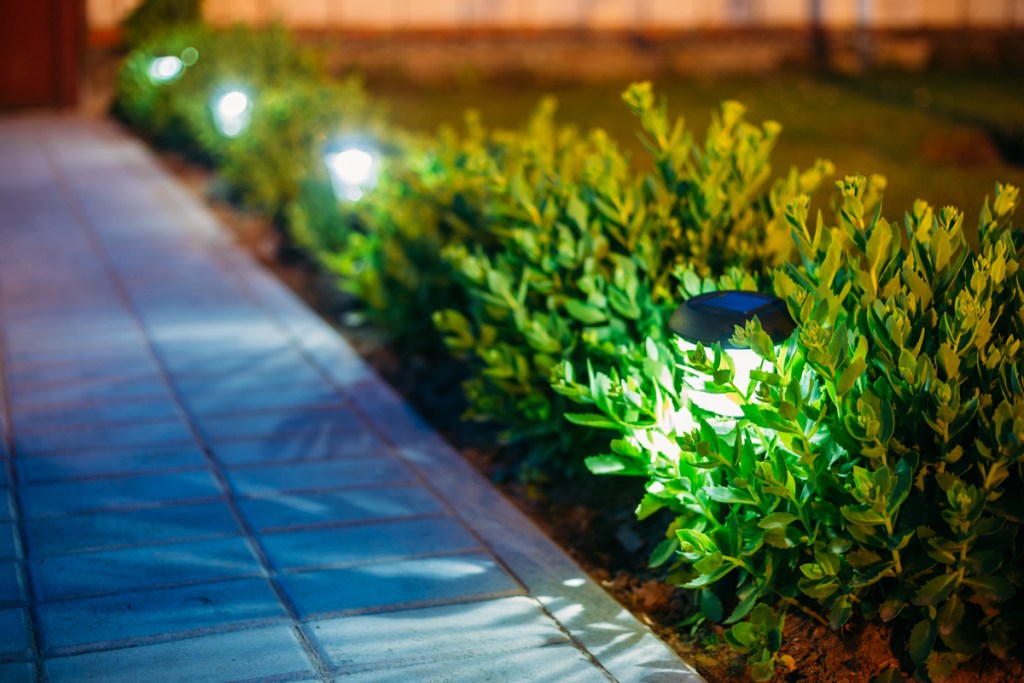
Tired of walking through a dark yard at night? Outdoor solar lights offer an affordable, convenient way to illuminate the landscape without the hassle of wiring. Best of all, DIY installation is beginner-level easy.
We’ve assembled these solar landscape lighting tips to help you decide if this is the best solution for you. Each brand and style of solar yard light differs somewhat on installation details, so it’s important to read and follow all of the manufacturer’s instructions carefully. Just ahead, read the basic steps for installing these lights, along with key considerations as you plan your project.
How to install solar lights
For this project you will need:
- Solar lights
- Cordless drill/driver
- Drill bits
- Torpedo level
- Measuring tape
- Marking paint
- Garden hose
Step 1: Identify the location
Regardless of the brand or style of lights you choose, all solar lighting needs full sun exposure throughout the day. Ideal locations receive a minimum of eight hours of direct sunlight every day. More is even better. Adequate sun exposure ensures that the onboard solar cells will be able to fully charge the batteries for maximum runtime. The more hours they bask in the sun, the greater the chance they will charge fully.
There are several factors to consider here. Buildings and trees cast shadows that move throughout the day as the sun moves overhead. So it’s important to gauge the total hours, not just the intensity of mid-day sunshine. Also, bear in mind that the angle of the sun changes through the seasons as well. An area on the north side of a building that receives sunshine in July could be in full shade by October.
In addition to the sun exposure, consider maintenance. Avoid placing the lights where they’ll hinder mowing and other lawn maintenance work. They should be plainly visible, but not in the way.
Step 2: Read the instructions
Be sure to read and follow the manufacturer’s instructions before getting started. Understand the options that are available with the model you chose. Some pre-assembly may be required. There may be on/off switches to set manually, but some types have integrated photo sensors that turn the light on and off automatically. Some models have battery-saving motion sensors that turn the lights on only when they detect movement. These must be oriented in a particular direction to turn the light at the right time.
Step 3: Installation
Measure and mark the route and location for every light. Space the lights 6 to 8 feet apart for general lighting purposes, such as illuminating a walkway. For increased visibility near trip hazards like curbs or steps, they can be spaced as closely as 4 feet apart. For curved garden pathways, roll out a garden hose as a mold to guide placement. When you’ve created the line you like, measure the spacing with a tape measure and use marking paint to place a dot on the ground where each light should go.
Actual installation varies with the type of lighting you’ve chosen. For stake lights, simply stick the light into the ground wherever you need it. Wall, fence, or post mounted types usually come with the required hardware, although they may require pre-drilling or leveling.

Solar landscape lighting tips
- Fully charge the batteries for at least 12 hours before installing and using them.
- Only install solar lighting if the area receives 8 hours of daily sunlight.
- For shady areas, choose a solar light with a remote panel. The light goes in the shade and is connected by a cable to the solar panel that’s placed in a nearby sunny spot.
- Bury any cables in a 6 inch trench to avoid cutting them with lawn equipment.
- Choose the type of fixture that matches the need: stake lights for pathway lighting, wall lights for building entryways, etc.
- Clean the lights often to maximize sunlight penetration into the solar cell.
- Keep landscape plants trimmed well away from solar lights.
- Use caution when installing stake lights in hard, dry soil. Soak the soil with water to soften it beforehand, rather than forcing the light, which could break it.
- If you know you need several lights, look for bulk purchase options to lower the cost.
Whichever type of solar yard light you choose, the process is going to be simple. For best results, be sure to consider the purpose of the lights when choosing the type and planning out the spacing. Follow the manufacturer’s directions for installation and keep the above tips in mind for a fast, easy experience and a safer, more functional yard.


