You can roast it, you can sauté it, you can slice it, and you better believe you can dice it. Summer squash is chock full of important vitamins and minerals, so it’s delicious and nutritious. But if your garden is running out of real estate, have no fear. There’s no reason you can’t grow squash in a container. Although summer squash requires a not-insignificant amount of TLC, it’s more than worth it for lovers of this agreeable fruit (and yes, it is technically a fruit). Here’s a complete guide to everything you need to know.
Picking the right squash for the job
As many gardeners know, summer squash does not describe a specific species but rather the timing of the harvest. Yellow squash are harvested earlier in their life cycle, when the outer rind is still edible. No need to peel!
Although not all squash varieties are suited for it, some work very well in containers. These include (but are not limited to):
- Bush Acorn squash
- Pattypan squash (think small and round)
- Zucchini varieties including Black Star and Bush Baby
- Crookneck
- Papaya Pear
If you can’t find any of these varieties nearby, there are online sources that sell just about every seed under the sun. What makes these particular varieties of squash such a good fit for container gardening is that they don’t produce large vines that shoot off in all directions, and also require less space to grow. You can grow vining types as well, but they will require more space and some kind of apparatus to control the vines (e.g. a trellis).
Getting started
You’ve selected your seeds; now it’s time to get growing. Growing summer squash in containers is not rocket science, but it does require a little bit of effort. That means selecting the right materials at the outset is a very important step.
Components to consider include:
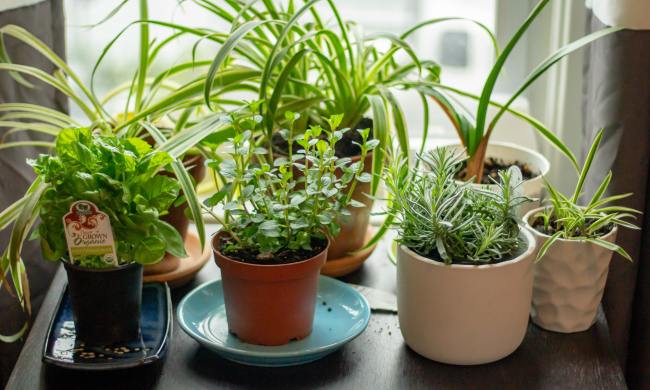
- Container: Although it may not seem like it, one squash plant can fill a 24-inch pot in no time. Many experts recommend a container of at least five gallons in capacity. If the bottom of your container doesn’t already have holes for drainage, drill some.
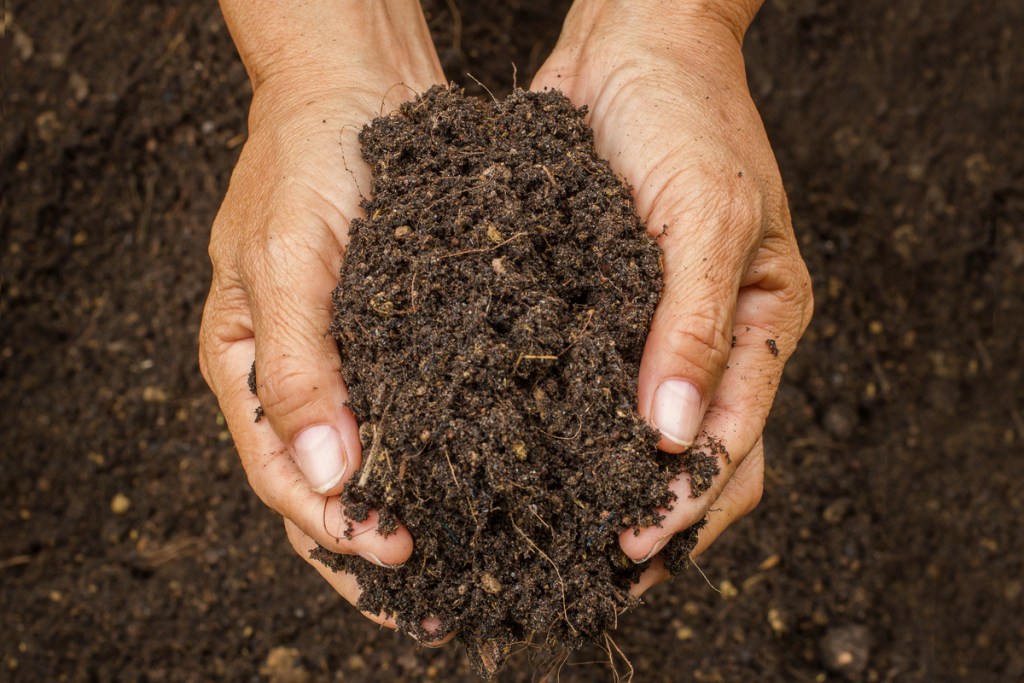
- Soil: Begin by spreading gravel at the bottom of the container, then covering it with a piece of wire mesh. This will keep soil from clogging the drainage holes (squash don’t like overwatering). Yellow squash grows best in fertile soils. A rich potting mix that drains well is ideal.
- Temperature: Summer squash prefer warmer temperatures, so plant your container at a time when frost isn’t a threat. The ideal soil temperature for summer squash is 70 to 90 degrees Fahrenheit.
- Planting: Directly sow about three 1 inch deep inside each container. Be careful not to overcrowd.
- Light: Yellow squash plants grow most effectively under full sun. Select a permanent location for your container that will be in as much direct sunlight as possible.
One note to be aware of: Your squash plants may wilt under full sun, but this is normal and doesn’t mean your plants are in danger. At night, you’ll notice them returning back to normal as temperatures start to go down.
Care and maintenance
Like most plants, summer squash have their own special needs for food and water.
Feeding: Yellow squash are big eaters, with container squash needing more food than plants that were planted without containers. Once your plants sprout leaves, roughly three weeks after planting, feed them with slow-release fertilizer. Then fertilize weekly. Check individual product labels for more information before you buy.
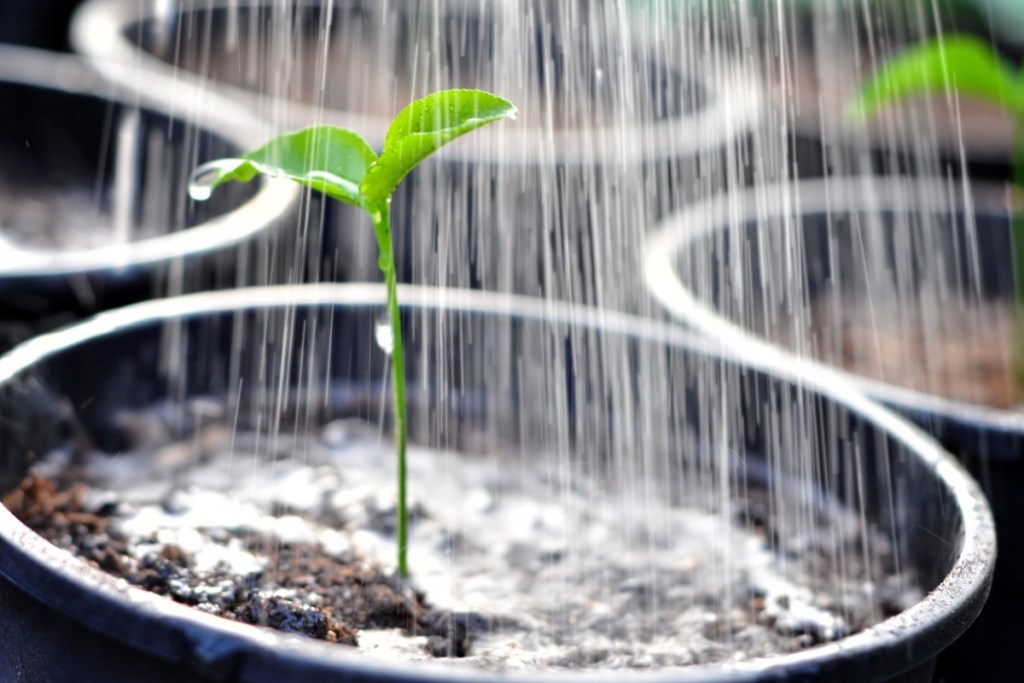
Water: Obviously, this one depends heavily on the region where you live. If you live in a rainy climate, your squash is probably getting enough moisture. Drier climates should water daily. To check whether your plant needs water, stick your finger about an inch down into the soil. Was the soil dry? Then it’s time to water. Always water deeply, especially if your container has drainage holes. Try not to get too much water on the leaves, as this increases the risk of disease.
Harvesting
Check your seed packet to find out how long after planting you can expect to harvest. In general, though, never pull the ripened squash directly off of the vines. Instead, use sterilized pruning shears to snip the squash off the vine, leaving an inch or so of stem behind. Once you’ve harvested, get ready to enjoy your sumptuous squash. If you harvest frequently, more fruit will grow.
Summer squash are a delicious addition to anyone’s harvest. Growing in containers may seem restrictive at first, but once started, summer squash can grow happily there for years to come.

