There’s a wide array of tools that gardeners can benefit from. You might already have garden shears, gloves, or even a hori hori knife in your toolkit, but there’s another useful thing you may have missed: row covers.
Row covers seem pretty simple at first glance. After all, aren’t they just things that cover rows of plants? There’s more than meets the eye to these handy garden resources, though. If you’re curious about row covers' uses, types, and maintenance, then you’re in the right place. We’ll tell you everything you need to know so you can get started using row covers in your garden today!
What are row covers?
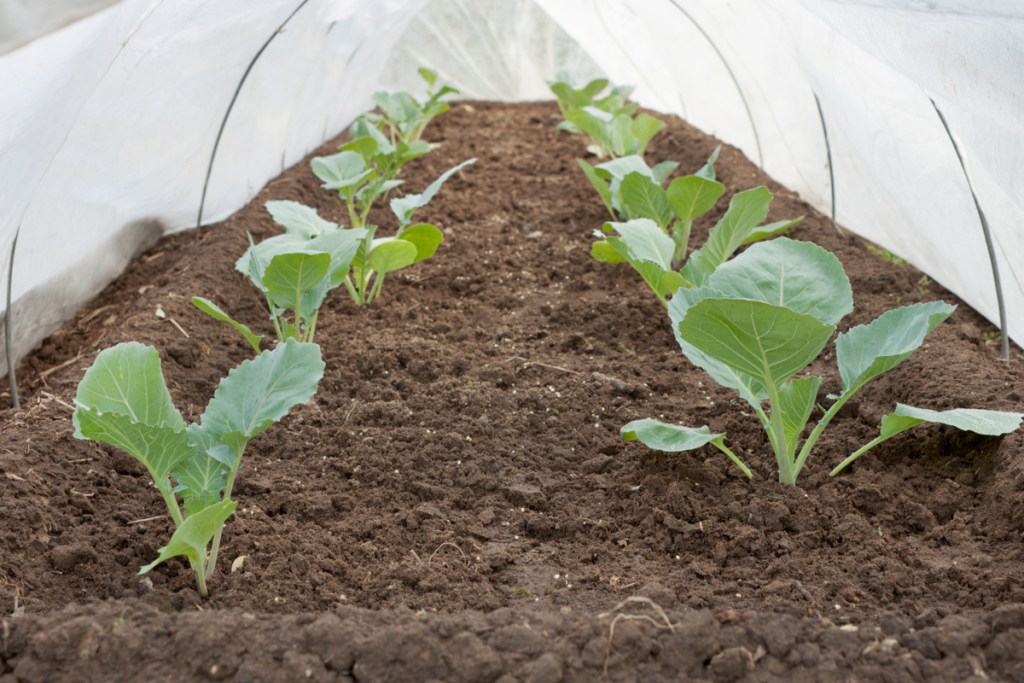
Row covers are thin layers of fabric or occasionally plastic that are placed over rows of plants. They help protect the plants from a range of things, but particularly harsh weather and pests. By providing a physical barrier, pests have a harder time getting to the plants, which results in healthier plants. They keep plants warm during fall and winter by providing a windbreak and keeping most snow or ice off the plants.
Row covers even offer some shade to plants that are sensitive to bright sunlight. Different types of row covers, as well as different materials, are better suited to other plants and offer different protections.
How to choose row covers
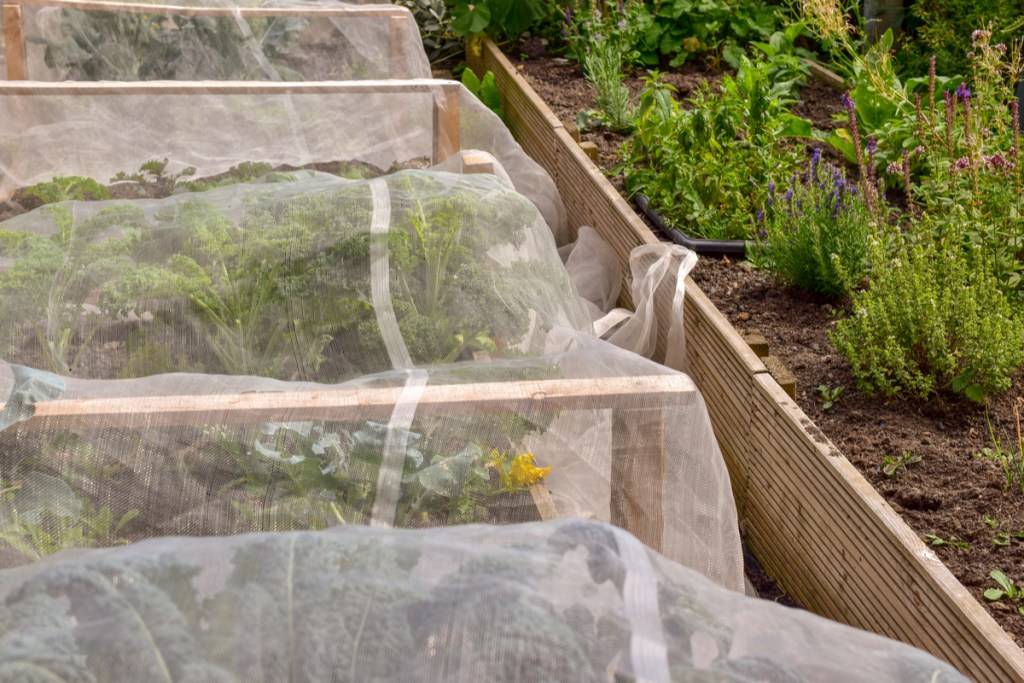
The best row cover for your garden depends on what your plants need. When you're planning for winter gardening with row covers, a thicker material offers better protection from the cold, making it a good choice for keeping plants warm. A thicker material is also great for plants that are very sensitive to the sun.
However, it isn’t a good fit for sun-loving plants or tall plants that are still growing, as its weight can make it hard for plants to move. If you have a taller plant that's sensitive to the sun or needs protection from the cold, consider using a frame to turn the cover into a tunnel.
Lighter material lets in more sun and makes it easier for plants to move as they grow but offers less protection from the cold. This is a good option for spring or summer gardens, as it can keep out pests without blocking too much sunlight.
How to use row covers
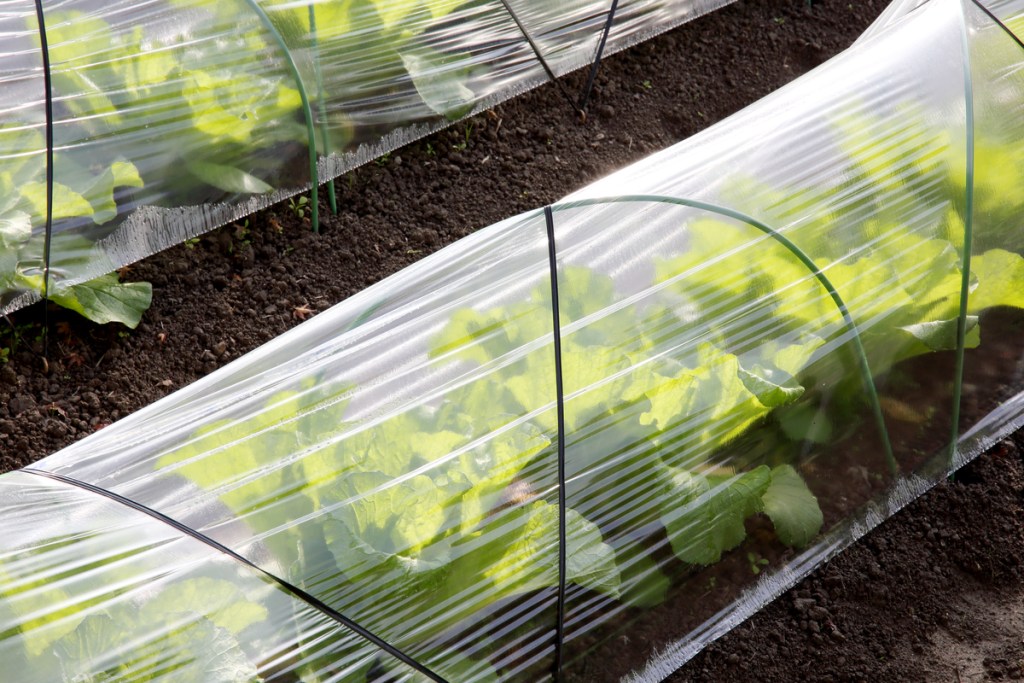
Row covers are secured to the ground on the edges. Depending on the type of row cover you’re using, they can be secured on just the long sides or all four sides. Securing it on all sides means there's less give in the fabric, but it does offer more protection. Since these are secured at the edges but not in the middle, they're sometimes referred to as floating row covers. Some row covers are also laid over metal or plastic arches to turn the row cover into a tunnel.
Row covers tend to work better with shorter plants than taller ones, but you can use them with taller plants as long as you give the row cover slack so that it can move as the plants grow. You don’t want the cover to fit too tightly over the plants, which could hinder their growth.
Step 1: Measure your garden rows to determine how large of a row cover you’ll need. Measure both the length and width, but remember to add a few extra inches so the covers will have some slack.
Step 2: Install frames as needed.
Step 3: Secure your row cover to the ground with landscaping pins, either just on the long sides or on all four sides.
Step 4: Remove the row covers from time to time to water and weed your garden. While some row covers help reduce weeds, they aren’t typically able to get rid of them entirely.

How to maintain row covers
Row covers are typically hardy enough to withstand light storms, but heavier storms, debris, and animals can sometimes tear the material. In the case that you need to adjust your row cover, there are certain factors that you can evaluate.
Step 1: Check to see if your row cover is getting too loose or feels too taut above your plants. Tighten or loosen the cover as needed.
Step 2: Check for tears. Small tears can be repaired with a needle and thread or staples, while medium tears can be fixed with patches. For patches, use a material with comparable thickness of the row cover to ensure even heating and lighting.
Step 3: If tears that are too large to be patched, replace your row cover entirely.
If your garden is having trouble with pests or the cold, then row covers might be able to help. They’re easy to set up and maintain and can be folded up and stored in any closet or basement when they’re not in use. If you’re feeling extra motivated, you can even make one yourself out of a length of any garden fabric you choose.
