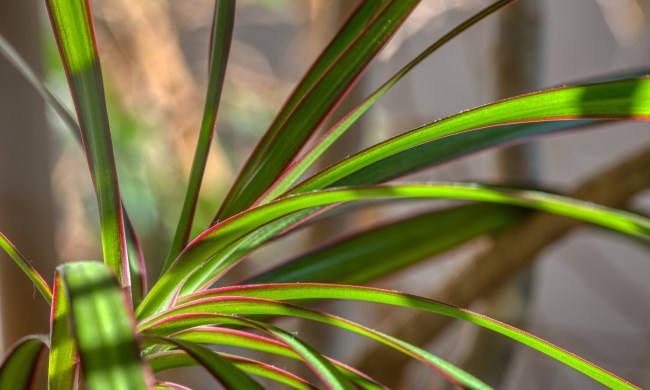
Plant of the week: Darwin’s orchid, a beautiful flower with star-shaped blooms

Your guide to growing Darwin's orchid

Image used with permission by copyright holder

Even the most experienced plant parents get nervous around orchids. They’re notoriously hard to care for and most varieties are rare and expensive, so picking one up at the garden center isn’t always an option.

However, their bright colors, unique patterns, and interesting flower shapes make them incredibly appealing. If you can't resist the lure of orchids and want to add a particularly stunning one to your collection, then you're in luck! Here's a handy guide to help you grow Darwin's orchid.
Recommended Videos

Difficulty

Hard

Duration

1 hour

What You Need

  • Bark-based potting soil

  • Lightweight curtain

  • High-nitrogen fertilizer

  • Humidifier

Darwin's orchid
Image used with permission by copyright holder

What is a Darwin's orchid?

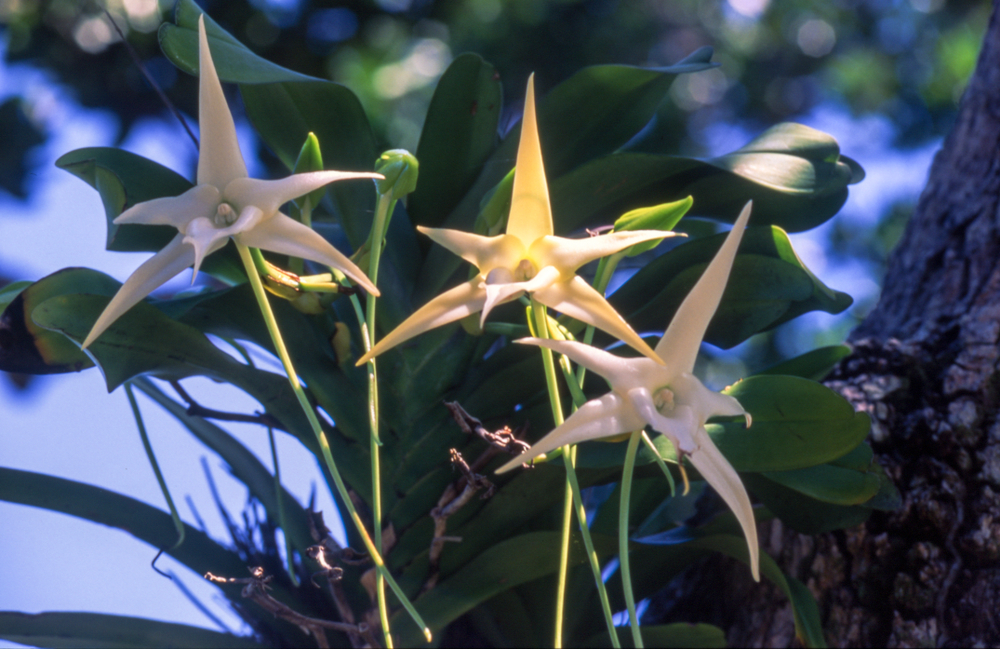
The Angraecum sesquipedale is native to Madagascar and has a lot of nicknames, including Darwin’s orchid, Madagascar orchid, Christmas orchid, Comet orchid, King of Angraecum, and Star of Bethlehem orchid. No matter what you call it, this orchid is stunning and will make a fantastic addition to any orchid collection.

These plants are slow-growing but can eventually reach 3 feet tall. Their leaves are dark green with hints of gray, and their flowers are star-shaped. Darwin's orchid typically grows in coastal areas and gets rainfall throughout the year, but it blooms in the winter and can produce more than one bloom per plant. The juvenile flowers are whitish-green and transform to pure white when mature. Surprisingly, these blooms can last up to two months!
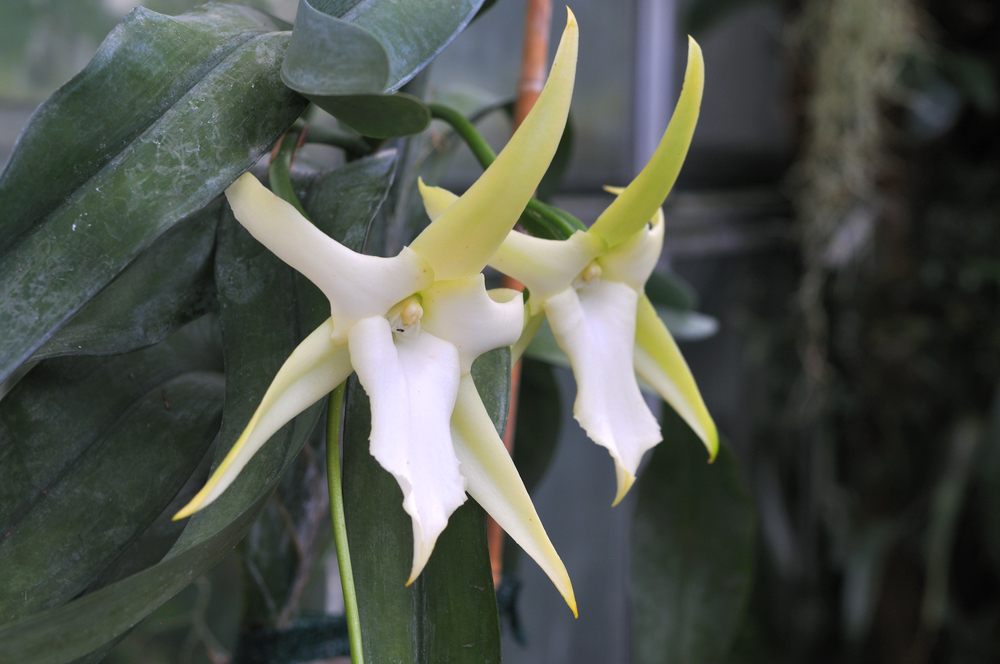
Darwin's orchid flowers
Image used with permission by copyright holder

How to care for a Darwin's orchid

While this plant is gorgeous, its care requirements are quite tricky and not beginner-friendly. This plant is probably best with an experienced and maybe even advanced plant enthusiast who already has experience with orchids.

Step 1: Use a bark-based potting soil for improved drainage.

You can look for potting soils specifically labeled as for orchids, or you can make your own. Proper drainage is important. Since orchids enjoy wet soil, poor drainage can easily lead to root rot.

Step 2: Keep the soil moist.

This means watering them daily during summer, especially if it is blooming. You can reduce watering during winter, but make sure the soil doesn't dry out completely.

Step 3: Place the orchid in bright, indirect light.

Since Darwin's orchid is adapted to growing in trees, where it is sheltered from direct light, it is sensitive to direct light. Hanging a lightweight curtain over the window can protect your orchid from sunburns.

Step 4: To encourage blooms, increase the amount of light your orchid gets between September and November,

Step 5: Fertilize your orchid every 7 to 10 days with a high-nitrogen fertilizer.

If you aren't sure what constitutes high-nitrogen, look for fertilizer specifically marketed as being for orchids.

Step 6: Regulate the temperature for your Darwin's orchid.

This orchid is more particular about the temperature than other plants. The temperature should be between 70 and 85 degrees Fahrenheit during the day in summer and between 60 and 75 degrees during the day in winter. At night, the temperature should be 10 to 15 degrees lower.

Step 7: Keep the humidity as close to 80% as possible.

Darwin's orchids need a high humidity environment year round. Investing in a quality humidifier will help ensure that your orchid doesn't dry out.

Step 8: Repot your orchid every two to three years.

Step 9: Propagate your orchid by separating the pups (baby plants) from the parent when the pup's roots are 1 or 2 inches long.

The pups can then be repotted to grow into a second orchid plant. Separating the pups before their roots are long enough can cause the pup to die. However, if you leave the pups attached for much longer, then you can't safely remove them from the parent. You don't need to remove them, though! You can leave them attached, resulting in a larger orchid plant.

Now that you have a better understanding of what this plant needs, you can make a more educated decision about whether or not you should add this tricky plant to your home. Although they’re beautiful, they’re not easy to care for and require very special setups to ensure they live happy and healthy lives.
Rebecca Wolken
Former Digital Trends Contributor
Rebecca's has written for Bob Villa and a Cincinnati based remodeling company. When she's not writing about home remodeling…
How big do Bromeliads get?
Caring for you bromeliad so it grows as big and old as possible
Group of mature bromeliads

Bromeliads are gorgeous houseplant that are known for their vibrant flowers and glossy leaves. When getting a bromeliad for the first time, many people find themselves asking a few questions. How big do bromeliads get? What’s the average bromeliad size? How long do bromeliads live? These flowering houseplants are slow-growing, and most of the time when you buy them from the nursery they’re already blooming. That means they’re fully mature and as big as they’re going to get. However, if you want to try propagating your own bromeliad, then you'll need to know what to expect.
How large will your bromeliad grow?

Throughout their life, houseplant bromeliads can grow anywhere from 1 inch to 3 feet tall. Some won’t reach the biggest height by maturity, but some will. It’s a toss-up when you’re growing pups for how big they will eventually get, but you should plan for a 2 to 3-foot-tall plant to be on the safe side.

Read more
Boston fern care guide: Everything to know about this low-maintenance plant
Caring for a Boston fern
Medium-sized Boston fern in a pot on a balcony

If you’re in need of a low-maintenance houseplant for your home, ferns are a fantastic option. While there are many types of ferns, the classic Boston fern is a popular choice. Also called a sword fern due to the shape of its fronds, these lovely ferns are perfect for hanging baskets and standing pots alike. They’re easy to grow, making them a great plant for beginners as well. Want to try growing your own Boston fern? Here is everything you need to know about Boston fern care.
Planting a Boston fern

Native to forest environments, Boston ferns prefer rich, well-draining soil that mimics their natural habitat. The soil should hold enough water for the Boston fern to stay hydrated, but not so much that the soil stays soggy for a long time. Adding perlite to the soil or choosing a soil mix that already contains perlite is a great way to accomplish this. Some gardeners prefer to skip soil and use a peat-based potting mix, similar to what you might grow an orchid in.

Read more
Follow these easy dracaena care tips to keep your plant thriving
Keep your dracaena happy and healthy with these tips
Dracaena marginata

While they might not get the same buzz as monsteras and hoyas, dracaenas are some of the most beautiful and easiest houseplants to maintain. They're available almost everywhere, from small local nurseries to larger stores and across the internet. Not to mention, they come in an incredibly wide range of sizes and shapes. From tall, tree-like plants to smaller plants perfect for a desk or window sill, there's a dracaena for every home. So how do you pick the right dracaena for you and properly maintain it? Keep reading for our top dracaena care tips.
What dracaenas look like

Dracaenas come in a variety of different patterns and shapes. Smaller types may stay around one foot tall, while the bigger ones can grow up to six feet indoors. Most dracaenas start out with spiky, lanced-shaped leaves that almost appear like blades of grass. As some grow older and bigger, their stalks thicken, and their leaves slightly curve outwards, giving them a tree-like silhouette. Dracaena leaves can be a solid forest green color or have red, yellow, light green, or white stripes.

Read more