Make sure your garden is clean and ready to go by following this guide

Spring cleaning isn’t just for your home! Winter can make a mess of your garden, whether it’s ice turning your soil to mush or the wind breaking branches off of your shrubs. Spring is a fresh start for your garden, so it’s a perfect time to do a little cleaning and reorganizing. We’ve gathered some of the best tips for cleaning up your garden, including what tools you’ll need for each stage. Take stock of your garden and keep reading to see how you can get it back in tip-top shape.

Debris

Before you start removing plants and planting new ones, give your garden a once-over. Start with any large debris, like fallen tree branches. Try to carry them instead of dragging them, as dragging debris could potentially damage the remaining plants. In many cities, you can set branches by the edge of the road or sidewalk for leaf and limb pickup. If you aren’t sure if your city offers this service, it’s a good idea to check the official website or contact a local official to find out.

Recommended Videos

After the large debris is cleared out, it’ll be much easier to see smaller ones. Not every twig or pebble needs to be removed, but try to get any that are the size of your hand or larger. Although small obstructions won’t cause as many problems as large ones, they can still become an annoyance. Cleaning them out early in the year will save you some trouble down the road. Pay special attention to any non-natural debris. Snow and wind can carry trash into your garbage, so any plastic bags or bits of metal need to be dealt with.
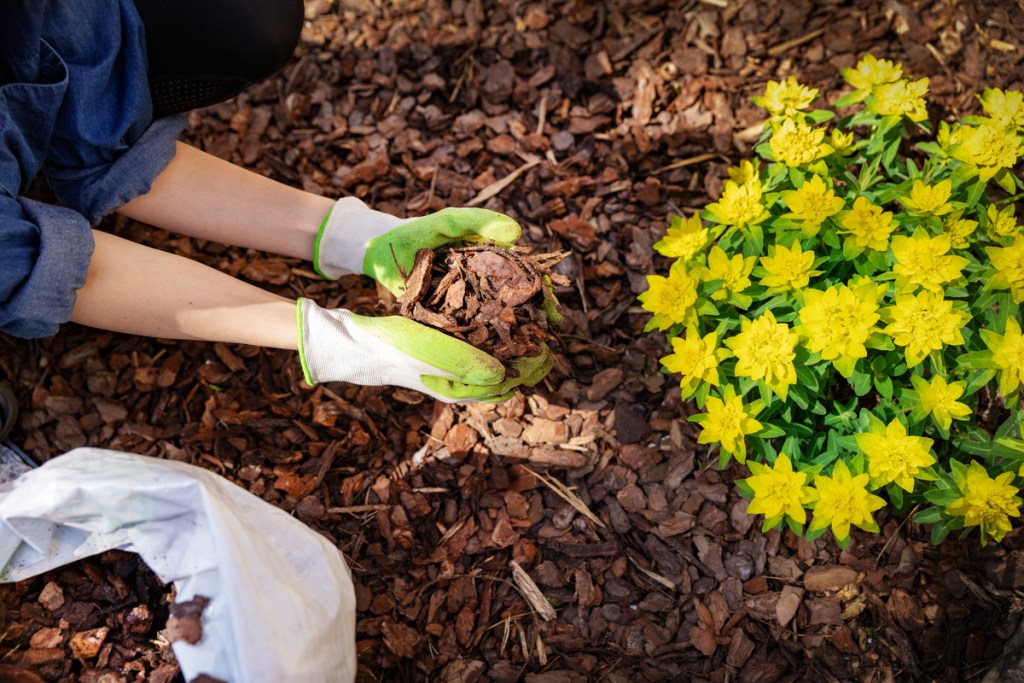
A person putting mulch around a plant with yellow flowers
ronstik / Shutterstock

Mulch

Mulch is useful for gardeners, but it’s especially useful during winter. It insulates the soil, helping to protect your plant’s roots from the cold. However, depending on the type of mulch you used, it may be time to replace it. Start by inspecting your mulch to see what kind of shape it’s in. If you used a natural mulch like leaves or compost, and it’s depleted or decomposing, then you can mix it into your soil and set a new layer down. If you used an inorganic mulch, such as gravel, plastic, or rubber, then it cannot be mixed into your soil. If it’s still in good shape, then you can reuse it. However, if it has sustained heavy damage or wear, then you’ll need to replace it.

No matter what type you’re using, if you’re reusing your mulch, then you’ll need to move some of it to plant your next round of plants. You can gently scoop it off the top and set it to the side just before planting or put it in a bag to store for reuse if you don’t intend to replace it right after planting. If you’re only planting a few small plants, then you may want to clear away just a few small patches rather than the entire garden.
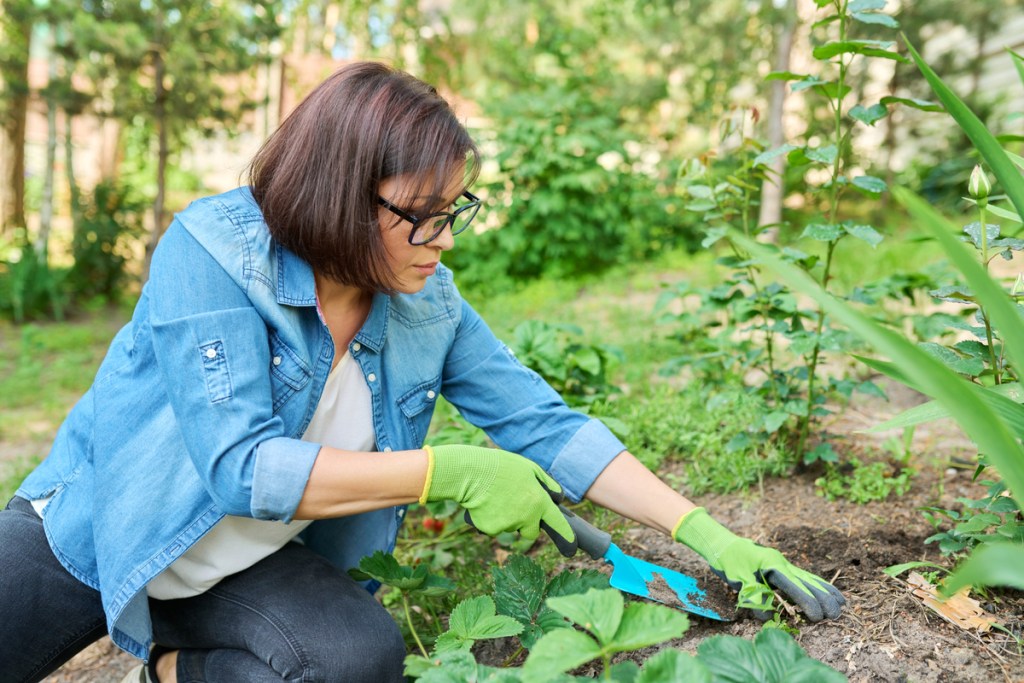
A woman kneeling in a garden, removing a plant with a shovel
VH-studio / Shutterstock

Dead and dying plants

If you had annuals or any particularly cold-sensitive plants in your garden over winter, then it’s likely that not all of them survived. Dead plants make great habitats for pests, and, when they begin to rot, they become fuel for fungi. It’s best to remove them before they become an issue. Additionally, removing dead and dying plants frees up room in your garden for new flowers, fruits, or vegetables.

The best way to remove plants is to carefully dig them up. Leave as much soil behind as you can, while removing as many roots as possible. If there are other, living plants nearby, then take your time and go slowly to avoid damaging them. Any roots that you cannot get out can be cut into smaller pieces using a knife or spade.

If the plants are already rotting, don’t compost them. This could introduce fungi or pests into your compost bin. Instead, throw them away in a garbage bin or set them by the road for leaf and limb pick up, depending on their size.
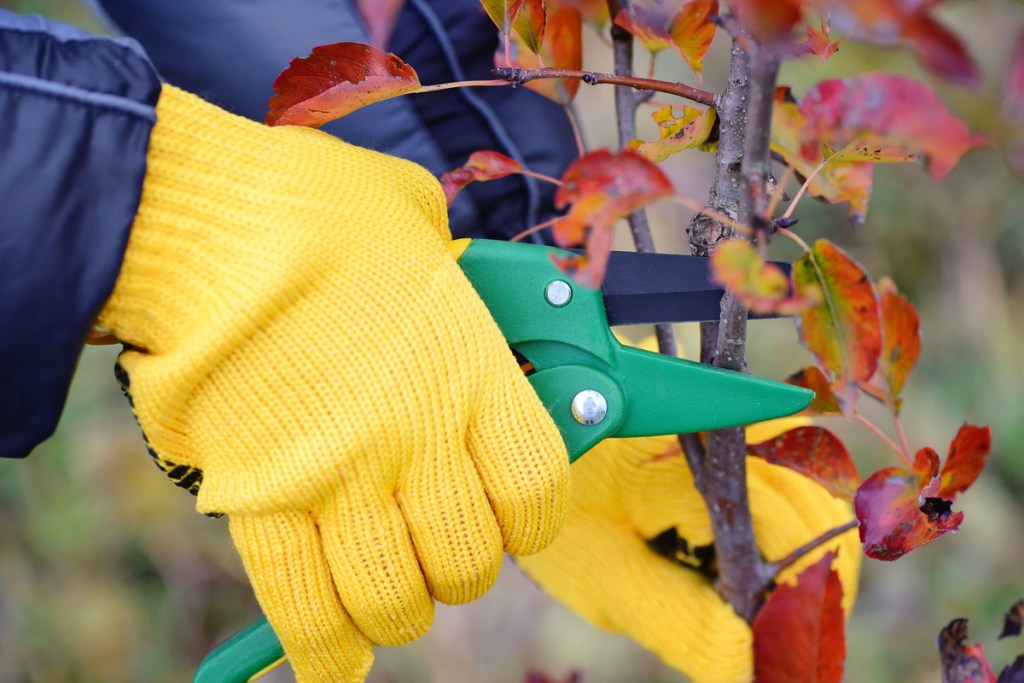
Hands in yellow garden gloves pruning a small tree
Image used with permission by copyright holder

Pruning dormant plants

Early spring, when shrubs and trees begin to wake from dormancy, is the ideal time to prune them, for the most part. Some shrubs are better pruned after they bloom, especially those that bloom or fruit on old growth. Pruning encourages new growth and helps maintain the overall health of the plant. Use a clean, sharp pair of bypass garden shears for the best results. Smaller plants can be pruned with scissors.

Starting at the base of the plant and fanning outwards from there, look for branches that are dead, damaged, or diseased. Cutting these away stops the plant from focusing energy on them and keeps any diseases from spreading to the rest of the plant. Next, look for branches that touch or cross and prune one of them. Branches that touch will rub against each other, causing scrapes that can become infected. Then, you can trim the top and sides to shape it how you like.

With your garden clean, you’re ready to start the year off right! What plants will you grow this year? There are always new plants to try out, so why not go out on a limb and plant something you normally wouldn’t? Whether you plan on growing your old favorites or want to strike out and try new ones, you can set out knowing your garden is clean and ready.

Cayla Leonard
Cayla Leonard is a writer from North Carolina who is passionate about plants.  She enjoys reading and writing fiction and…
6 incredible types of basil for your herb garden
Add a little variety to your garden with one or all of these basil types
Basil plant bathed in sunlight

Herbs are fun to grow and useful to have around, both for flavoring meals and for keeping certain pests away. Basil is one of the most popular herbs, and for good reason. This tasty herb is versatile and easy to grow, both indoors and out. Did you know there’s more than just one type of basil? If you’re planning your next herb garden, here are six types of basil you should consider including to add a little variety to your garden.
Sweet basil

Sweet basil, also called genovese basil, is the most common type of basil, but there’s a reason it’s the classic. Reliable and delicious, sweet basil gives you the basil flavor and look that you’re familiar with. If you’ve grown basil before, it was likely sweet basil. Place your sweet basil in full sun, with some light afternoon shade if it’s outdoors. Water it regularly to keep the plant fresh and healthy, and you can begin harvesting leaves in just a few weeks, as soon as the plant has four sets of leaves. Be sure to leave a few leaves on the plant so it can continue to grow.
Thai lemon basil

Read more
Your complete sago palm maintenance guide
Grow a sago palm to add a tropical flair to your home
A small sago palm in a pot designed to resemble a wicker basket. It sits on a table of light wood, next to a bookshelf of the same wood. The wall behind it has a dacorative pink, blue, and white triangular pattern.

Sago palms may not be true palms, but they are just as gorgeous. However, with these subtropical houseplants, you won’t have the same kind of look offered by those tall trees. Instead, the green fronds grow directly from the trunk without branching out. Sago palm maintenance is fairly simple, relying mostly on proper growing conditions. Adding this lovely houseplant to your collection is an excellent way to bring the tropics to your home. If you want to grow your own today, this guide will explain everything you need to know to help it thrive!
Care requirements for your sago palm

Because they’re native to tropical regions, sago palms prefer to be in warm, humid environments. This is why, for the most part, they’re grown as houseplants outside of these areas. Sago palms grown indoors should be protected from any drafts or air flowing from heating and AC units as the extreme shift in temperature can cause damage.
Light
Sago palms prefer bright, indirect lighting and shouldn’t be placed in direct sunlight. Direct lighting, especially on hot summer days, can cause sunburn damage and result in wilting leaves. As a houseplant, sago palms will favor east-, west-, and south-facing windows so long as they receive a lot of lighting throughout the day. Keep in mind that too much shade will also cause adverse effects, most noticeably spare foliage.
Soil
Like most houseplants, sago palms need only well-draining soil (and of course, a pot with a drainage hole for excess water to escape through)! There are potting mixes made specifically for palms grown in containers, and although the sago palm isn’t a true palm, this should do the trick.
Water
As a tropical plant, sago palms prefer moderately moist soils. They can tolerate some drought, but not very well. Proper sago palm maintenance requires watering the plant whenever the soil is dry to touch; however, be mindful of how much you’re watering to avoid soggy soil and leaving your plant susceptible to root rot.
Diseases and pests to be aware of

Read more
Lisianthus flowers are like roses, but better: Your care guide
Growing gorgeous lisianthus flowers
White lisianthus flowers on a wooden table

Roses are gorgeous, but their thorns can make them challenging to care for without proper gloves. If you want striking rose flowers without the risk of getting scratched, you’ll be happy to know that such a flower does exist! Lisianthus, a flower that grows natively from the southern U.S. to the northern countries of South America, looks shockingly similar to a rose, minus the thorns. While it can be tricky to grow, patience and dedication can help you keep these lovely flowers happy and healthy. Here’s what you need to know to grow lisianthus in your garden.
Planting lisianthus flowers

Lisianthus flowers can start from seed, but this is often the more challenging way to grow lisianthus. These plants take a fairly long time to grow, needing 4 to 5 months before they begin to bloom, so seeds need to start early. Start seeds 8 to 10 months before your last frost date. Do not bury the seeds deeply and don't plant more than one per container. Lisianthus roots damage easily, especially when they're young, so planting more than one seed per container can make transplanting them especially difficult. Keep the seeds warm, ideally in the mid to low 70s (Fahrenheit). The soil should be moist, but not wet, or else seeds can rot or develop fungal infections. Once the seedlings have two full sets of leaves, they are ready for transplant.

Read more