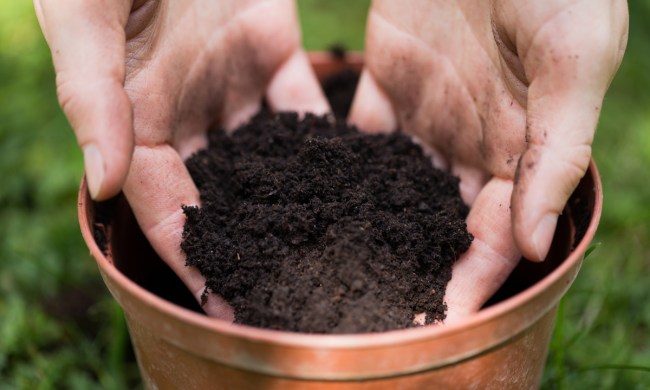
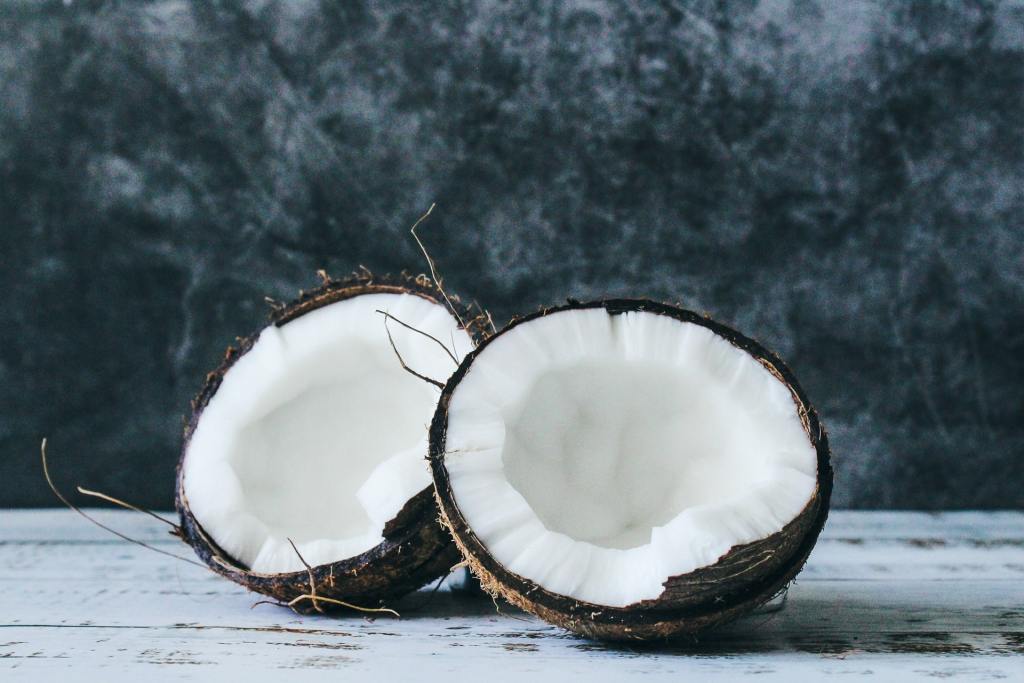
Coconut coir has been used in gardens for a long time, but what is it, and what is it used for? Also known as coco coir or coconut fiber, it comes from the husk of the coconut fruit. It's used in everything from home decor to construction, and can provide several benefits to your plants. Coconut coir can provide soil structure, drainage, and aeration to keep plants healthy in container gardens and traditional gardens. As it is a more environmentally friendly material than peat moss, many consider it a green add-in to soil. Want to try using it in your garden? Here's what to know about how to use coconut coir in gardening.
How coconut coir works
Coconut coir comes from coconuts. When you buy coconut coir, you’re usually getting coco peat, coconut fiber, coco chips, or some combination of the three. For coconut coir that’s a soil supplement or alternative, most gardeners reach for coco peat or dust, which is finely ground coconut husk that works well for water retention.
Excellent for aerating roots, coconut fiber is an unprocessed string that’s commonly used for mulching and decorative purposes. Also deployed as mulch, coco chips consist of roughly chopped down coconut husk, providing both water retention and aeration benefits. This last form works well as an orchid mix when combined with perlite.
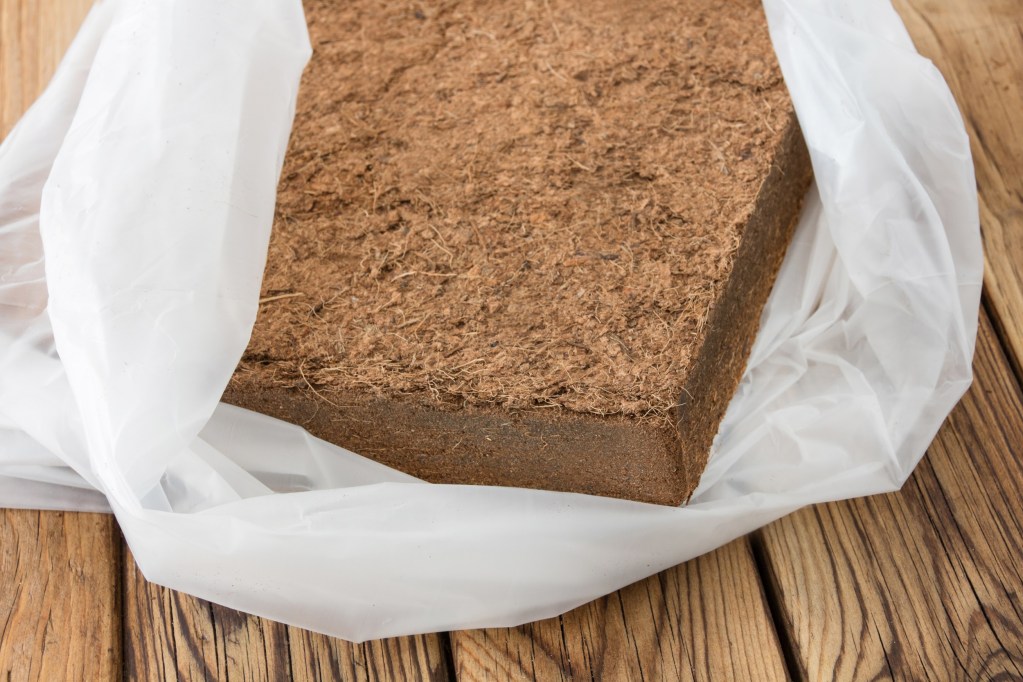
You can get coconut coir at your garden center in the form of blocks, loose mixes, discs, and liners. With blocks, you will need to break up the bale and mix it with water. Upon getting hydrated, coconut coir will expand about five times in size, so add water to it in a large tub.
Benefits of coconut coir
Coconut coir offers a wide range of advantages.
- It's a green alternative to peat moss: Compared to peat moss, which is used for water retention, coconut coir is a green alternative. Peat takes hundreds of years to form, and it’s not being harvested at sustainable rates. *
- You can find it easily: Short coconut fibers are readily available as coconuts are being commercially processed in the food industry. *
- It lasts longer: Coconut coir also breaks down more slowly than peat moss, so its prized benefits of water retention and aeration last longer.*
- It's low maintenance: Because it retains moisture so well, it doesn’t require as much maintenance as a growing medium. In terms of feel, coconut coir is also easy to handle — it has no strong odor and feels fluffy to the touch. When you're creating a DIY potting mix, it's an excellent add-in that provides extra soil structure.
Tips on how to use coconut coir in your garden
Here are some things to consider when you use coconut coir for growing plants:
Step 1: Supplement the coconut coir with a diluted fertilizer. Coconut coir is inert, which means that it does not have significant traces of nutrients. Many gardeners will go for a calcium and magnesium supplement.
Step 2: Mix it with perlite or expanded clay balls for extra drainage. Coconut coir, especially in peat form, is highly water-retentive. You can’t use it by itself or else your plant may get waterlogged and rot.
Step 3: Make sure your coconut coir has been rinsed to avoid salt buildup. Coconuts are typically grown by the sea, which can lead to salt drying on their husks.
Step 4: Consider whether or not you need fine coconut coir or coarser, bigger fibers and chips.
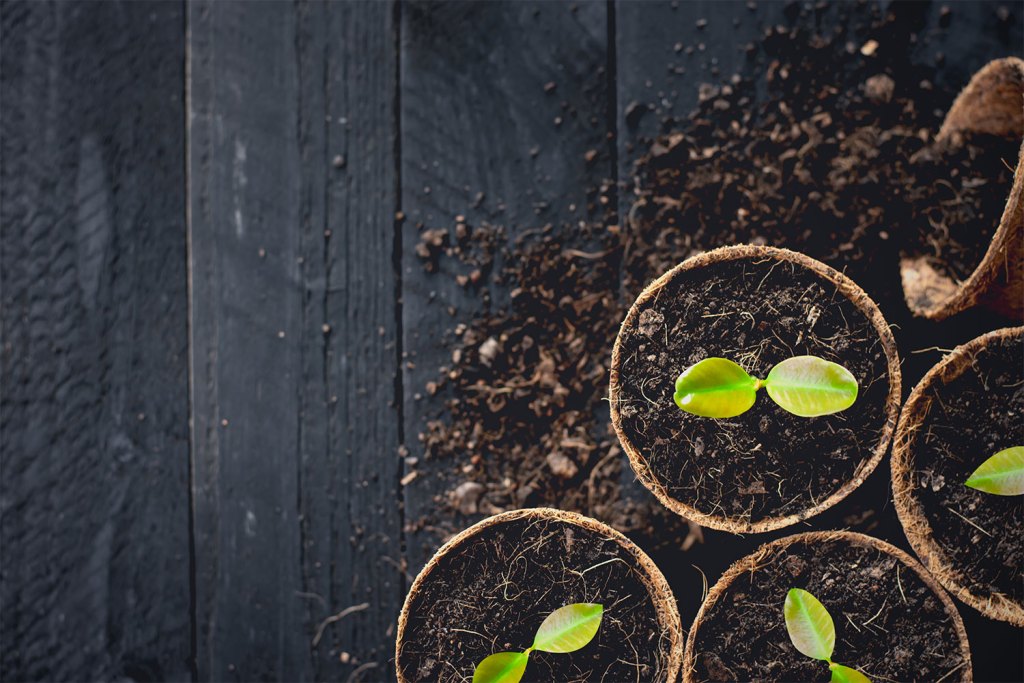
Using coconut coir in gardening: Seed starters
Consider growing vegetables in coconut coir. Here's how to make a seed starter:
Step 1: Add coconut coir to potting soil or pick up a coconut coir disk.
Step 2: Soak the disk in a tray and add your seeds.
Step 3: When it's time to transplant your seedlings, plant the disks directly into your garden.
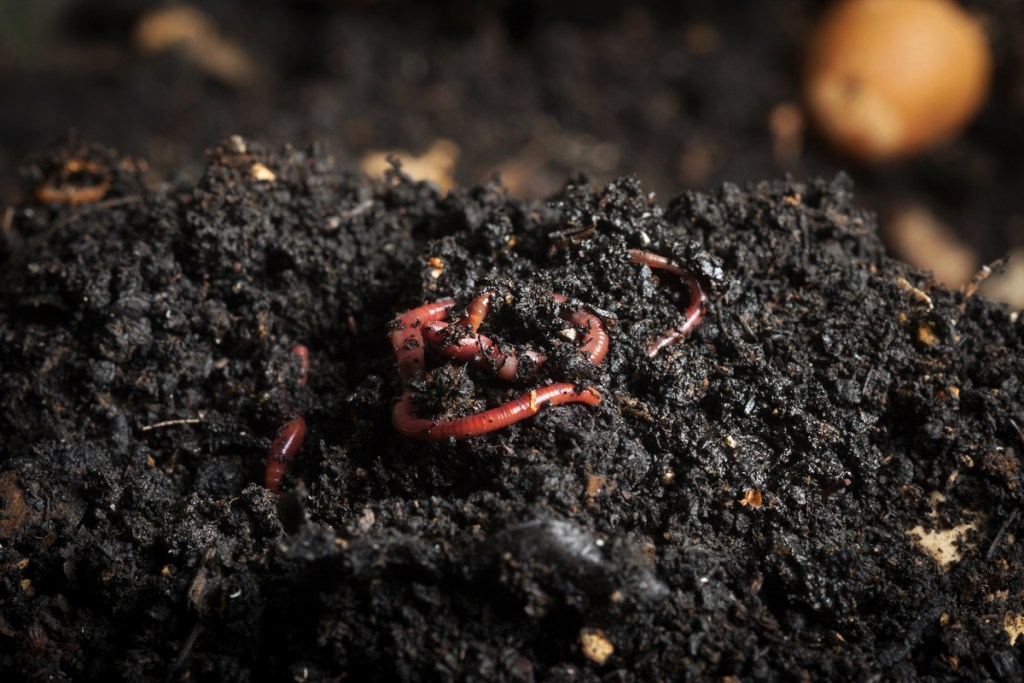
Using coconut coir in gardening: Worm bins
Use coconut coir as worm bedding by repurposing coconut coir used in other gardening projects. Combine it with compost in a bin to create a habitat for earthworms, which will appreciate its moist and fluffy texture. Here's how to go about it:
Step 1: Drill 10 or more holes into each side of a 5-gallon storage bin with a lid (including the lid).
Step 2: Add coco coir into the bin and water it.
Step 3: Add scraps and worms to the mixture. For scraps, you can use kitchen scraps, leaves, newspapers, coffee grinds, and eggshells.
Step 4: Leave a piece of cardboard over your mixture and close the lid.
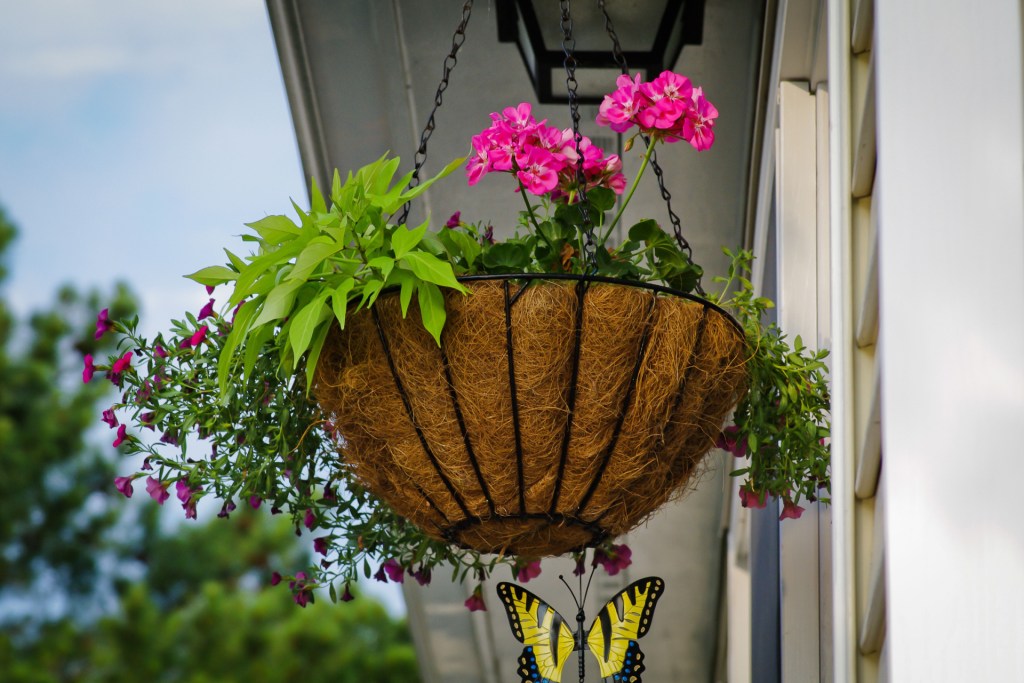
Using coconut coir in gardening: Planter and basket liners
Place coir liners inside hanging baskets to add an aesthetically pleasing touch to your home garden. Here's what to do:
Step 1: Soak the coconut coir for 15 to 30 minutes.
Step 2: Arrange it in your basket and trim it accordingly.
Step 3: Add a plastic liner with holes for drainage.
Step 4: Fill your coir with potting soil before adding your plants.
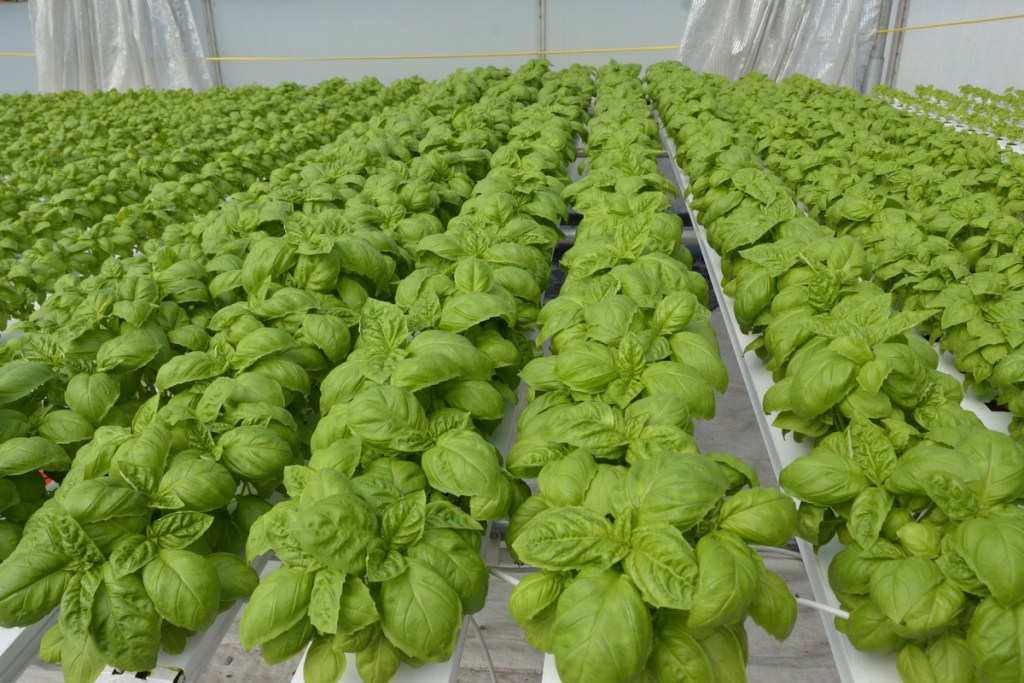
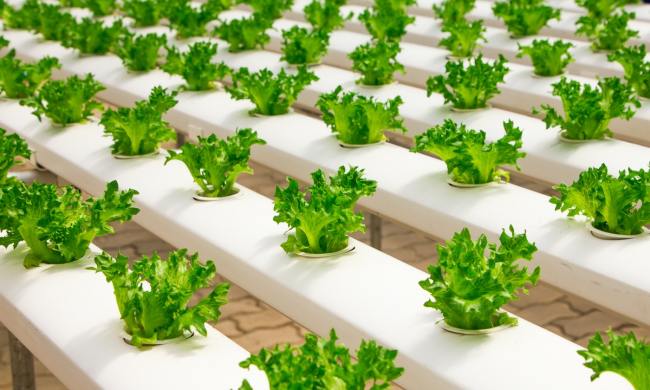
Using coconut coir in gardening: Hydroponics
Hydroponics essentially refers to growing plants without a soil environment. Coconut coir works well for transitioning into soil-free hydroponic gardening, as it’s sterile and inert.
Step 1: Add coir to a grow pot with a drainage hole.
Step 2: Because the coir will not offer enough drainage, mix in materials such as perlite, vermiculite, and peat moss to prevent root rot.
Step 3: Place your plant into the growing medium.
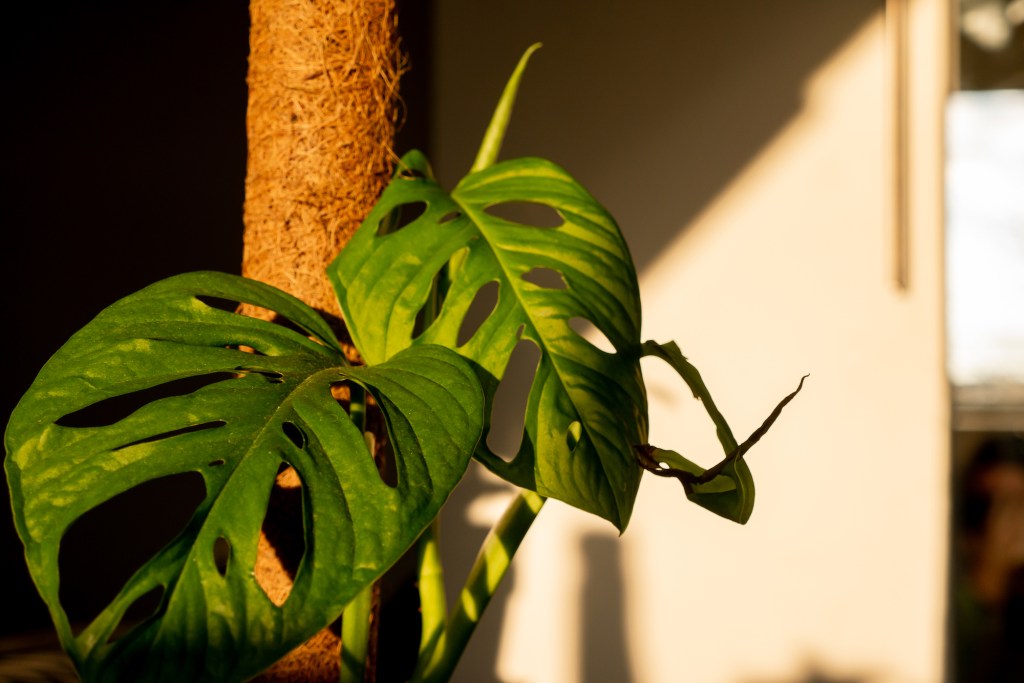
Using coconut coir in gardening: Moss poles
If you'd like your plant to climb instead of trailing in an unruly manner, you can create a coco pole (as opposed to a traditional moss pole) to support it. A coir pole is just as effective as a moss pole, and it can be an inexpensive and longer lasting alternative if you can't find yourself a moss pole. Here's how to create one:
Step 1: Grab a roll of coco fiber lining sheets.
Step 2: Roll the coco fiber around a PVC pipe (or a thick hardwood dowel), leaving 1 or 2 inches of space at the bottom to stick into your soil.
Step 3: Use twine to secure the sheet to the pipe. You can tie a new piece of string every 1 or 2 inches or wrap a long piece around your pole all in one go.
Step 4: Place the coir pole into the potting mix of your plant, wrapping the leaves around the structure.

Can you make your own coconut coir?
There are many gardening products that can be made at home, so you might be wondering if coco coir is one of them. Technically, yes, you can make your own coconut coir. However, it requires time and effort, and potentially quite a few coconuts, depending on how much coconut coir you want. It is generally easier and more cost effective to purchase coconut coir rather than make it at home.
If you're curious or determined, here's how to make your own coconut coir:
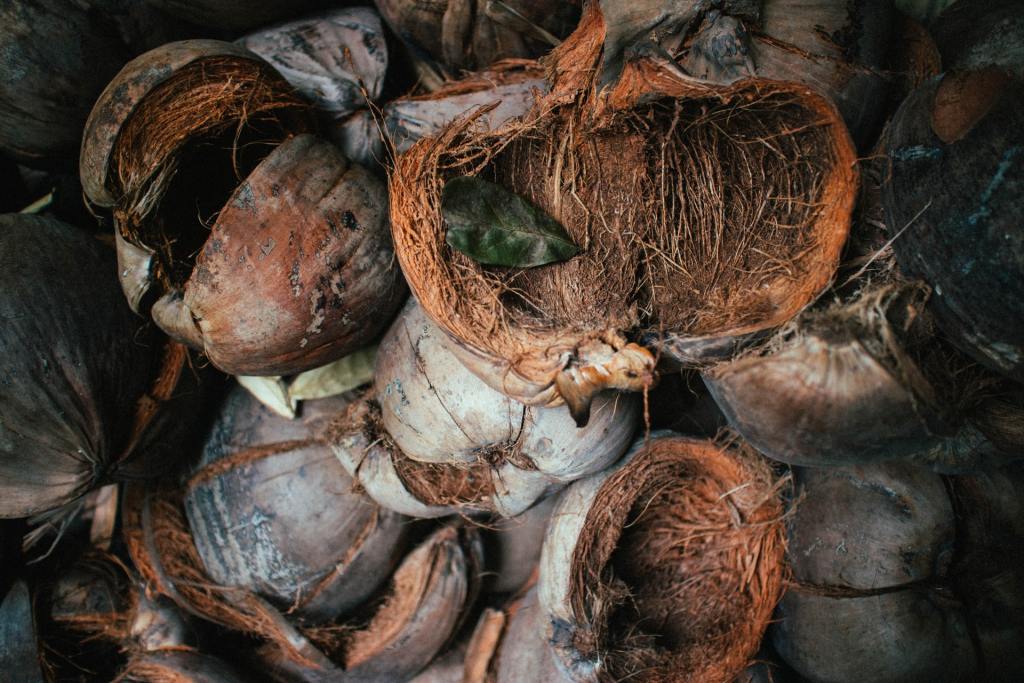
Step 1: Harvest, collect, or purchase your coconut husks. If you're harvesting coconuts from your own tree, you will need to separate the husk from the rest of the fruit. If you're purchasing the coconuts, make sure you are getting the husks. Grocery store coconuts have typically already had their husks removed, so they aren't an option unless you have a specialty store in your area.
Step 2: Shred the husks to separate the fibers. Cutting the husks and fibers into smaller pieces will make it easier to work with. If the husk is too tough to shred, soak it in water to soften it up. As you pull the fibers apart, you'll likely see some smaller, dust-like bits falling to the ground. This is the coco peat! Save it to add to the rest later.
Step 3: Grind the husk fibers to remove the rest of the coco peat dust. The fibers can be kept and used as coco coir, although it is best to soak them after grinding and before use to help soften them further and ensure any chemicals or salts are washed away.
Step 4: Soak the coco peat in water, drain it, and let it dry. If you want to form a brick or disk for easier storage, let it dry in the shape you want. Now you have coco peat and coco coir ready to use in your garden!
Besides being biodegradable and sustainable, coconut coir is an incredibly versatile material for garden use. Once you know how to supplement it in your outdoor projects, it’ll become a handy staple in your garden toolkit.