Fall is the perfect time to begin composting. It’s the end of the growing season and there’s plenty of yard debris to clean up, which means plenty of startup ingredients. Plus, the cool, dry weather is perfect for working outdoors. More importantly, year-round plants like trees, shrubs, and perennials benefit from a fresh application of compost heading into the dormant season.
When you ask the question, "Should I compost in the fall?" — here's your answer: Yes, because you can save money, salvage valuable plant nutrients, and divert yard debris from landfills by making your own compost. If you're intimidated, don't be! It's a simple process that only requires minimal intervention on your part; You just add the ingredients and let nature do most of the work for you. Here's how.
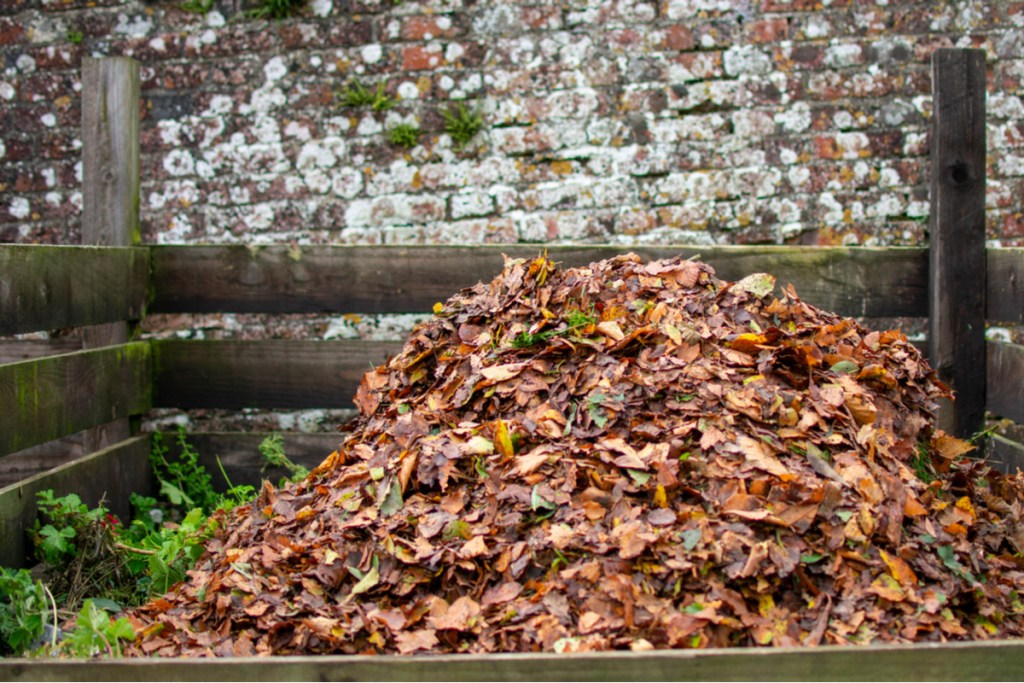
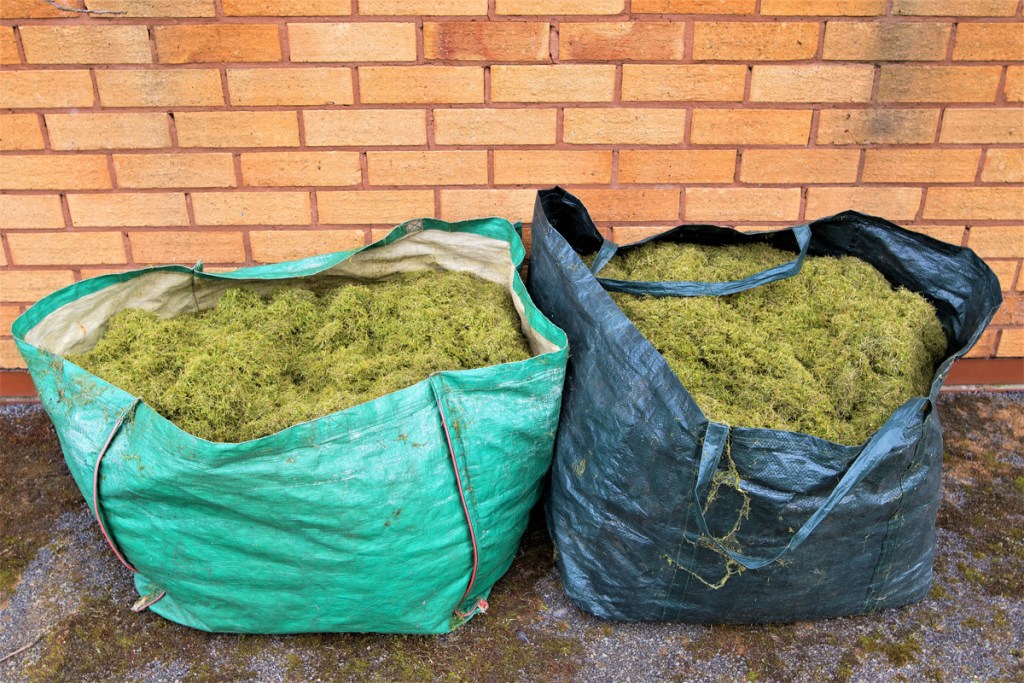
If you’ve ever spent time raking or blowing autumn leaves before bagging them for the trash company to haul away, you’ll be glad to know there's a better (and easier!) way. Fallen leaves, along with most other landscape debris, can be composted. This includes, but is not limited to:
- Grass clippings
- Annual flowers that have finished blooming
- Vegetable plants after the harvest
- Weeds
- Pruned or fallen sticks, twigs, and branches
- Natural autumn decorations like pumpkins, straw bales, and corn stalks
You can compost virtually any organic waste under ideal conditions, including traditional “taboo” items like citrus fruit, onion peels, and diseased leaves. Just be sure to monitor the green-to-brown ingredient ratio, moisture content, and aeration.
Start with an easy mix
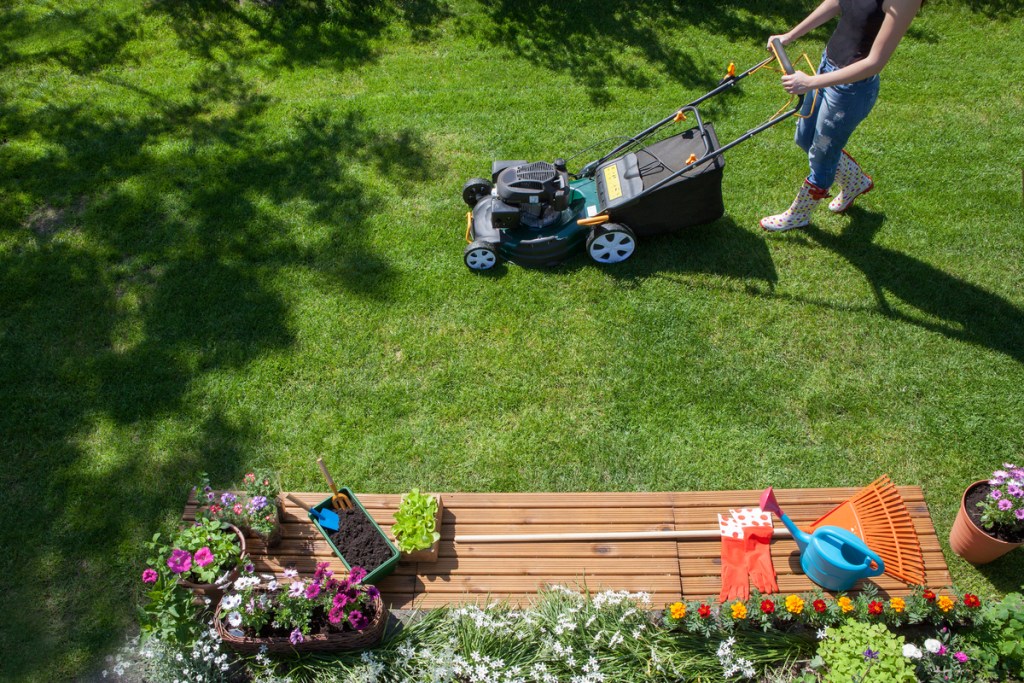
If you can mow the lawn, you can make compost.
Step 1: When the leaves begin to fall, use a lawnmower with a bagger attachment to collect them. This way, the leaves will be shredded and mixed with grass clippings, which will help both break down more efficiently.
Step 2: Pile the mixture in an out-of-the-way location where it can decompose on its own.
Step 3: Alternatively, water the pile, cover it with a tarp, and turn it once a week for faster processing.
Fill a bin or build a pile
If you have large quantities of material to compost, batch processing works best. Choose from either an enclosed bin or an open pile. Bins keep the moisture consistent throughout the batch, protect the outside surfaces from microbe-killing sunlight, and keep animals out of the compost.
Tumbling bins make it much easier to keep the batch aerated. Open piles are fast, easy, and free to build, but take longer to process. Covering an open pile with a tarp can address many of the concerns that bins solve.
Pay attention to ingredient size
Composting occurs thanks to billions of microbes that colonize the surfaces of the compost ingredients. Smaller ingredients have a greater surface area, which means more space for more microbes. So rather than simply piling up pumpkins, tree limbs, and corn stalks, you should chop up bulky items so that the particle size is no larger than 2 inches in any dimension.
Step 1: Chop up bulky items like pumpkins, tree limbs, and corn stalks into 2-inch pieces.
Step 2: Use a lawnmower with a bagger to capture high-nitrogen grass clippings. It’s also great for shredding fallen leaves, annual flowers, vegetable plants, and small twigs. You’ll need to sharpen the blade afterward.
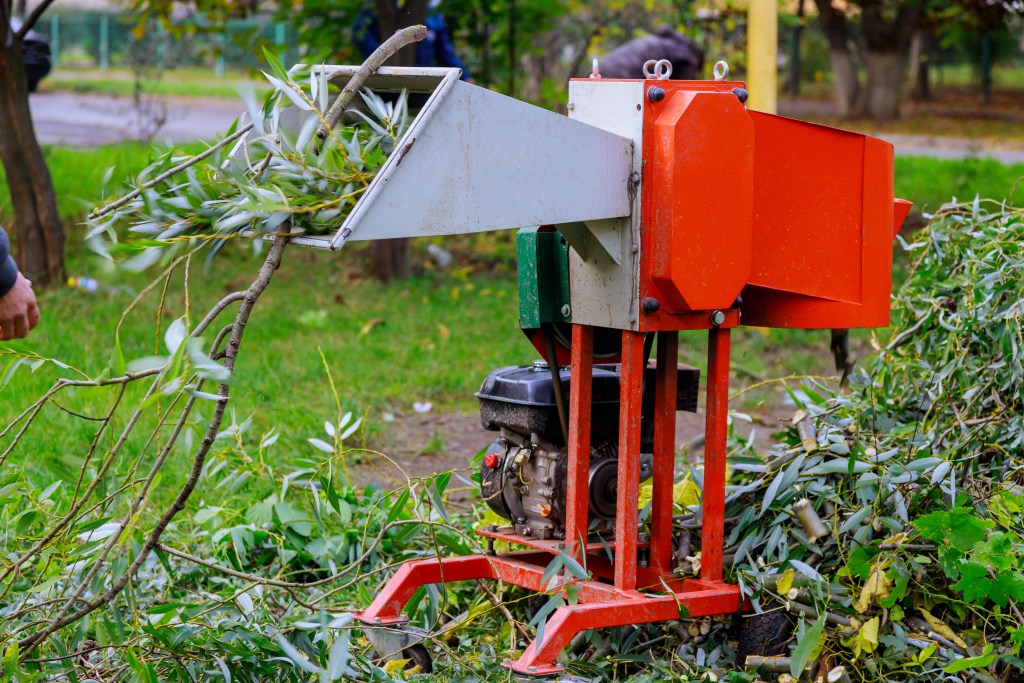
Step 3: Use a woodchipper or shredder to grind tree branches up to 3 inches thick, as well as corn stalks, coarse weeds, and woody vines.
Build a favorable mix of compost ingredients
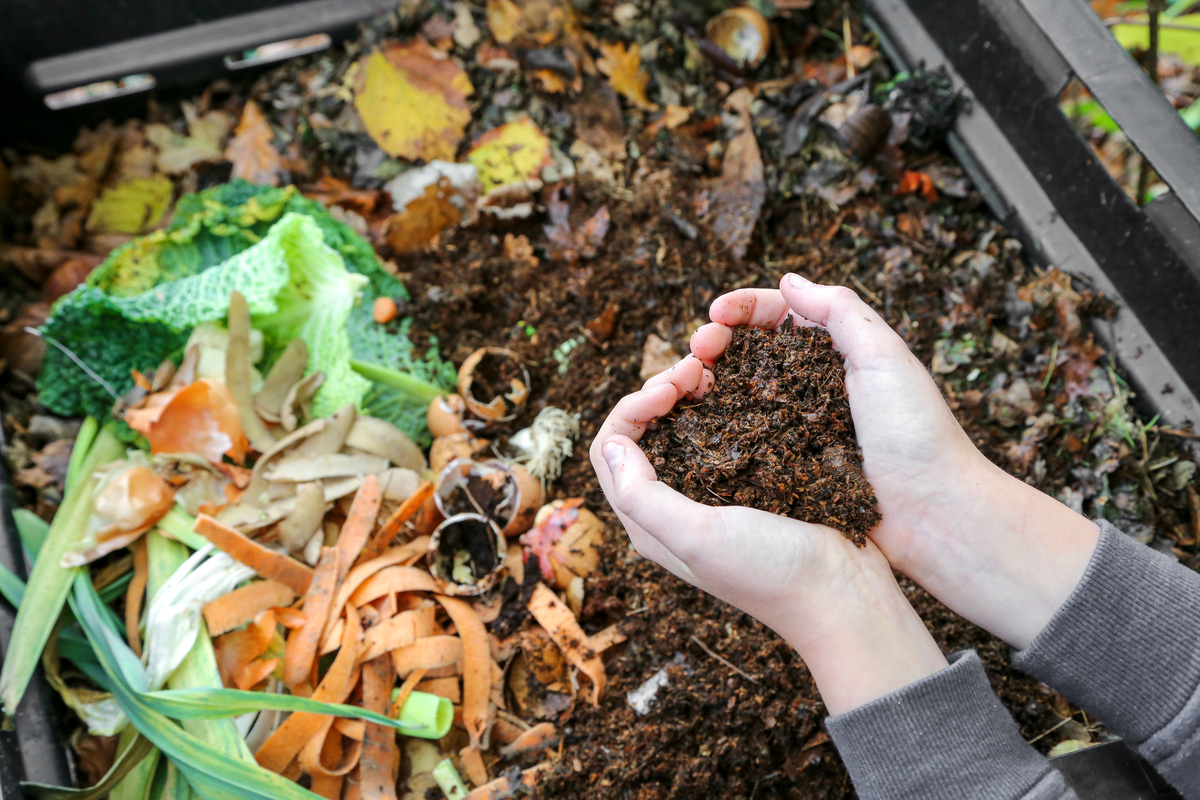
In composting, all of the ingredients are categorized into carbon-rich “browns” and the nitrogen-rich “greens.” Browns include things like dried leaves, straw, corn stalks, dried grasses, and shredded paper or cardboard. Greens would be fresh grass clippings, green leaves, green weeds and garden plants, kitchen veggie scraps, and coffee grounds.
The microbes that do the work of composting use carbon as fuel and nitrogen for growth and reproduction. For the best results (fast decomposition, high quality compost) they need a consistent supply of about 70% carbon and 30% nitrogen. Items in the brown category and the green category include both carbon and nitrogen but at different levels.
Step 1: To achieve something close to the ideal carbon-to-nitrogen ratio, start the pile with about three parts brown material to one part green.
Step 2: Adjust the ratio as needed by adding more brown or green ingredients.
Maintaining and using fall compost
To get usable compost quickly, a bit of maintenance is necessary.
Step 1: Shred and pile the ingredients in the 3:1 brown-to-green ratio, wetting it as you go. The moisture consistency should be similar to a sponge that has been soaked and gently wrung out.
Step 2: Cover the pile or close the bin and leave it alone for about 14 days.
Step 3: After the first two weeks, turn and mix the pile. With a tumbler, simply rotate the chamber a few times. Otherwise, use a manure fork to manually turn and mix the pile, like tossing a salad. The interior should have warmed to some extent by this point, and it may even radiate a significant amount of heat.
Step 4: If the compost seems dry, add water. If it smells bad, add more brown material. If it’s not getting hot, add more green material.
Step 5: After turning the pile, cover it up again.
Step 6: Repeat the above steps weekly.
Step 7: The compost is ready to use after 6 to 10 weeks. You can apply it immediately by spreading a 1-inch layer across the root zones of landscape plants, or you can store it for later use.
Making compost with landscape waste in the fall is an excellent way to close the nutrient loop and reduce pollution. Your yard and garden will thank you for it.