The idea of having an apple tree nearby — offering fresh, juicy produce at harvest time — is quite appealing. While basic apple tree care isn’t difficult, pruning your tree may seem a bit overwhelming. If your apple trees look more like a thicket these days, and you aren’t sure how to get a handle on things, you’re in the right place. We’ll walk you through pruning your apple tree, step by step, in this simple guide.
Choosing the right tool
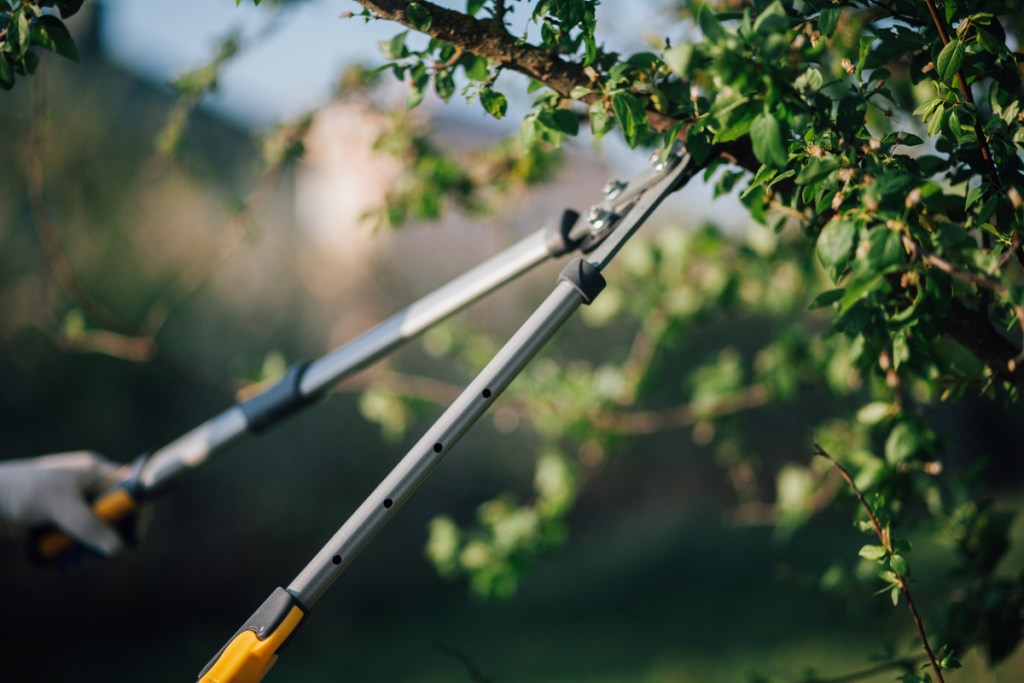
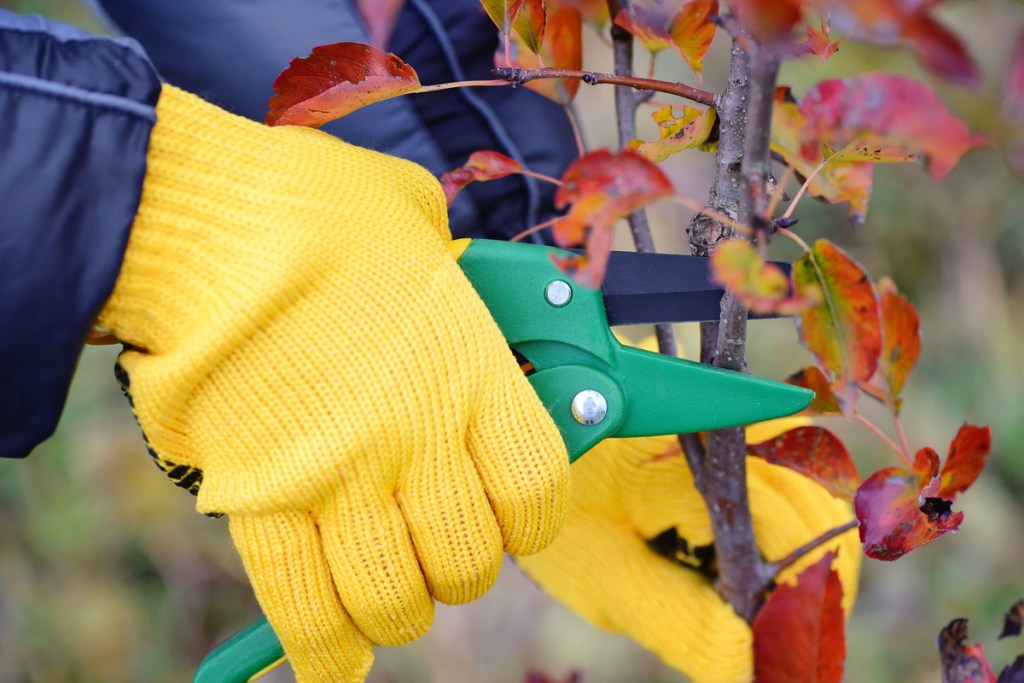
It’s important to have the right tool for the job, but what is the right tool? You can use garden shears or a saw, either hand or electric. The key is to make sure your tool is sharp. Dull blades not only take longer to cut through branches but are also more likely to slip.
When choosing between garden shears, hand saws, and electric saws, there are a couple things to take into account. First, consider how thick your branches are. Branches that are smaller may be easily cut with garden shears, but larger branches are more difficult.
Also consider your comfort level with power tools. If you’re anxious about using an electric saw, then the cons may outweigh the pros. Remember, you can always practice using a tool before pruning your tree, and you can switch tools part way through. For example, you may have an easier time if you thin out the branches with shears or a hand saw before switching to an electric saw.

Which should stay, which should go
Whenever you’re pruning any tree or shrub, there are a few things to look for when deciding which branches make the cut. Carefully inspect your tree for any branches that are:
- Diseased or damaged
- Smaller, weaker, or abnormally thin
- Growing at an unusual angle, curving backward, or growing vertically
- Pressing or rubbing against each other causing abrasions
Start in the center of the tree, by the trunk, and slowly work your way out in all directions, including up. Be careful when cutting higher branches! Avoid cutting branches that are directly overhead and don’t be afraid to ask for help from a professional to prune branches that are out of reach. If you do have the equipment to get higher in your tree, it’s a good idea to have someone nearby on the ground to assist, if necessary.
Branches that are diseased, severely damaged, or abnormally thin from trunk to tip should be cut close to the trunk. However, most branches can be cut only partially. Try to find a point on the branch close to a bud, and cut the branch at a slight angle just above the bud. Cuts that are straight across or at a steep angle are more difficult for the tree to heal.
Cleaning up afterward
Once you’re satisfied with your tree, you’ll be left with a pile of branches. Luckily, there are plenty of options for disposing of them. There are services you can hire to haul the limbs away, but many towns also have a designated day or days when limbs can be set out and picked up. This may be the best option, especially for diseased limbs.
For healthy limbs, however, there are other uses. Apple wood is often used in smoking and grilling, so you can clean and dry your branches, chop them into wood chips, and use them for your next cookout or barbecue. If you’re in a crafting mood, why not try carving some of your excess limbs? You could make something as simple as stakes for your garden or something more complex like a tiny furniture set. The wood chips can be used in potpourri or added to compost along with the bark and leaves. Just remember they’ll break down more slowly than the rest of your compost.

Why is pruning necessary?
Pruning has a few key benefits for trees. Cutting away the unhealthy branches improves the tree’s health, both by keeping diseases from spreading throughout the tree and by decreasing the energy and nutrients being spent on limbs already too damaged or diseased to recover. This means more resources are available for the remaining limbs.
Pruning is also the best way to reduce overcrowding among the branches. When branches grow too close together, they can damage each other, but it also reduces the space available for each branch. This means smaller branches overall, which results in a weaker tree and a smaller harvest. Pruning, in this way actually improves the overall quality and quantity of your harvest.
Now you know the basics of pruning your apple tree. It may take a bit of practice, but knowing what you know now, you’ll find it isn’t as intimidating as it first appears. Just remember to go slowly, use a sharp tool, and target small, weak, or damaged limbs. Afterward, you’ll have plenty of fresh apple wood for smoking, carving, or simply setting aside to be hauled off later. Your apple tree will be healthier and stronger, and it’ll thank you with a bountiful harvest!


