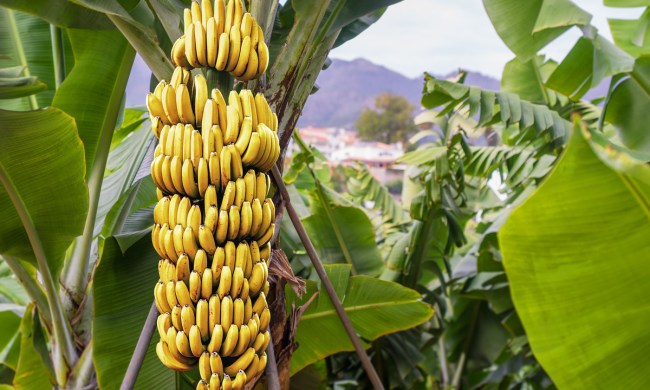
Dried fruit is simple to make, easy to carry, and tastes great. It’s a perfect snack for a busy lifestyle. Dried fruits are full of vitamins, minerals, fiber, and protein, and they can help increase energy. They're also versatile kitchen staples that can be added to baked goods, yogurts, cereals, trail mixes, or even just eaten on their own. From raisins and craisins to dried apples and banana chips, most of us have a favorite dried fruit.
Drying your own fruit is an ideal way to take advantage of the seasonal pricing of fresh fruit at the grocery store or the farmers market. You can buy fresh fruits and veggies while they're in season, then preserve them to eat later! How long does dried fruit last, though? We have the answers.

Why choose dried fruit?
Drying prevents spoilage for a long time if the fruit is stored properly. Bacteria, yeast, and mold require moisture to live, so they can’t colonize dehydrated fruit. But dried fruit has other advantages, too.
Since water is the only thing removed during the drying process, dehydrated fruit retains essential nutrients for a healthy diet. Plus, it’s lightweight, and there’s no juicy mess to worry about while snacking. You can also reconstitute it for a variety of recipes by adding water, juice, spirits, or other flavorful liquids.
Storage requirements
Improperly stored dried foods are susceptible to spoilage from insect damage or by reabsorbing moisture from the air. Proper storage will virtually eliminate these problems.
Step 1: Store dried fruits as soon as they have cooled to room temperature.
The longer they are left out, the more risk there is for them to reabsorb moisture or be found by insects.
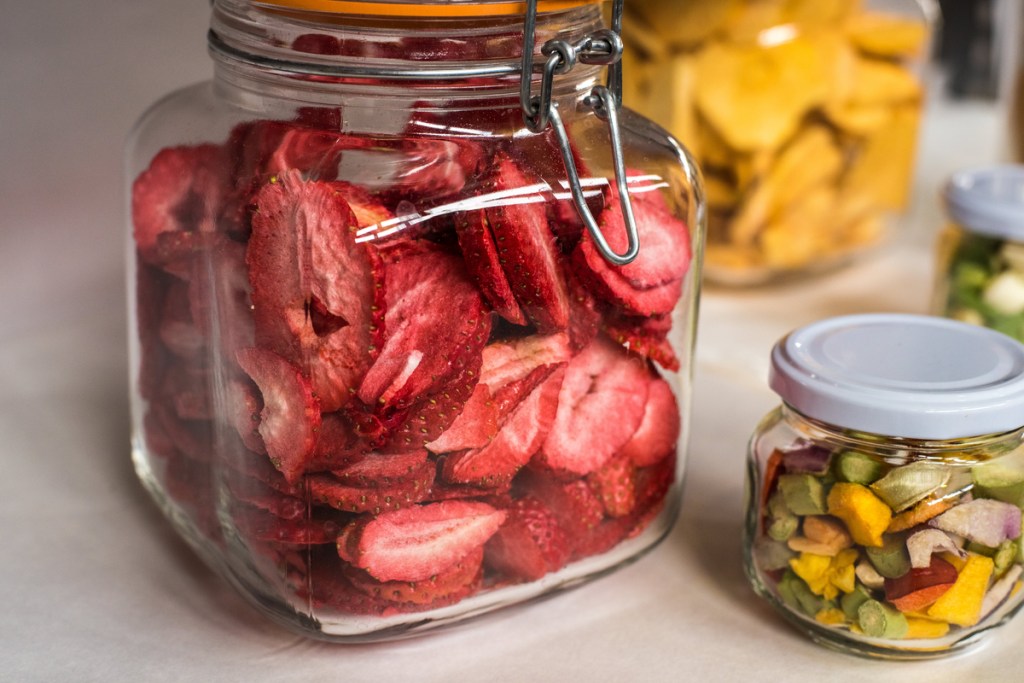
Step 2: Use airtight or vacuum-sealed containers for storage.
Step 3: Pack the fruit tightly as possible without damaging them.
Step 4: Store them in quantities that are likely to be used all at once.
Step 5: Store the containers in a dark, dry, cool place.
How long does dried fruit last?
According to the National Center for Home Food Preservation, dried fruit lasts from 4 to 12 months when properly stored, but the quality of stored food does degrade more quickly in warm temperatures. Dried fruit can also degrade each time a container is opened, exposing the food to air and moisture. Most dried fruit can last up to a year when stored at 60 degrees Fahrenheit. At 80 degrees Fahrenheit, it will last up to six months.
Check on stored dry foods every two or three weeks to ensure that it’s still dry. If moisture gets inside of clear packaging like a canning jar, it’s easily visible on the sides of the container. If anything has absorbed moisture, use it up right away. If it’s moldy, discard it.
What about dried fruits from the store?
Packaged dried fruit, like raisins and prunes, have a printed expiration date. This is the date before which the product may be sold. If unopened, it will stay viable for an additional time period afterward. Again, storage temperature matters — the cooler the better.
Raisins, craisins, prunes, dried cherries, dried apricots, dried mangoes, and dried blueberries will last up to a year in the pantry, unopened. Dried dates, dried figs, and banana chips will last at least three months in the pantry beyond the sell-by date. Refrigerating these items extends their shelf life by as much as two years. If they’re frozen, they’ll last indefinitely.
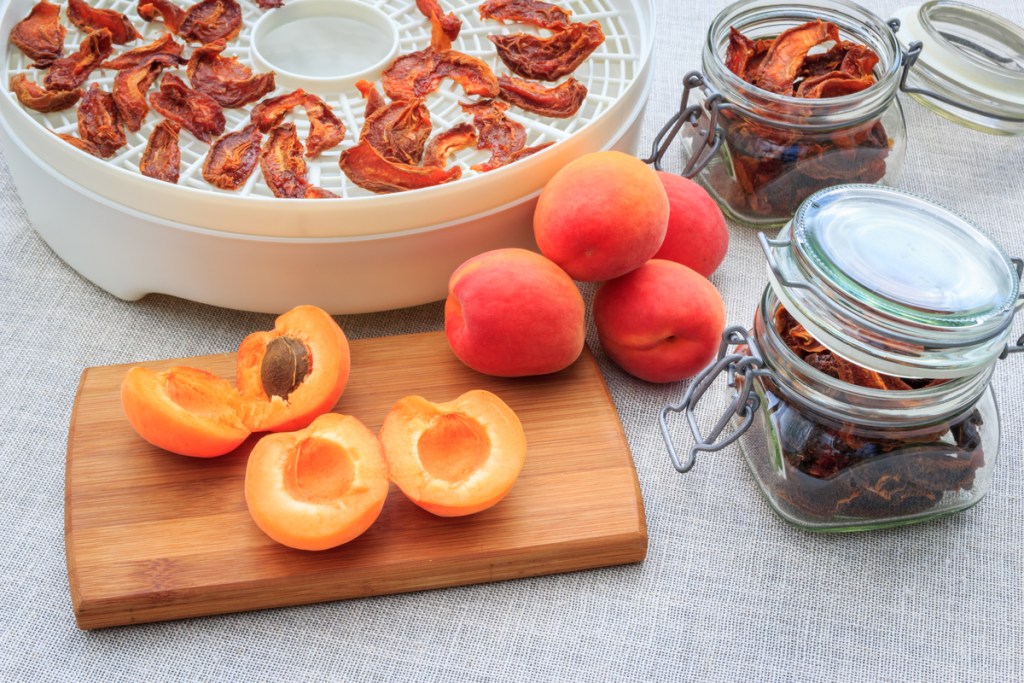
The dehydrating process explained
Drying fruit for storage at home is made simple with an electric dehydrator.
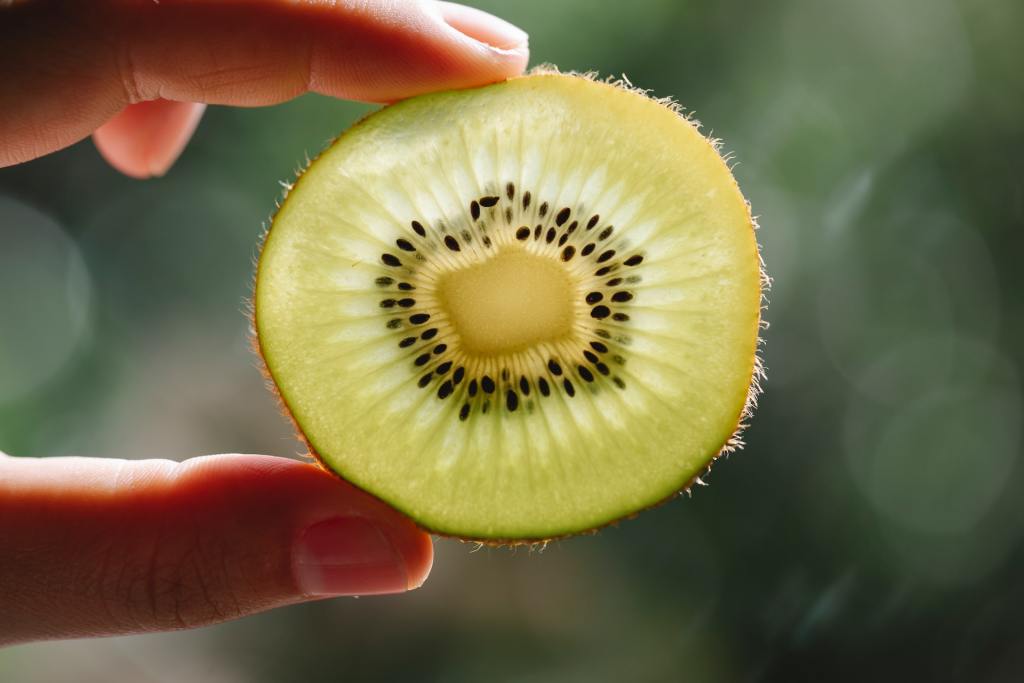
Step 1: Wash and dry the fruit.
Step 2: Peel off any inedible skins.
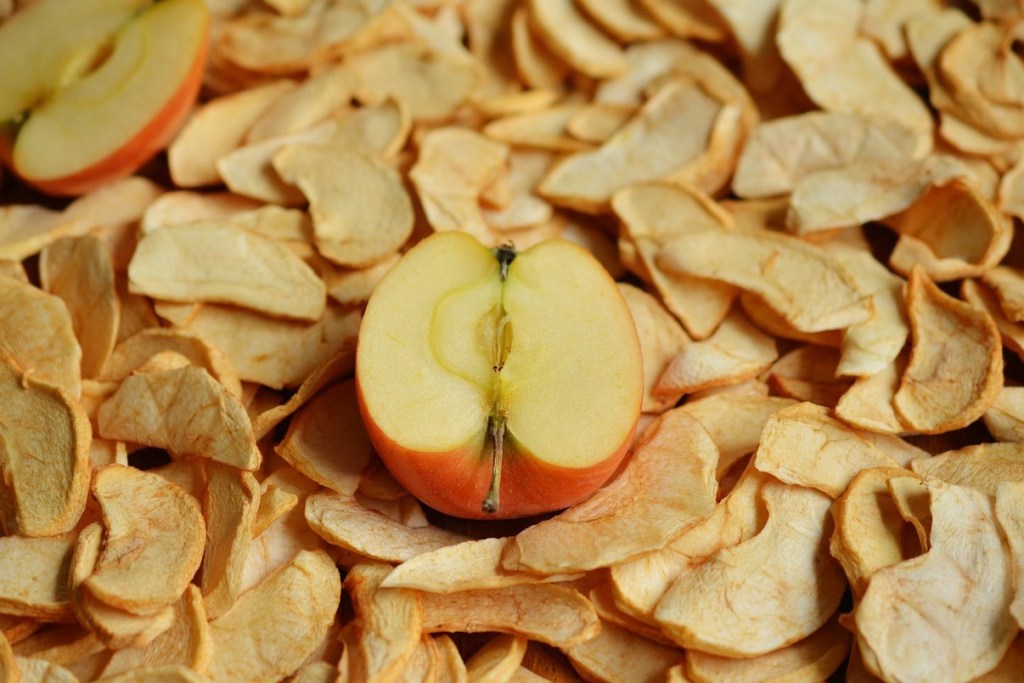
Step 3: Slice the fruit into pieces.
Cut larger fruits, such as apples, into quarter-inch or half-inch slices. Smaller fruits like berries may be halved or left whole. Make the pieces as close to the same size as possible so they’ll dry at the same rate.
Step 4: Mist the fruit with lemon juice to keep them from browning.
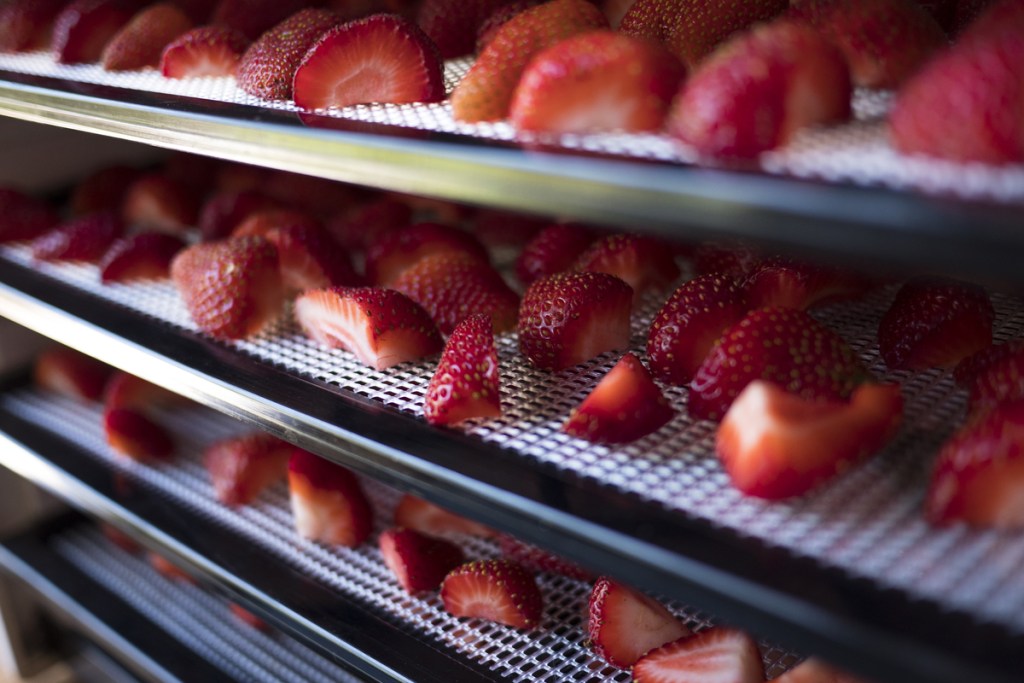
Step 5: Spread the fruit into single layers on the racks of the dehydrator.
Step 6: Follow the manufacturer’s instructions for time and temperature settings.
Conditioning dried fruit for storage
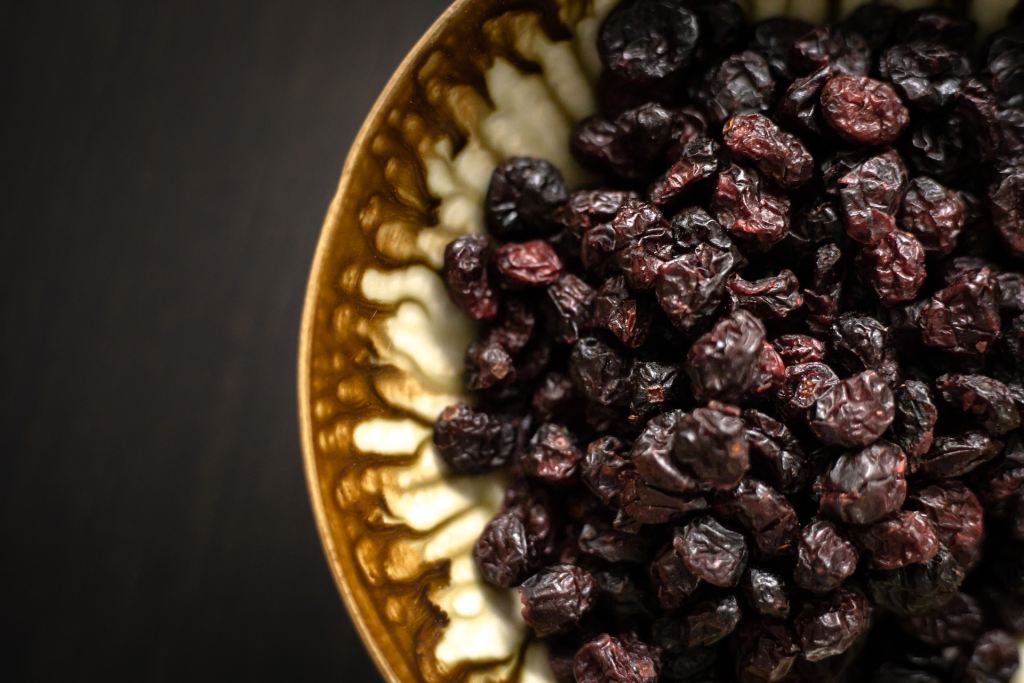
Fruit is suitably dry when it has about 20% moisture content. Depending on the specific fruit, it will likely have a leathery texture, like raisins or prunes. When the dried fruit first comes out of the dehydrator, the moisture will be dispersed unevenly, so the pieces should be conditioned for a week or two. Here's how to do that.
Step 1: Loosely pack the dried fruit into sealed containers.
Step 2: Gently shake the container every few days. During this time, drier pieces will absorb excess moisture from the others.
Step 3: Dry the fruit a bit longer in the dehydrator before packing it for long-term storage if, after two weeks, there’s condensation on the sides of the container.
How do you sun dry fruit?
It's also possible to sun dry fruit, although you'll need to be patient with this method. Because they're high in sugars and acids, fruits make great candidates for sun drying. Still, you want to be mindful of your weather conditions — hot, dry days are best for sun drying.
Sun drying may not be the safest option for you if you live somewhere humid or cold. You want the temperature to be above 85 degrees Fahrenheit and the humidity levels to be below 60% before you set out fruit trays to dry.
Step 1: Start by washing your fruit to eliminate any dirt. You can then peel, slice, and pit the fruit for drying.
Step 2: To keep your fruit from browning, dip it in an ascorbic acid solution (one teaspoon of powdered ascorbic acid to two cups of water) or use lemon or orange juice.
Step 3: Lay your fruit on a food-safe dehydrator tray, then cover it with a stainless steel screen or cheesecloth while leaving some room between the screen and the fruit. The fruit pieces should not be touching each other.
Step 4: Once per day, turn the fruit pieces so that they dry evenly.
Step 5: After two to four days, check to see if the fruit is dried. If your fruit does not stick together when folded in half, it should be sufficiently dry.
Step 6: Put the fruit into a freezer bag and then into your freezer for two or more days to pasteurize it. Alternatively, you can also pop the fruit into your oven for 30 minutes at 160 degrees Fahrenheit.
Step 7: Place your fruit in an air-tight container.

Watch out for spoilage
After a long while, or if the seal is broken and penetrated by moisture, dried fruit can go bad. Learn to recognize signs of spoiled fruit so that you don't accidentally consume any.
- Mold
- Foul smell
- Discoloration
- Loss of flavor
- Hard or stale texture
When in doubt, throw it out.
There's plenty to love about dried fruit, from its nutritional value to its convenience. While you can buy dried fruit at the store, making it yourself couldn't be easier. All you need is a dehydrator (or even the sun) and some time for a delicious supply of long-lasting fruit goods.