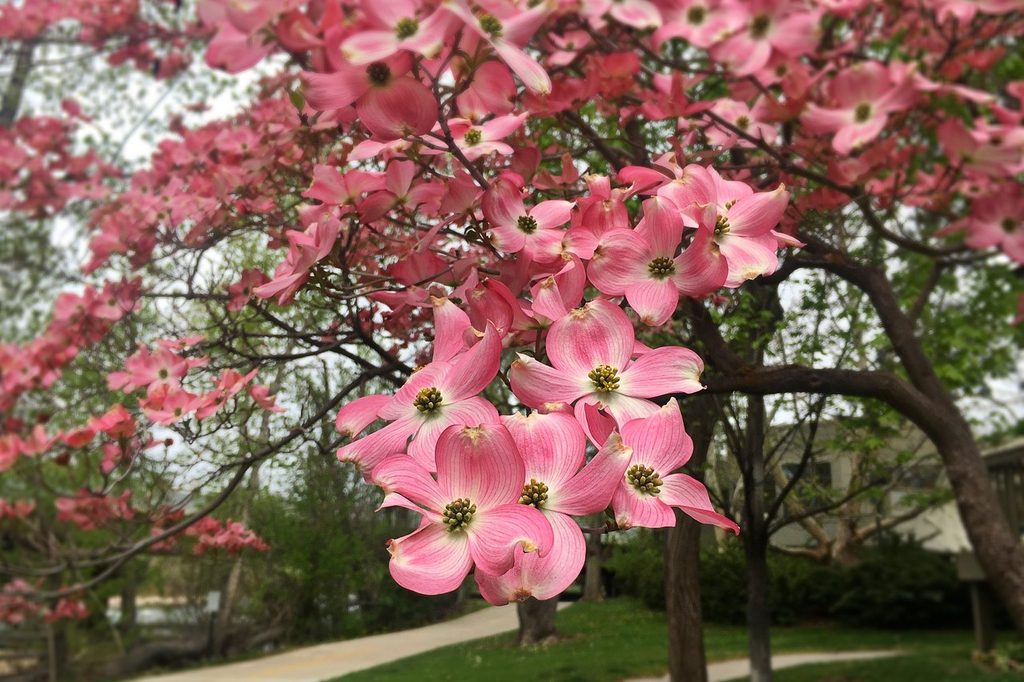
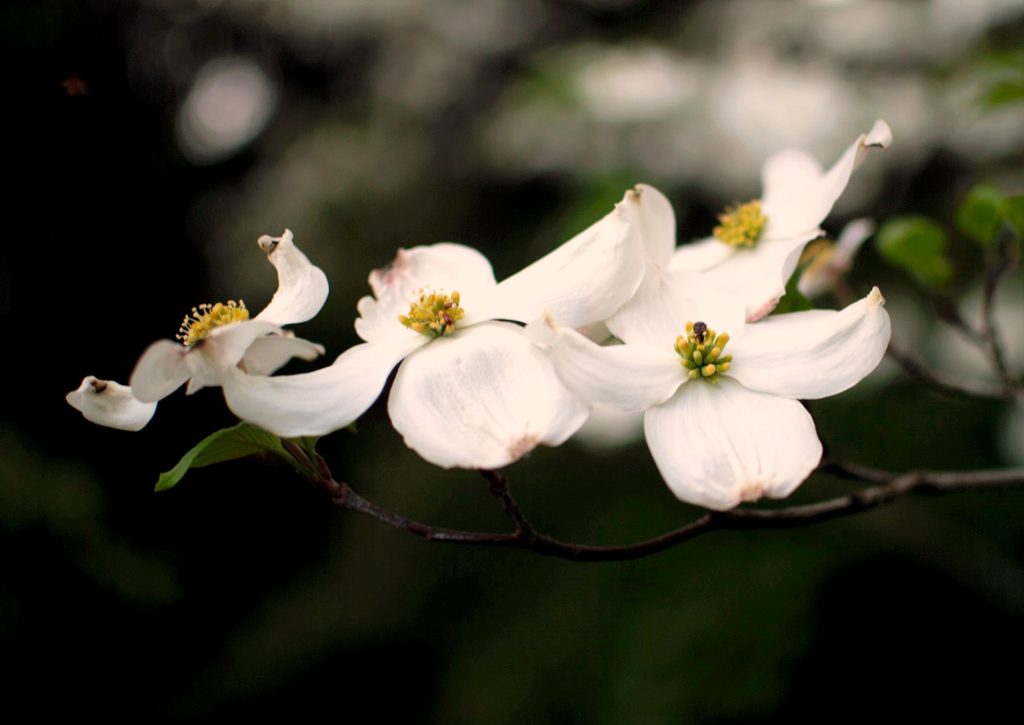
Dogwood trees are a great choice for almost any garden or yard. They’re medium-sized with lovely flowers in white or pink and grow bright red berries that birds love to eat. If you’ve decided to add a dogwood tree to your life, but aren’t sure how to care for it, then you’re in luck! In this helpful guide, we’ll tell you everything you need to know to make sure your new tree thrives, from how to plant your sapling to when the best time to prune dogwood trees is.
Planting

After choosing your dogwood tree, the first thing you’ll want to do is put it in the ground. Before that, however, you have to choose a planting site. Dogwoods, being shorter trees, are understory trees. This means that, in the wild, they’re shaded and protected by taller trees. Keep this in mind when choosing where to plant your dogwood, and select somewhere with morning sun and afternoon shade. In milder climates, you can plant them in full sun, but remember they’ll need to be watered more frequently.
The best times to plant your dogwood are in early spring or late fall. During these times, deciduous trees, like dogwoods, are dormant. This makes the transition less stressful for your tree and increases the likelihood that it will survive and establish a healthy root system. If you live in a colder climate or somewhere with a harsh winter, stick to planting your dogwood in spring rather than late fall.
Dogwoods aren’t the pickiest trees when it comes to soil type, but they prefer rich, well-draining soil. Dogwoods do best in soil that is slightly acidic. When digging the hole to plant your dogwood, the hole should be twice as wide as the root ball. This gives your tree plenty of support and makes it much easier for young roots to spread.
Watering
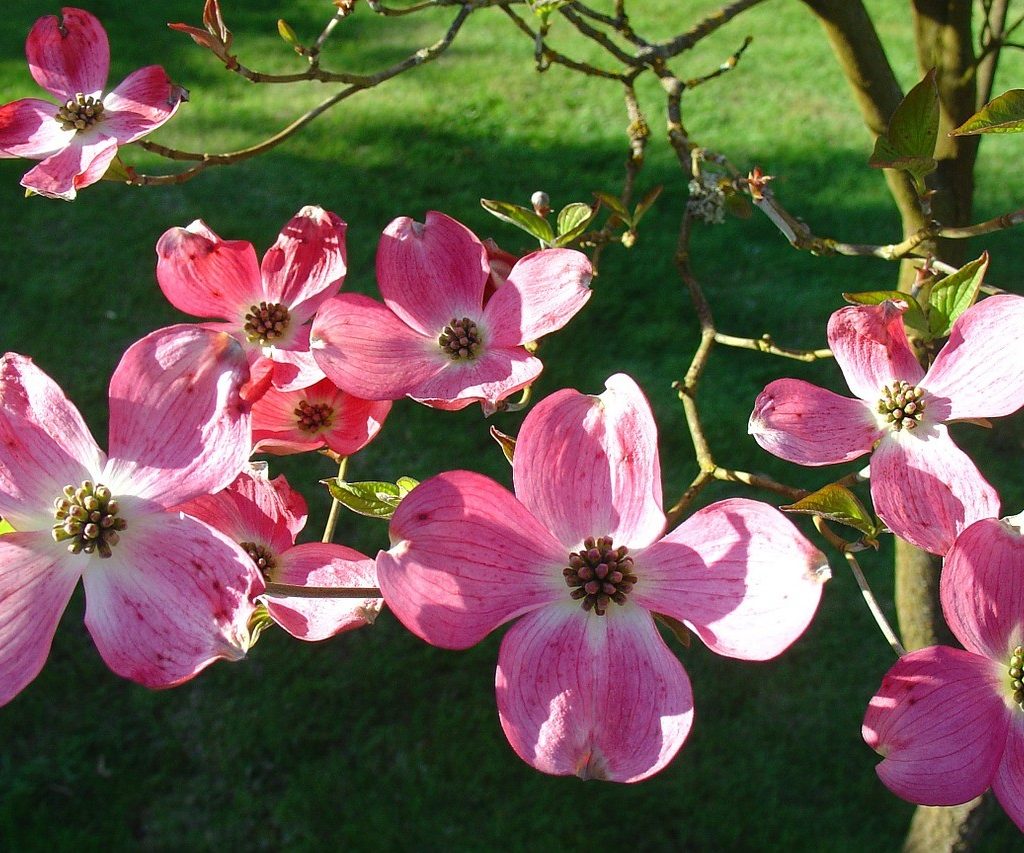
When you first plant your dogwood, water it well. Over the next few weeks, while your dogwood is establishing itself, keep the water moist but not muddy. A layer of mulch can help keep the soil moist, but start your mulch layer an inch or two out from the trunk of your tree. Wet mulch pressing against the trunk of a young tree can lead to abrasions, rot, or fungal infections.
Once your tree is established, you can switch to watering it once a week. In hotter climates, droughts, or if your tree is in full sun, your dogwood will need to be watered twice a week or every few days instead. In warmer climates, water your dogwood during early morning. If you water it in the afternoon, the water may evaporate before the tree can absorb it. In cold climates, water your tree during the late morning, especially in winter. This helps keep the water from freezing.
Feeding
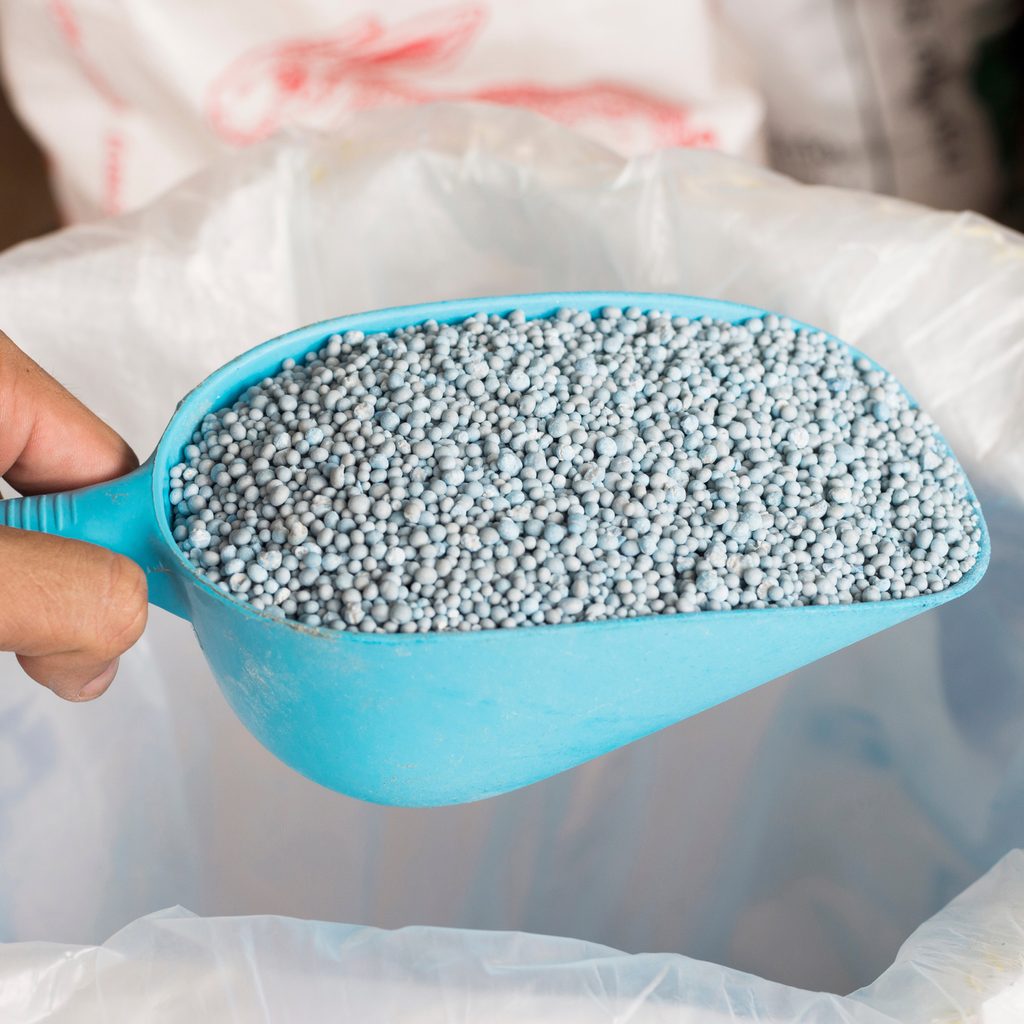
While dogwoods aren’t particularly heavy feeders, fertilizing will help them grow and flower. Ideally, you should fertilize twice during the growing season: once after the last frost and then again two months before the first frost. You don’t want to fertilize your dogwood too late into the growing season because cold temperatures can damage any growth that occurs.
When it comes to the specific fertilizer formula, most experts recommend picking up an azalea fertilizer or choosing a fertilizer with an NPK ratio of 2-1-1. If you’re just getting started on establishing your dogwood, it’s best to go light on the fertilizer or skip it altogether.
Pruning
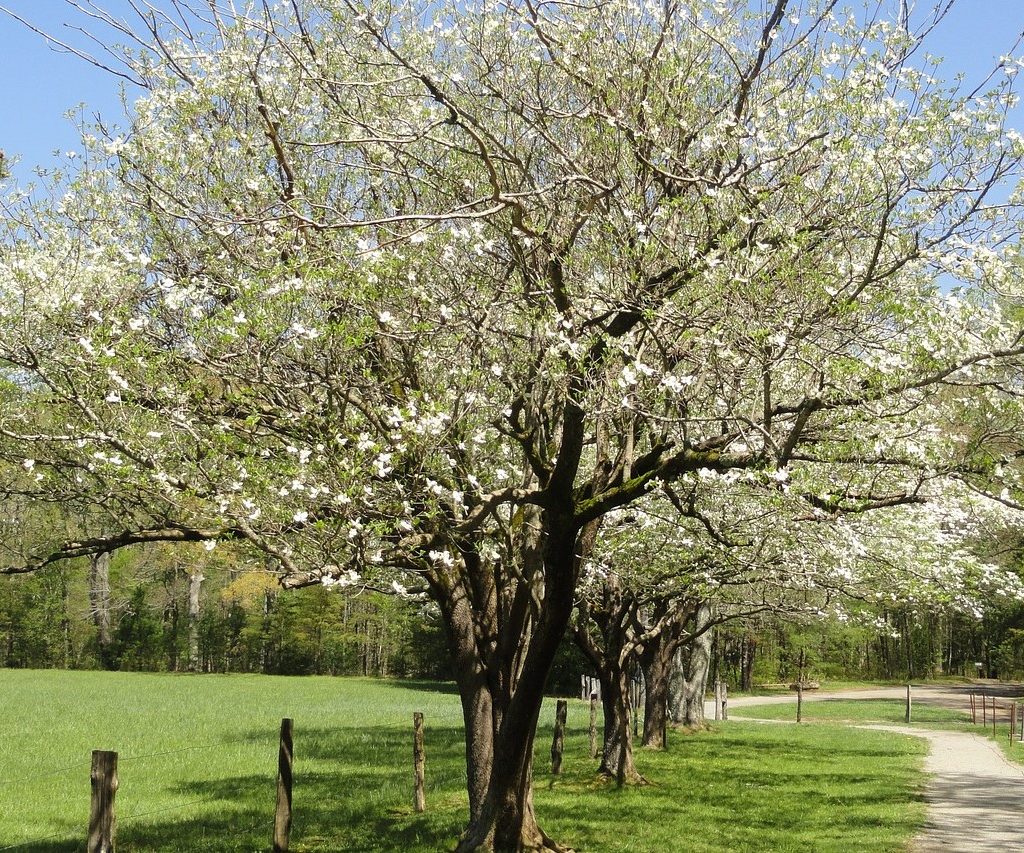
Dogwoods need very little pruning, in general, and typically don’t require any pruning in their first year after planting. However, there are a few reasons you may want or need to prune your dogwood. If your dogwood has any diseased or broken branches, those need to be pruned away to prevent the problem from spreading. Check your dogwood thoroughly before or just after planting it to be sure it wasn’t damaged on its way to your home.
The other reason you may want to prune your dogwood is to shape it. This serves more of an aesthetic purpose, as it keeps your dogwood growing the way you want it to grow. Pruning can also be helpful for size control.
Aside from emergency pruning for diseased or heavily damaged branches, the best time to prune your dogwood is in late fall or winter, when the tree is dormant. This way, the pruning is less stressful for the tree. It also leaves your tree less vulnerable to insects that may prey on any exposed wounds.
Prepping for season changes
No season lasts forever, so naturally, you need to know how to prepare your dogwood for seasonal changes. Luckily, the transition from summer to fall is simple. While the temperatures are still high, your dogwood needs extra water. As the fall weather begins to cool, return to watering your dogwood only once a week.
The transition from fall to winter is a little more involved. Pruning your tree, laying out a thick layer of mulch, and putting up a windbreak can all help keep your tree warm and healthy through winter. When the spring thaw comes, you can take down the windbreak and thin the mulch out.
Using this guide, you now have everything you need to make sure your new dogwood survives its first year and thrives for another five or six decades afterward. Dogwoods are relatively easy to care for, especially if you start them off right. Plant them somewhere with partial shade and rich soil, keep them moist, and prune away any damaged or diseased branches. Before you know it, you’ll have a sturdy tree covered in beautiful flowers.


