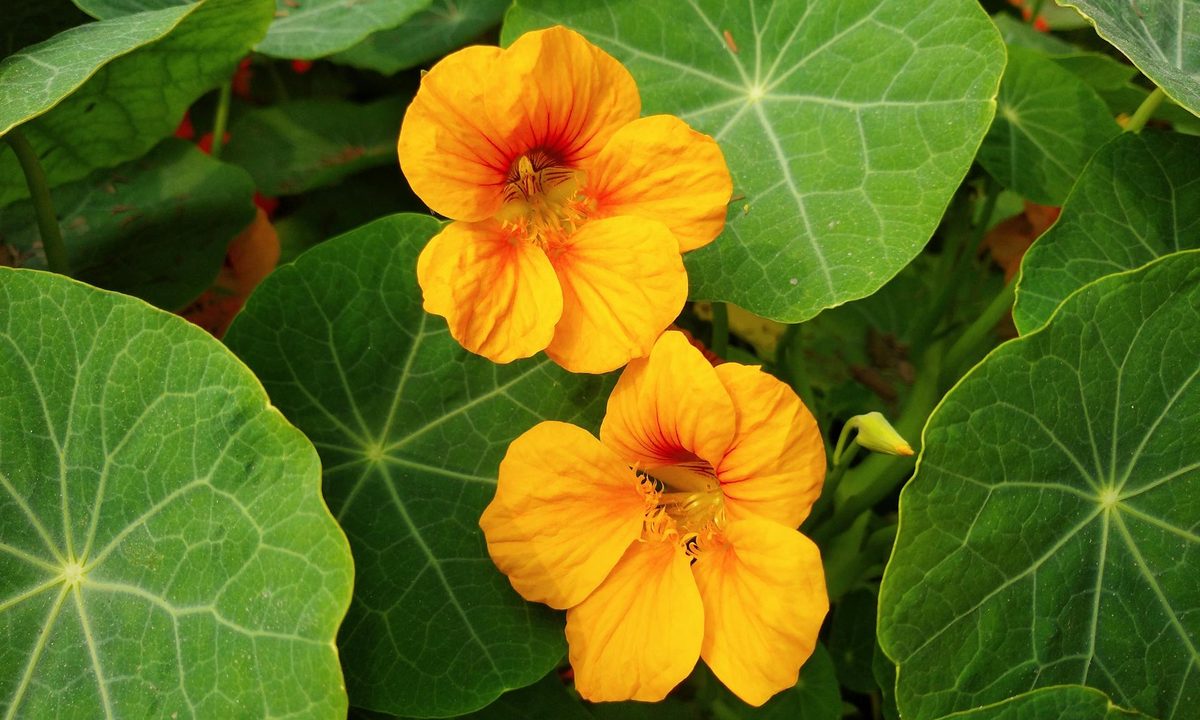
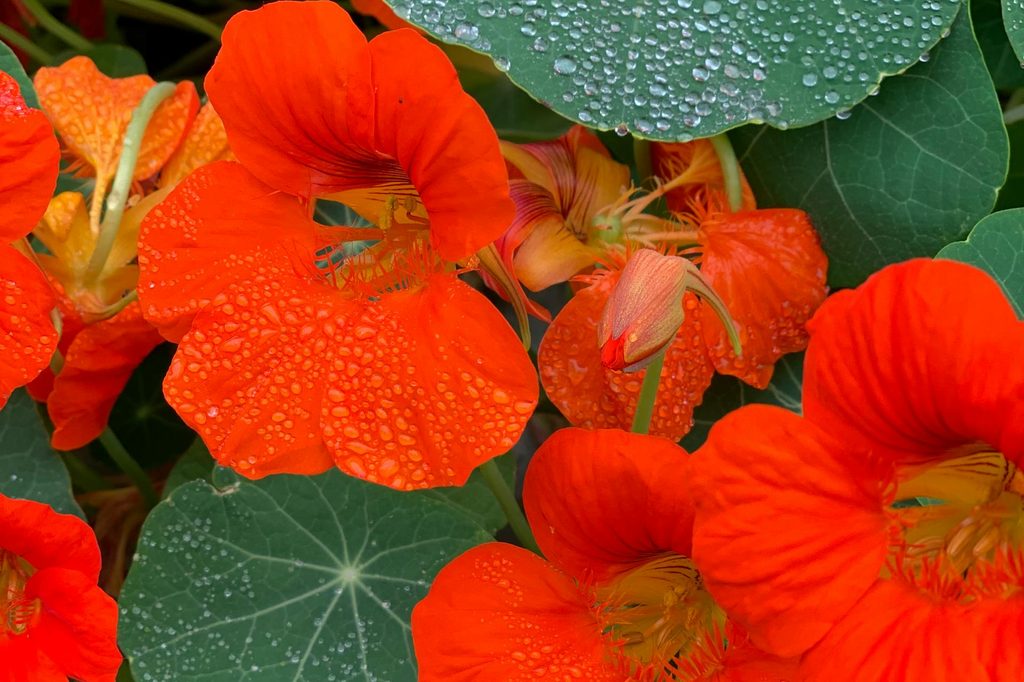
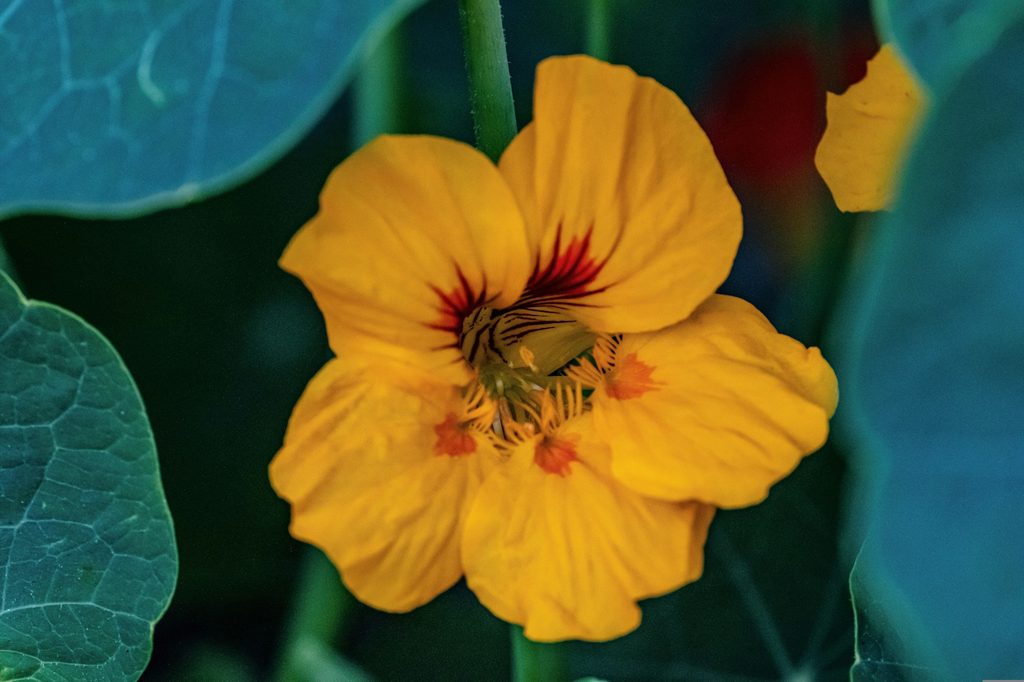
If you’re looking for a beautiful addition to your garden, then you may want to know how to grow nasturtium. Nasturtiums are beautiful flowers that work well in many gardens. They’re aesthetically pleasing, attractive to pollinators, and even edible! If the weather isn’t warm enough to plant your nasturtium, then you should consider starting them as seeds indoors. It speeds up the growing process quite a bit, and it’s easier than you might think. To help you get started, here’s our complete guide on how to grow nasturtium from seed.
Why and when you should start nasturtium indoors
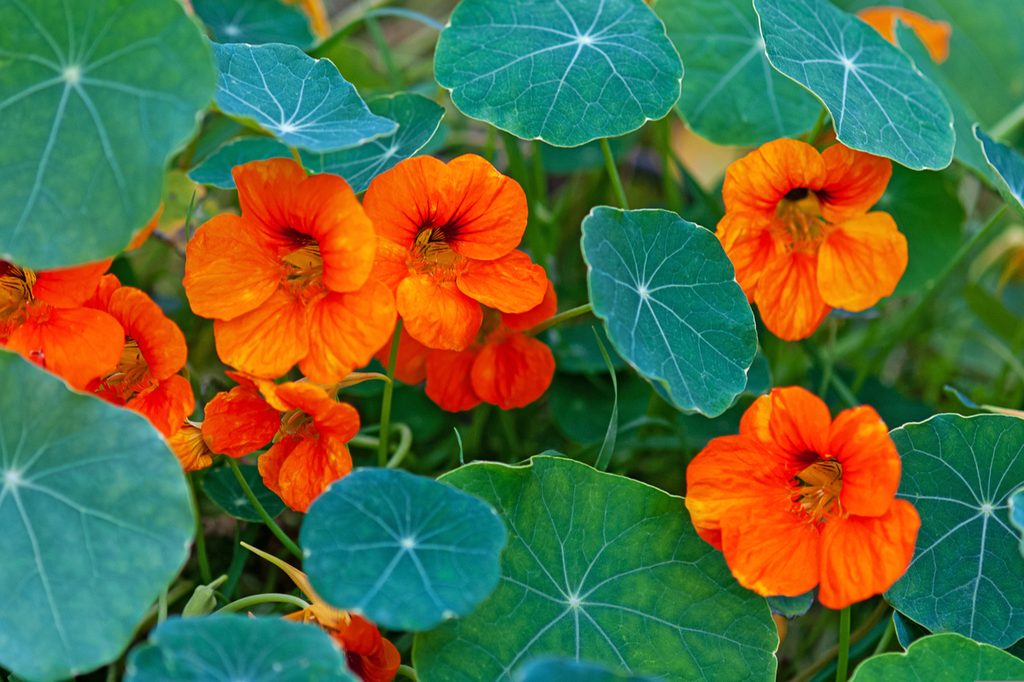
Nasturtiums take between four and six weeks to fully mature, and they can’t start outdoors until after the last frost of the season has passed. Starting your seeds indoors allows you to begin the growing process earlier in the year, since you’re able to protect them from the cold. This means that, although the maturation process still takes four to six weeks, you can have bright, lovely flowers earlier in the year.
However, those beautiful mature plants still need to be planted after the frosts pass, so you’ll need to time your start date based on that. Start your seeds four to six weeks before the last frost date, so your nasturtiums will be ready to transplant once the weather warms. Keep an eye on your local weather and the projected last frost date, and when in doubt, err on the side of caution.
How to start your nasturtium seeds
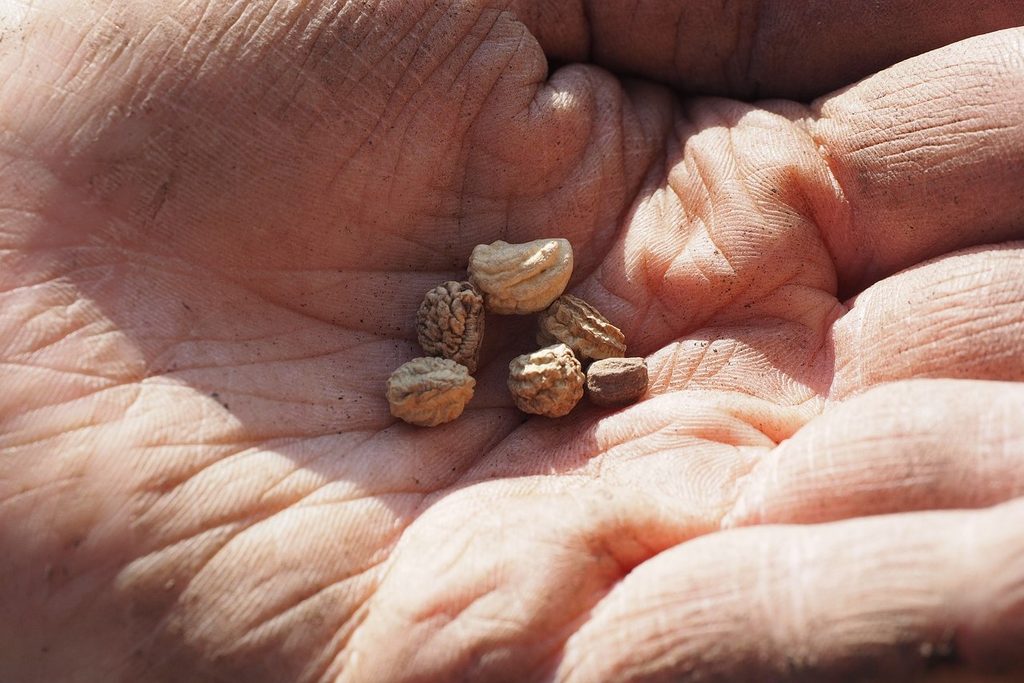
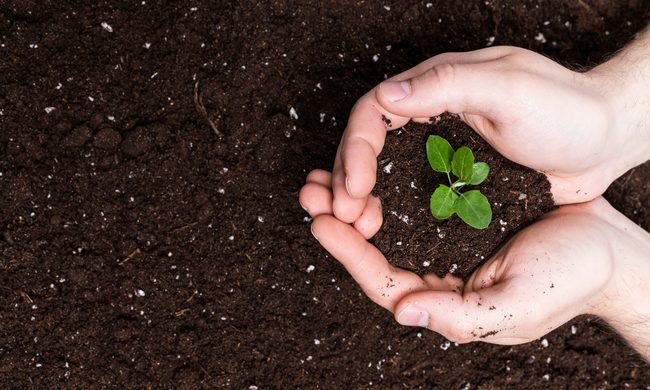
You can start your nasturtium in regular potting soil or use some soil from your garden. If you take soil from your garden, let it sit indoors in a warm place for a day or two before planting, to avoid shocking the seeds with frozen soil. Nasturtium seeds are larger than many other common garden flowers, so they need more space from the outset. Start them in a pot that is two or three inches across and plant the seeds half an inch to an inch down.
If you want to save yourself some time and trouble later on, you can plant your nasturtium in a biodegradable pot. Transplanting nasturtium can be stressful for some, but biodegradable flower pots make this a nonissue. Once your pots have been picked and your seeds are sown, the only things you need to worry about are light, warmth, and water. Light and warmth go hand in hand, and nasturtiums need plenty of both. Keep your pots in your sunniest window. If you live in an area with cloudy winters, you may need to invest in a grow light.
Nasturtium seeds and seedlings need consistent moisture, but you still need to be careful to avoid overwatering them. Be sure there’s a drainage hole in the bottom of the pot, and check that there isn’t a buildup of water in the lower levels of soil in the pot. This can become an issue when pots are larger than the plant’s root system, and it can lead to root rot or fungal infections over time.
When and how to transplant your nasturtium
Nasturtiums can be transplanted anytime after the last frost of the season, once the plant is mature. Although you can transplant seedlings, they’re more vulnerable to the elements, so any sudden late freezes or severe weather is likely to damage or kill them.
Choose a planting site that’s in full sun, with some afternoon shade if you live in a region with intense afternoon heat. Nasturtiums need fairly consistent moisture, especially at root level. Watering them once a week in mild climates, and twice a week in hot climates, tends to yield good results.
If you used a biodegradable pot, you can dig a hole in the planting location and set the pot in it. Be sure to cover the pot fully, but leave the plant exposed. In general, the hole should be at least as deep as either the pot or the roots, and twice as wide. Digging a wider hole provides extra support for the plant and loosens the surrounding soil, making it easier for the nasturtium’s roots to grow.
If you aren’t using a biodegradable pot, you’ll need to remove the nasturtium before planting it. It’s crucial that you’re gentle, as they can be easily damaged during this process if you pull too hard on the plant. First, loosen the soil, especially at the sides. If the pot is a flexible, plastic pot then you can gently squish the sides. If the pot isn’t, then take a small, flat object, such as a butter knife, and slip it into the soil at the edges of the pot.
Next, gently tip the pot onto its side. The nasturtium should slide out, but it may need some coaxing. Slowly and gently pull at the base of the nasturtium to guide it out. If there’s resistance, continue to loosen the soil and try again.
How long can you keep nasturtium in a container?
If the weather just isn’t lining up for you to transplant your nasturtium, or you don’t have room for them outdoors and want to know if you can still grow them, then you’re in luck! Nasturtium can be grown in a container long-term and does not need to be transplanted in the garden to thrive. However, you’ll want to keep a careful eye on your nasturtium plant.
Make sure it is getting enough light and water, supplementing natural sunlight with a grow light if necessary. As your nasturtium grows, it will need to be repotted once every year or two in the spring or summer. Your nasturtium will enjoy being placed outside during warm weather and brought inside when it gets cold.
Whether you want to grow nasturtium as part of a beautiful butterfly garden or to use in delicious salads, starting your seeds indoors will get you to where you want to go faster. Enjoy these easy-to-grow flowers! They’re low maintenance enough, you could even start several at once. Just remember to give them plenty of light and water, and you’ll be seeing results in no time.