What's the first thing you think of when you imagine an indoor garden? Probably common indoor plants like pothos, philodendrons, and snake plants. Maybe you also think of herbs and leafy greens.
Have you thought about bean sprouts, though? These shoots from germinating beans are actually edible and used in a lot of dishes, both raw and cooked — and they’re easy to grow! Growing bean sprouts at home doesn’t involve a lot of space or maintenance, and as healthy raw or cooked additions to your meals, they can be a great food item to have on hand.

Why you should grow bean sprouts at home
Mung bean sprouts are perhaps the most popular variety of bean sprouts. As a staple of Asian cuisine, mung beans and their sprouts have been cultivated for hundreds of years and are used to add freshness and texture to an array of dishes. Although you can purchase them from the store, it’s much easier (and tastier) to grow them in your home. Growing bean sprouts is cost effective and lets you make use of extra dried beans you have lying around.
Dishes that are great with bean sprouts
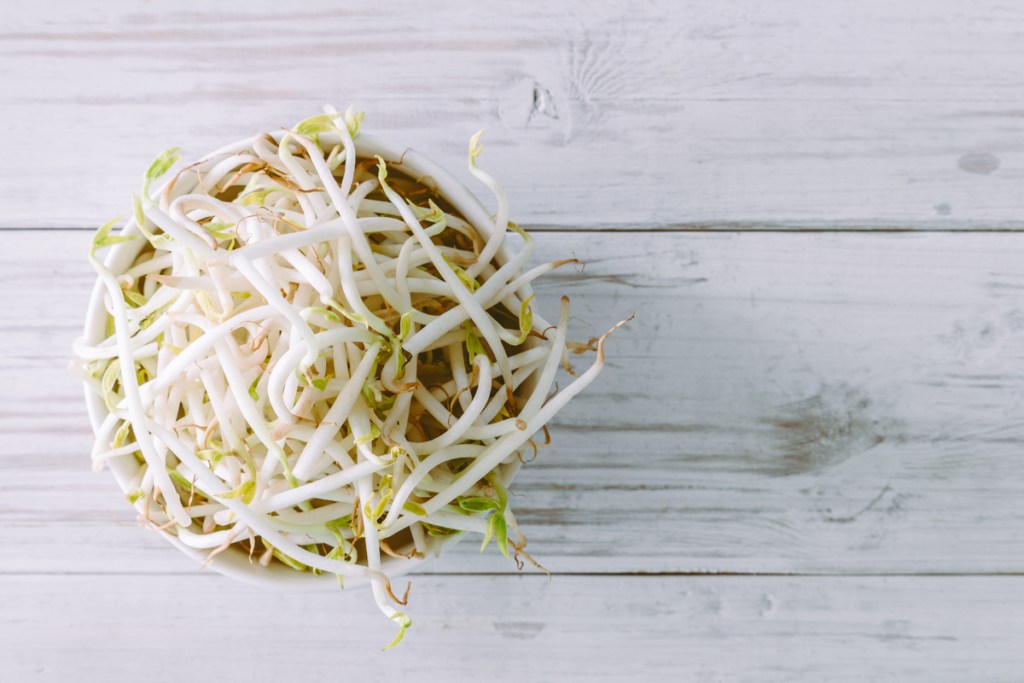
Although there are many kinds of bean sprouts, mung bean sprouts in particular hold up well fresh and when cooked into a dish. Since they’re a staple of Asian cuisine, they fit perfectly into homemade stir fries and alongside ingredients like ginger and sesame oil. Ideally, you want your bean sprouts to maintain a nice crunch, so be mindful to add them in when the dish is almost ready so that they only cook for up to a minute.
The Spruce Eats has a Thai chicken stir fry recipe you can try, or you can opt for this fresh bean sprout salad from Just One Cookbook.
The best time to start your bean sprouts
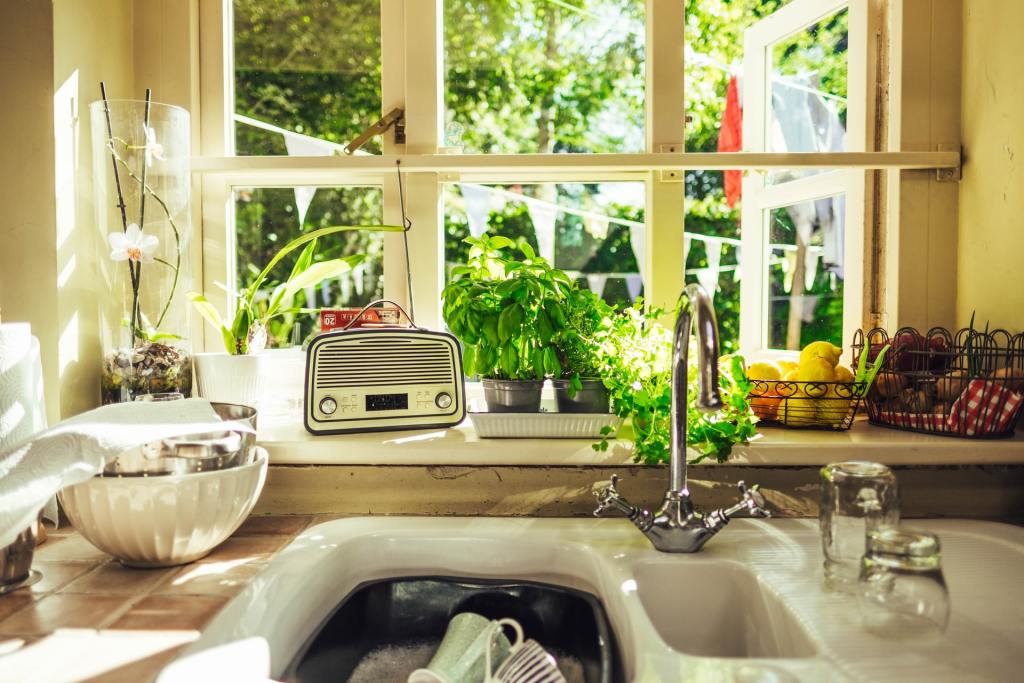
Any time is the best time! When growing bean sprouts indoors, you can start them at any time of the year — even in the winter months — so long as you have a dark, warm place to store them that’s free of drafts.
How long do bean sprouts take to grow?
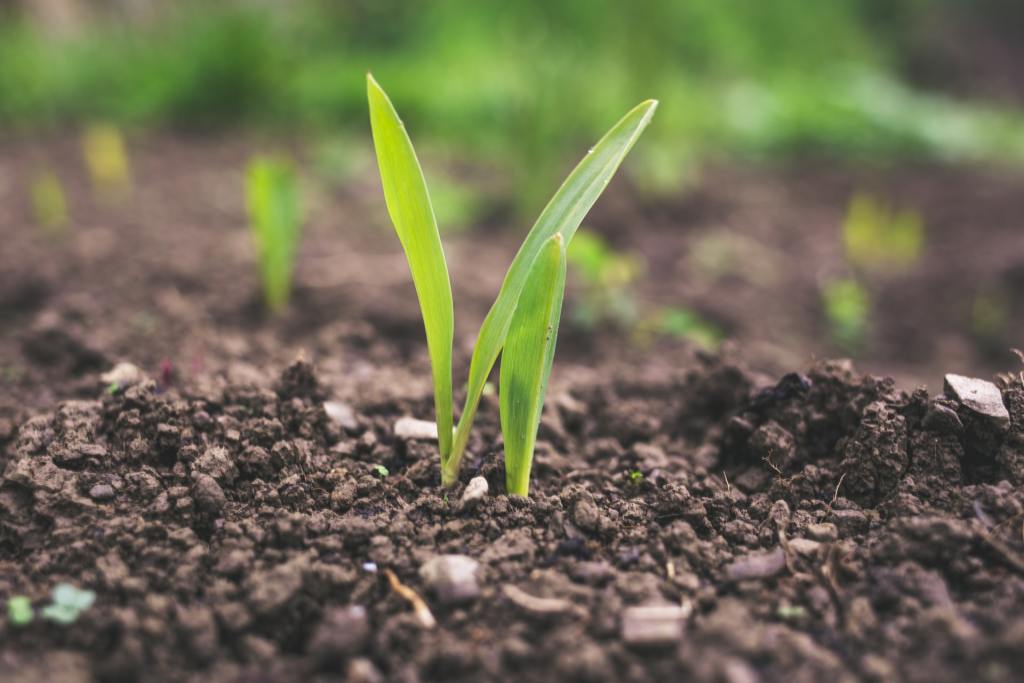
Generally, mung beans take from two to five days to sprout. If you want to eat them at a smaller size, you can harvest them sooner; however, take care not to let them grow too long, as they’ll lose some of their flavor. Their short grow-to-harvest time is part of what makes them an appealing ingredient to grow right in your home.
The most important thing to remember is that the beans will sprout best when stored in a warm, damp space. You don’t want them to dry out or get too cold, so you have to be mindful about where you put them, especially when you are growing them in the winter.
Caring for your bean sprouts as they grow
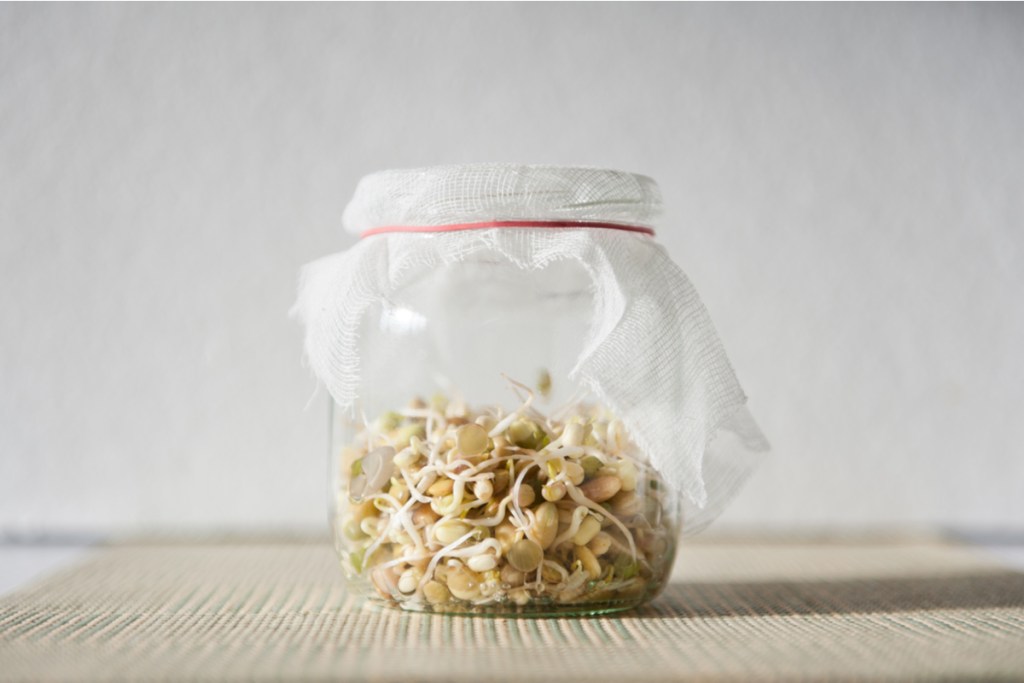
The most popular method for growing bean sprouts is in a jar, though traditional mung bean sprouts are grown in a cloth. No matter which way you choose, you won’t need to worry about messy soil all over your kitchen.
Here’s a step-by-step method for how to grow bean sprouts in a jar.
Step 1: Put 1 to 2 tablespoons of dried mung beans in a jar. Don’t add too much, since the beans will roughly double in size as they germinate and sprout.
Step 2: Cover with 2 inches of warm water. Let the beans soak in the water overnight.
Step 3: Strain the water the following day. You can either secure an unused cheesecloth to the mouth of the jar with an elastic band and tip the jar to drain, or you can strain the beans in a fine-mesh strainer. If using a strainer, make sure that the holes are much smaller than the beans.
Step 4: Put the seeds back in the jar, add fresh warm water, and swirl them around to rinse. Drain again using your chosen method.
Step 5: Repeat this process every day (gently) until your sprouts are the desired size. For mung beans, this is around two to five days time, but it does change depending on the kind of bean sprout you’re growing.
Step 6: Store unused sprouts in a covered bowl or food storage bag. They can be kept in the fridge for up to a week.
How to grow bean sprouts in a cloth
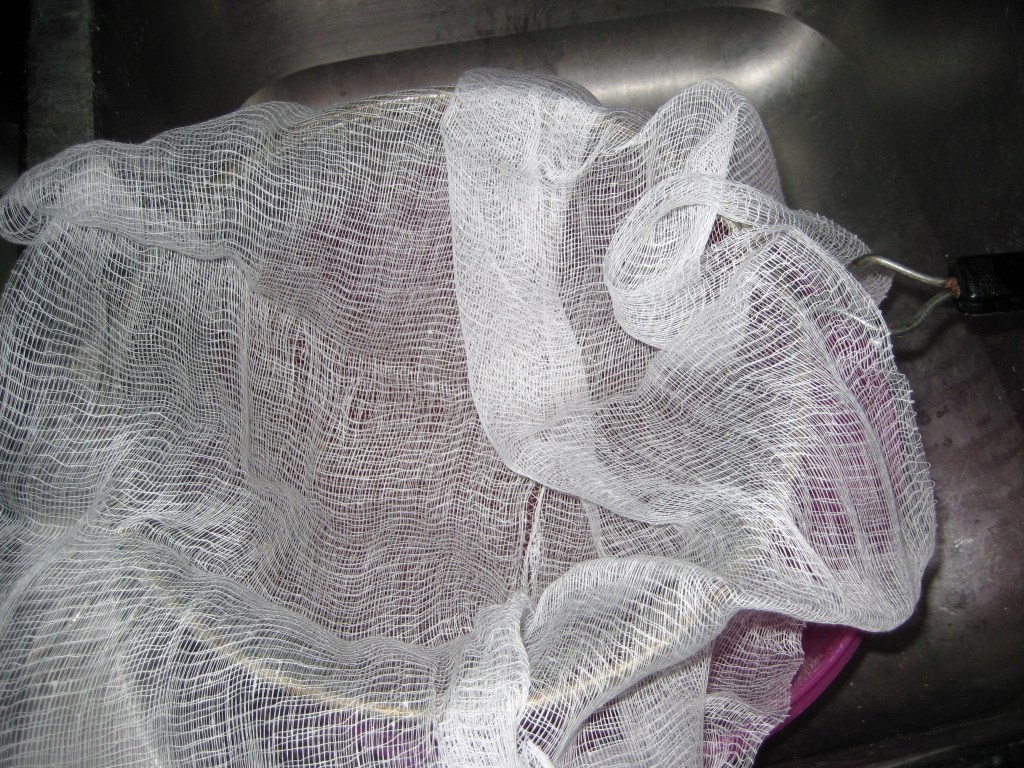
Sprouting mung beans in a cloth isn’t all that complicated either. For full details on the cloth method, check out this step-by-step guide on Swasthi’s Recipes.
Step 1: Wash and drain the mung beans until the water runs clear, then let them soak for 9 to 12 hours.
Step 2: Rinse a clean cotton cloth and squeeze any excess water out.
Step 3: Spread the damp cloth out over a bowl and add the drained beans.
Do bean sprouts need sunlight?
No! Surprisingly, bean sprouts actually grow best when kept in a warm, dark place, which is counterintuitive to most other growing processes. Since they don’t need soil, they’re a much easier crop to grow at home and in smaller spaces.
Like with any kind of gardening, there are tools to help make the process easier for you. You can find multi-tiered sprouters or jar lids with strainers. Growing bean sprouts, regardless of what tools or processes you use or don’t use, is an easy way to add a fresh ingredient to your home cooking.

