Cauliflower is a cool-weather crop, able to grow in USDA hardiness zones 2 through 11. It’s often regarded as having a similar flavor to broccoli, though it has a nuttiness to it that sets it apart. Unlike some cool crops that are cold tolerant, cauliflower is quite finicky and doesn’t handle temperature fluctuations well. Because of that, it isn’t the best crop for beginners — though if you try growing it, you can expect it to test your patience. When grown well, cauliflower has a lot of benefits and uses that make it a great option for any home garden.

Why you should be growing cauliflower in your garden
Raw cauliflower has a rather high vitamin and nutrient profile, which makes it one of the best options for a homegrown vegetable (and why it’s become popular to use it as a substitute for some ingredients). Cauliflower is rich in vitamin C, vitamin B6, and vitamin K. It’s also high in fiber, which is beneficial for your gut and digestive health.
From a gardener’s perspective, growing cauliflower can be quite a challenge and can help you improve your overall skills. Knowing how to grow an in-between plant like cauliflower that doesn’t have complex requirements but is sensitive to temperature shifts can enable you to grow even more finicky plants in the future, helping you learn how to combat problems and what to do in time-sensitive situations. It’s a good transitioning plant for the beginner gardener looking to advance their skills and knowledge.
The best things to cook with cauliflower
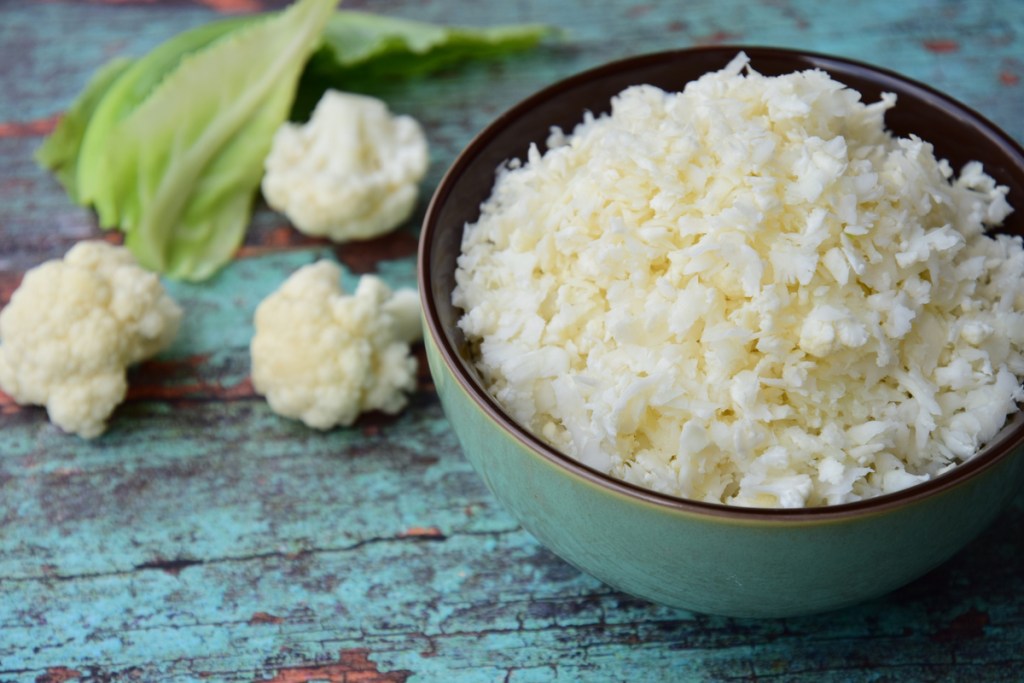
Cauliflower has quickly become a low-carb alternative to a lot of grains and legumes. You’ve probably seen riced cauliflower in the frozen section of your grocery, and you can make it at home with your fresh crop! It’s relatively simple and a great way to still enjoy your favorite rice dish without adding too many carbs to your meal.
Another great option is to make a cauliflower “mac and cheese” of sorts, substituting the macaroni with cauliflower florets. Although this dish won’t be exactly the same, it’s a great way to make comfort food just a bit healthier on nights where you want something warm and easy to make.
And when in doubt, you can always eat your fresh, raw cauliflower as a snack with a nice ranch dip!
How to grow cauliflower so it thrives
Cauliflower plants should be sown 18 to 24 inches apart after the threat of the last frost has passed. Although it seems like a lot of space, the large amount of room will allow the crop to grow a strong root system and reach a mature size without having to fight other plants for nutrients, water, and sun. Your cauliflower plants will start to wane when temperatures are consistently above 80 degrees Fahrenheit, which is why they’re most successful when planted during the spring and fall.
Most people grow cauliflower as annuals; however, if you’re interested in letting some of your plants go to seed, you’ll need to leave a few unharvested and make sure they have some protection to survive the winter. When it reaches the following season, they’ll go to seed (though you may find it less complex to simply buy new seeds or plants from a local nursery each year).
Light needs: Full sun is ideal; partial shade in warmer weather can help prevent early bolting
Water needs: Regular watering and consistent moisture, ideally at least one inch per week, soaking six to eight inches of the soil each time
Soil needs: Well-draining soil that’s rich in organic matter
How long does cauliflower take to grow?
Cauliflower is a slow-growing crop, taking roughly 80 days to mature from seed to harvest (though some varieties take less). Because of their long growing time, planting them as soon as possible when the soil is workable and frost has passed is important, since the plants should be harvested before the hottest days of the summer. It can be beneficial to fertilize your cauliflower once every two to four weeks to ensure it continues getting the nutrients it needs.

How do you harvest cauliflower?
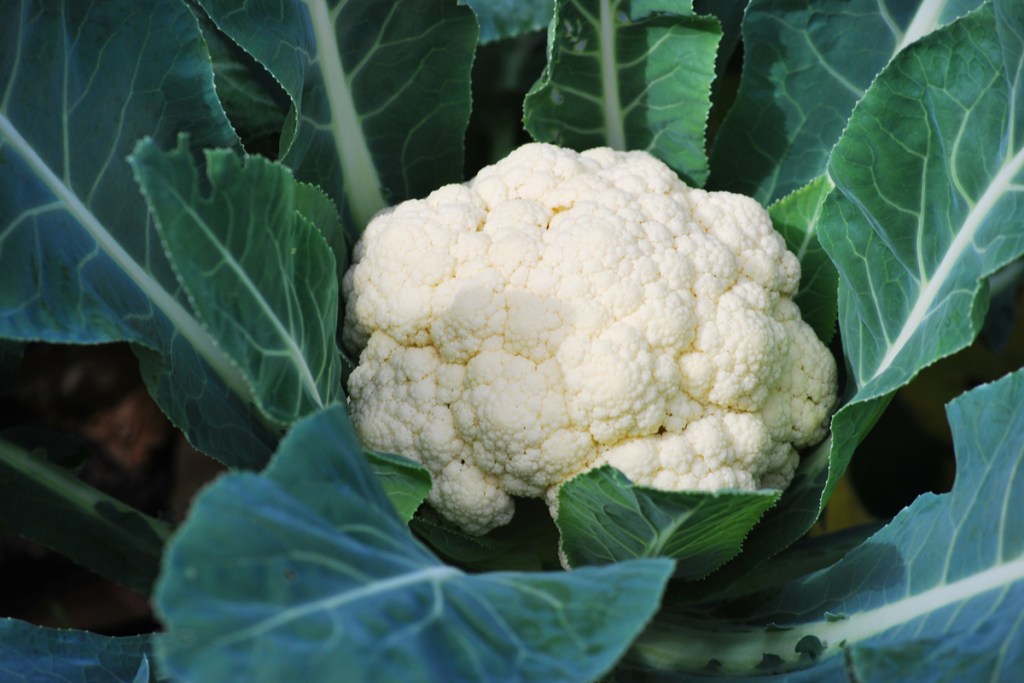
When your cauliflower head has reached around six to twelve inches in diameter, check to make sure the head is firm, compact, and white. To properly harvest, you should take a sterilized pair of shears or a hori-hori knife and cut the main stem, taking care to leave a few outer leaves attached to help protect the head of cauliflower and maintain its quality.
Common issues you may run into
Cauliflower is unfortunately susceptible to a slew of pests and rodents that are common among the cabbage-adjacent family. These include, but aren’t limited to:
- Aphids
- Cabbage loopers
- Cabbage maggots
- Cabbage worms
- Flea beetles
- Groundhogs
To minimize pest infestation, you should inspect your plants at least a few times a week, but ideally every time you go out to water them. This sets you up to discover problems early on and take care of them before the insects spread and cause irreversible damage to your crop. If you live in an area where groundhogs are an issue, you can simply fence in or cage your cauliflower plants to help deter them.
In general, healthy plants are happy plants. The stronger the crop, the less appealing it is to pests and disease. If you can successfully navigate the temperature needs of cauliflower, you’ll be rewarded with a beautiful, versatile crop for nutrient-rich lunches, dinners, and snacks.


