What you need to know about growing hedges for privacy

Use these tips to plant a hedge for privacy in your yard or garden

how to grow hedges for privacy garden
Image used with permission by copyright holder

Hedges have plenty of uses in a garden or yard. They can divide your garden into sections or provide extra shade for some sensitive plants. One of the most popular uses for a hedge is privacy.

Whether you’re trying to shield your garden from prying eyes or put a break between your yard and a road, growing a hedge for privacy is easy and can help make your garden a relaxing place to spend time. If that sounds ideal, then keep reading! We’ll walk you through how to grow hedges for privacy or aesthetics.

Recommended Videos

Difficulty

Easy

Duration

1 hour

What You Need

  • Pruning shears

  • Shrubs

  • Fertilizer

  • Hedge trimmer

A short privacy hedge next to a table and set of chairs
Image used with permission by copyright holder

Choosing the right plants for your hedge

While any shrub can turn into a hedge, some are better suited for the job than others. When growing a privacy hedge, in particular, you want a shrub with dense branches. Compact growth stops prying eyes from peeking through, but it also helps absorb sound, which is especially useful if you live near a busy road.

Height is important to consider as well. For the average privacy hedge, look for shrubs that grow to 4 to 8 feet tall. If you need a taller hedge, then you might need to look into trees or install a fence instead.

The best shrubs for hedges are:

  • American holly
  • Boxwood
  • Yew
  • Laurel
Planting a tree
azem / Shutterstock

Planting your hedge

Growing a hedge is easy, as long as you start it off right. Here’s what you should do:

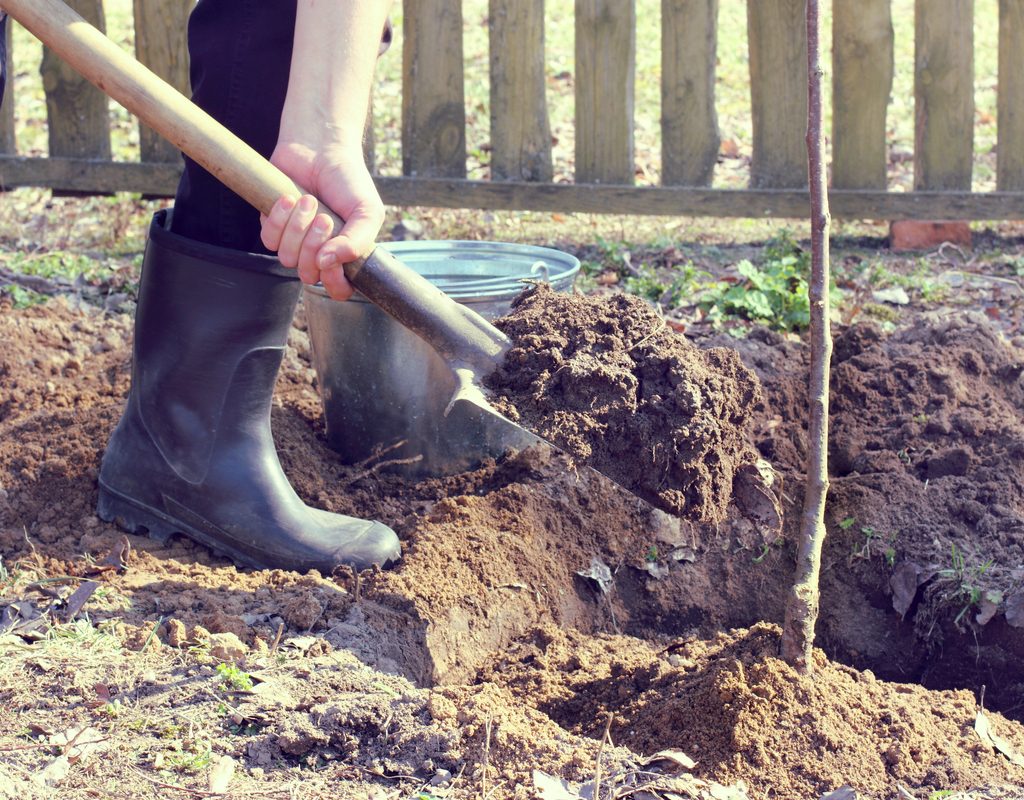
Step 1: Space your hedges using the minimum distance.

Every plant has a minimum distance they need to be from another plant. If you plant them any closer together, they could fail to thrive, as their roots could compete for resources. However, a privacy hedge isn’t very effective if there are large gaps in it. So, when planting your hedge, space each shrub just far enough apart.

Step 2: Plant the shrub in a hole the same size as the root ball, but slightly wider.

The entire root ball should be covered once the shrub is in the ground. Making the hole slightly wider helps improve stability and it allows you to shift the shrub around to be sure it's straight.

Step 3: Water your shrubs in.

A hedge trimmer trimming a hedge
Image used with permission by copyright holder

Maintaining your hedge

Once your shrubs are planted and growing, here’s how to maintain them:

Step 1: Fertilize your shrubs in early spring.

Step 2: Use pruning shears to remove damaged or diseased branches.

Step 3: Trim the tops and sides of the shrubs with a hedge trimmer to keep them the size and shape you want.

A flat top and overall boxy shape is traditional, but if a rounded or conical shape suits your garden or aesthetics then go for it!

Now you’re ready to pick up a few shrubs and grow a hedge for privacy. Whether you’re planning on creating a small hedge to border one side of your yard or surrounding your entire outdoor space, these tips will help you along.
Cayla Leonard
Cayla Leonard is a writer from North Carolina who is passionate about plants.  She enjoys reading and writing fiction and…
How to get rid of scale on plants: Everything you need to know about these pests
Use these methods to get rid of scale insects fast
Scale insects on a stem

There are many common garden pests that can damage your plants. While some are relatively harmless, others can do quite a bit of damage. Of course, some of the largest danger to your plants comes from pests that travel in groups. Scale insects are one such pest, frequently seen in clusters along plant stems. If you want to know how to recognize this pest and learn how to get rid of scale on plants, this is the guide for you. We’ll explain how to identify scale insects and go over several methods to eliminate them.
Identifying scale on plants

Scale insects are related to aphids and mites, but they're easy to tell apart from other pests, because they don’t move much. You’re unlikely to see the scale insects as they arrive at the plant. Instead, look for a series of bumps or lumps on your plants’ stems or the undersides of their leaves. These bumps can be black, green, brown, yellow, or white, often appearing in rows or clusters. Scale insects can range in size, depending on the species, with some scale insects staying quite small. Scale insects are soft when young, and some species stay soft for their entire lives. However, many species develop a waxy cover that hardens as they age.

Read more
This is how many pumpkins per plant you can grow
What to expect from a pumpkin harvest
A small pumpkin sitting on top of a fence post

As summer ends and fall begins, the pumpkin harvest season is almost here! These lovely gourds have so many uses, from baking them into delicious pumpkin pies to carving them into Halloween decorations. Knowing when to expect them is one thing, but how many pumpkins can you expect to harvest? Is there any way to encourage your pumpkin plant to produce more pumpkins, or should you plant a specific type of pumpkin to ensure the biggest harvest? Here’s everything you need to know about how many pumpkins per plant to expect this harvest season.
How many pumpkins can grow per plant?

On average, pumpkin plants grow two to five pumpkins per plant. However, this depends on a few factors. Each pumpkin needs space and nutrients to grow. The larger the pumpkins are, the fewer you can expect to see on your vine. On the other hand, varieties with smaller pumpkins tend to produce more pumpkins. Pumpkin vines growing in poor soil or that are weak, sick, or stressed also tend to produce fewer gourds. These pumpkins may also be smaller than the species’ average, since the plant has less energy to devote to each pumpkin.

Read more
Your complete sago palm maintenance guide
Grow a sago palm to add a tropical flair to your home
A small sago palm in a pot designed to resemble a wicker basket. It sits on a table of light wood, next to a bookshelf of the same wood. The wall behind it has a dacorative pink, blue, and white triangular pattern.

Sago palms may not be true palms, but they are just as gorgeous. However, with these subtropical houseplants, you won’t have the same kind of look offered by those tall trees. Instead, the green fronds grow directly from the trunk without branching out. Sago palm maintenance is fairly simple, relying mostly on proper growing conditions. Adding this lovely houseplant to your collection is an excellent way to bring the tropics to your home. If you want to grow your own today, this guide will explain everything you need to know to help it thrive!
Care requirements for your sago palm

Because they’re native to tropical regions, sago palms prefer to be in warm, humid environments. This is why, for the most part, they’re grown as houseplants outside of these areas. Sago palms grown indoors should be protected from any drafts or air flowing from heating and AC units as the extreme shift in temperature can cause damage.
Light
Sago palms prefer bright, indirect lighting and shouldn’t be placed in direct sunlight. Direct lighting, especially on hot summer days, can cause sunburn damage and result in wilting leaves. As a houseplant, sago palms will favor east-, west-, and south-facing windows so long as they receive a lot of lighting throughout the day. Keep in mind that too much shade will also cause adverse effects, most noticeably spare foliage.
Soil
Like most houseplants, sago palms need only well-draining soil (and of course, a pot with a drainage hole for excess water to escape through)! There are potting mixes made specifically for palms grown in containers, and although the sago palm isn’t a true palm, this should do the trick.
Water
As a tropical plant, sago palms prefer moderately moist soils. They can tolerate some drought, but not very well. Proper sago palm maintenance requires watering the plant whenever the soil is dry to touch; however, be mindful of how much you’re watering to avoid soggy soil and leaving your plant susceptible to root rot.
Diseases and pests to be aware of

Read more