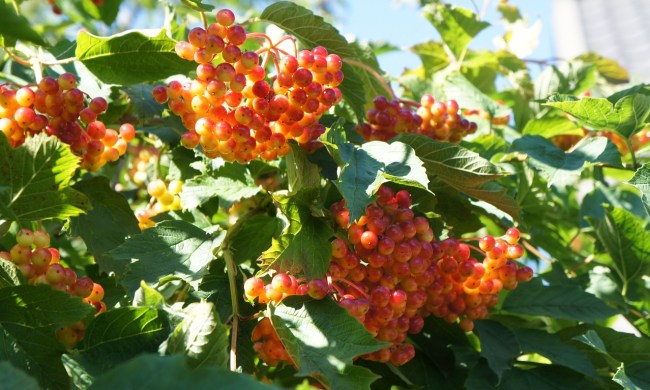
Make your garden burst with poppies – a guide on growing lovely, bright flowers

Poppies are a beautiful and fun addition to any garden, and, as they’re wildflowers, they’re often included in wildflower seed mixes for wildflower gardens. They’re also a great addition to cut flower gardens, and they’re easy to dry for year-round decorations. Whether you find yourself with a seed mix that includes poppies or want to grow these lovely flowers on their own, you’re in the right place. We’ll tell you everything you need to know about poppies, from what varieties are popular to how to plant and care for them.

Varieties of poppies

The classic image of a poppy is the bright red Flanders poppy, but there are plenty of other varieties to choose from as well. Flanders poppies are the red variety of corn poppy, which comes in white, pink, and yellow as well.

Recommended Videos

California poppies are popular in the US. They’re typically a sunset orange color and are well suited to fields and open plains as well as gardens. California poppies are voracious spreaders, though, and are considered potentially invasive in some locations, including Hawaii and Alaska.

Oriental poppies are known for their larger blooms. They come in a range of colors, including red, white, pink, and orange. Many oriental poppies also have a black mark at the base of their petals, which makes an interesting contrast to the bright, bold colors of the flower.

Himalayan and Iceland poppies are two of the more difficult varieties to grow. Neither are particularly heat tolerant, although they bloom in late spring and summer. This combination makes them unsuited for regions with hot summers. Iceland poppies can be found in orange, yellow, red, and white, while Himalayan poppies are known for their striking blue color.
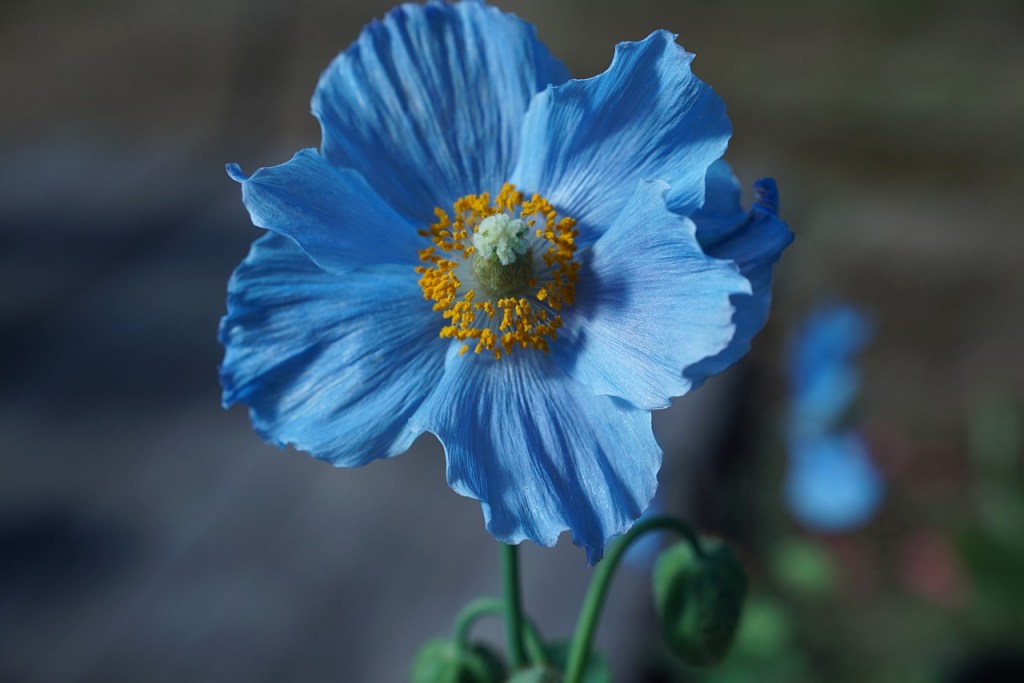
A single Himalayan blue poppy
Image used with permission by copyright holder

Planting poppies

Like most wildflowers, planting poppies is quite easy. You don’t need to worry about depth or spacing, simply sprinkle the poppy seeds across your garden soil. If you want a more orderly-looking garden, you can place them individually, but you still don’t need to cover them. Poppies germinate quicker and easier when they’re exposed to sunlight. A light dusting of soil over the top of them or gentle pressure to push them partially into the soil is enough to keep them in place.

Soil quality is also something you don’t need to worry about. Poppies will tolerate poor, average, and rich soil. The important thing to consider when planting poppies is sunlight. They need at least six hours of full sun per day, so choose a section of your garden with full or partial sun.

Plant your poppies in spring for the best results. Typically, you can begin planting them a week or two before the last frost of the year. Poppies can withstand some frost, but if you live in an area that’s prone to late-season freezes, then you may want to wait until just after the last frost to be safe. If you live in an area with a warm or mild winter, you can also plant poppies in mid to late fall.

A field of red poppies
Image used with permission by copyright holder

Caring for poppies

While the seeds are germinating and sprouting, it’s best to keep the soil moist but not soaking wet. After your poppies are established, though, you can cut back to watering once a week. Poppies are fairly drought tolerant, and in many areas will subsist off of rain alone. In drier regions or during times of drought, weekly watering is enough to keep them alive. A good rule of thumb is to water your poppies when the top 1 or 2 inches of soil are dry.

Since poppies are often planted through seed scattering, crowding can become an issue in some cases. If your poppies have grown in thickly, and you start to notice a decline in health, then thinning them can help. Remove excess poppies so that each flower has roughly 6 inches of space on each side.

Poppies can also benefit from deadheading, which is the process of removing dead or dying flowers before they fall off on their own. This has two benefits. Firstly, it can encourage more flowers to form to replace the ones that have been removed. The second benefit is that it decreases self-seeding. Poppies will produce many seeds, which contributes to how much they spread. To control this spread, remove the flowers before they form seed pods.
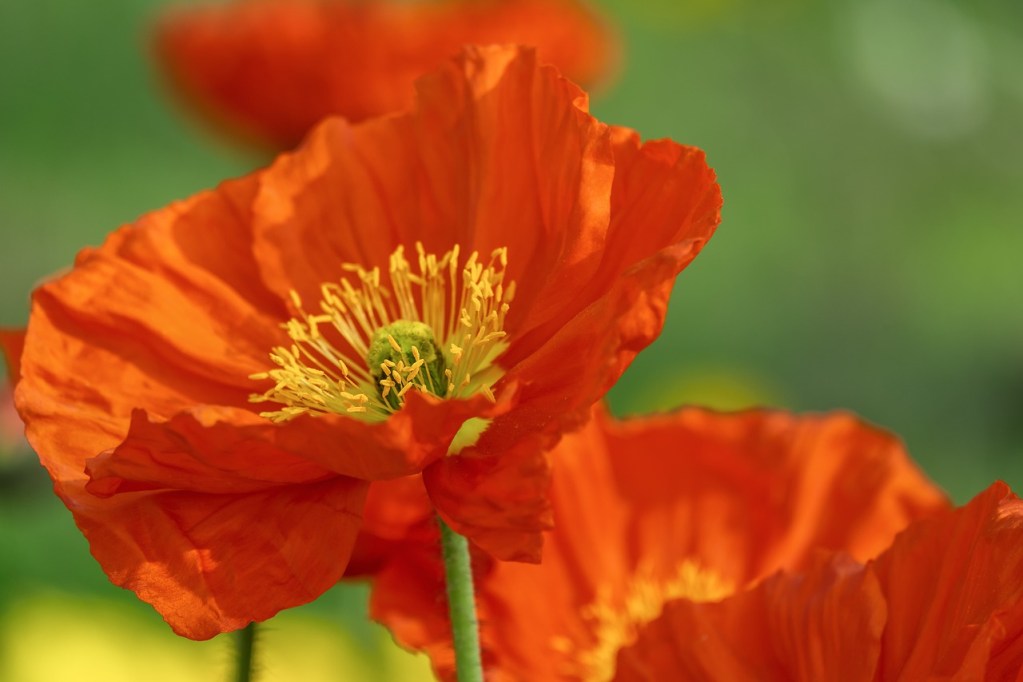
A couple orange poppies
Image used with permission by copyright holder

Pests and diseases

Poppies are incredibly resilient, and most pests and diseases don’t bother them. You may see some damage from small insects, such as aphids. In severe cases, they can be controlled with sprays, either artificial pesticides or natural sprays such as capsaicin or neem oil. Poppies can develop some fungal and bacterial infections, which are mainly caused by poor water drainage or wet leaves. Avoid overwatering your poppies and try to water them below the leaf level to keep their leaves dry.

Poppies are beautiful perennial wildflowers and are among the easiest plants to grow and care for. No matter where you live, you’re likely to see good results with poppies. As long as they have plenty of sun and some water, poppies will grow just about anywhere. You can even bring them indoors in the form of cut or dried flowers that will brighten up any room.

Topics
Cayla Leonard
Cayla Leonard is a writer from North Carolina who is passionate about plants.  She enjoys reading and writing fiction and…
6 incredible types of basil for your herb garden
Add a little variety to your garden with one or all of these basil types
Basil plant bathed in sunlight

Herbs are fun to grow and useful to have around, both for flavoring meals and for keeping certain pests away. Basil is one of the most popular herbs, and for good reason. This tasty herb is versatile and easy to grow, both indoors and out. Did you know there’s more than just one type of basil? If you’re planning your next herb garden, here are six types of basil you should consider including to add a little variety to your garden.
Sweet basil

Sweet basil, also called genovese basil, is the most common type of basil, but there’s a reason it’s the classic. Reliable and delicious, sweet basil gives you the basil flavor and look that you’re familiar with. If you’ve grown basil before, it was likely sweet basil. Place your sweet basil in full sun, with some light afternoon shade if it’s outdoors. Water it regularly to keep the plant fresh and healthy, and you can begin harvesting leaves in just a few weeks, as soon as the plant has four sets of leaves. Be sure to leave a few leaves on the plant so it can continue to grow.
Thai lemon basil

Read more
Your complete sago palm maintenance guide
Grow a sago palm to add a tropical flair to your home
A small sago palm in a pot designed to resemble a wicker basket. It sits on a table of light wood, next to a bookshelf of the same wood. The wall behind it has a dacorative pink, blue, and white triangular pattern.

Sago palms may not be true palms, but they are just as gorgeous. However, with these subtropical houseplants, you won’t have the same kind of look offered by those tall trees. Instead, the green fronds grow directly from the trunk without branching out. Sago palm maintenance is fairly simple, relying mostly on proper growing conditions. Adding this lovely houseplant to your collection is an excellent way to bring the tropics to your home. If you want to grow your own today, this guide will explain everything you need to know to help it thrive!
Care requirements for your sago palm

Because they’re native to tropical regions, sago palms prefer to be in warm, humid environments. This is why, for the most part, they’re grown as houseplants outside of these areas. Sago palms grown indoors should be protected from any drafts or air flowing from heating and AC units as the extreme shift in temperature can cause damage.
Light
Sago palms prefer bright, indirect lighting and shouldn’t be placed in direct sunlight. Direct lighting, especially on hot summer days, can cause sunburn damage and result in wilting leaves. As a houseplant, sago palms will favor east-, west-, and south-facing windows so long as they receive a lot of lighting throughout the day. Keep in mind that too much shade will also cause adverse effects, most noticeably spare foliage.
Soil
Like most houseplants, sago palms need only well-draining soil (and of course, a pot with a drainage hole for excess water to escape through)! There are potting mixes made specifically for palms grown in containers, and although the sago palm isn’t a true palm, this should do the trick.
Water
As a tropical plant, sago palms prefer moderately moist soils. They can tolerate some drought, but not very well. Proper sago palm maintenance requires watering the plant whenever the soil is dry to touch; however, be mindful of how much you’re watering to avoid soggy soil and leaving your plant susceptible to root rot.
Diseases and pests to be aware of

Read more
Lisianthus flowers are like roses, but better: Your care guide
Growing gorgeous lisianthus flowers
White lisianthus flowers on a wooden table

Roses are gorgeous, but their thorns can make them challenging to care for without proper gloves. If you want striking rose flowers without the risk of getting scratched, you’ll be happy to know that such a flower does exist! Lisianthus, a flower that grows natively from the southern U.S. to the northern countries of South America, looks shockingly similar to a rose, minus the thorns. While it can be tricky to grow, patience and dedication can help you keep these lovely flowers happy and healthy. Here’s what you need to know to grow lisianthus in your garden.
Planting lisianthus flowers

Lisianthus flowers can start from seed, but this is often the more challenging way to grow lisianthus. These plants take a fairly long time to grow, needing 4 to 5 months before they begin to bloom, so seeds need to start early. Start seeds 8 to 10 months before your last frost date. Do not bury the seeds deeply and don't plant more than one per container. Lisianthus roots damage easily, especially when they're young, so planting more than one seed per container can make transplanting them especially difficult. Keep the seeds warm, ideally in the mid to low 70s (Fahrenheit). The soil should be moist, but not wet, or else seeds can rot or develop fungal infections. Once the seedlings have two full sets of leaves, they are ready for transplant.

Read more