Although they're part of the morning glory family, sweet potatoes are versatile, hearty kitchen staples and make for beautiful crops. While not the most difficult vegetables to grow, they do require patience and care for successful yields. Here's how to grow sweet potatoes for delicious results.

Select an organic sweet potato to start your plant
If you’re wondering if you can just plant a whole sweet potato, the answer is yes — well, kind of. Through a process called chitting, you can definitely use a sweet potato from the grocery store to start your own plant.
If you’re going this route, it’s best to go with an organic sweet potato, if possible. Nonorganic sweet potatoes are often treated with inhibitors that prevent growth, so you may not be able to yield good sprouts from them. Alternatively, you can get sweet potato slips at your local nursery. If you want to start with a whole sweet potato, though, here's how.
Step 1: After selecting your sweet potatoes, place them on a tray of regular potting soil.
Step 2: Keeping the potting medium moist and cover the tray with plastic wrap to retain humidity. Over time, shoots (called slips) should start to grow from the eyes on your sweet potatoes.
Step 3: When the slips are 5 to 6 inches tall, pull off the sprouts carefully and root them in water.
Step 4: When the roots begin to form, transfer the sprouts into containers of potting soil.
Step 5: Move the plants to your garden in the spring or summer.

Keep your sweet potatoes in warm soil
Sweet potatoes are native to tropical areas of the Americas and are hardy in zones 8 through 11. However, they are often grown as an annual vegetable.
Step 1: If you live in a northern region, start your sweet potatoes indoors.
Step 2: When you bring your sweet potato slips outside, consider mulching your soil and using row covers (or even black trash bags) to protect your crops from the cold. You can also plant your sweet potatoes in raised rows to keep them off the ground.

Temperature and light requirements for sweet potatoes
Slips are prone to transplant shock, so move your seedlings out into the garden a month after the last frost, ideally when it’s above 60 degrees Fahrenheit outside. If you live in a colder area, you might not want to bring your slips outdoors until May. They thrive best in temperatures between 75 and 95 degrees Fahrenheit.
Step 1: Plant the sweet potatoes in an area in full sun (and with some afternoon shade, if available).
Step 2: Sweet potatoes require space for their roots and vines to spread, so do not plant them in hanging vegetable gardens.

What to know about the sweet potato's long growing season
Sweet potatoes need anywhere from 90 to 120 days to mature, although some varieties may take up to 150 days.
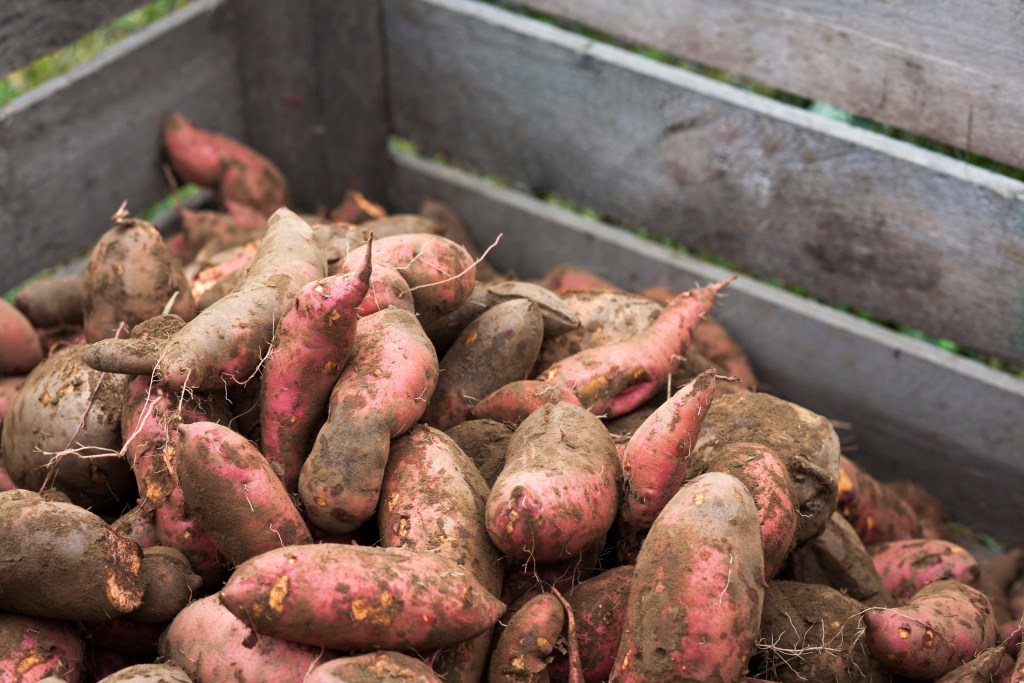
Step 1: Once your sweet potatoes are ready for harvest, the end foliage will look slightly yellow. At this point, you can remove the foliage and carefully pull up the sweet potatoes — avoid breaking the skin to keep your harvest fresher longer. Keep in mind the longer you leave your sweet potatoes in the ground, the higher their yield and vitamin content will be.
Step 2: To cure your sweet potatoes, dry them out in the sun for a few hours and leave them in a hot, humid location, about 80 to 90 degrees Fahrenheit, for two weeks. Cured sweet potatoes can last for several months.

How to fertilize sweet potatoes
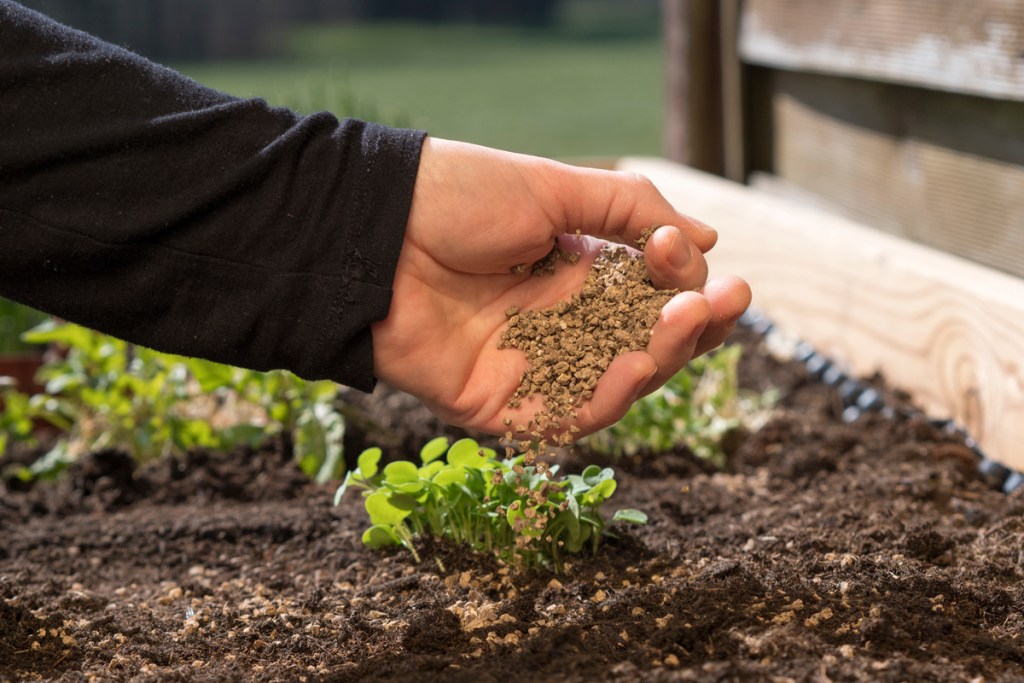
You won’t need much beyond the fertilizer you mix into your soil when you plant your sweet potatoes because they aren’t heavy feeders. Overfertilizing can actually encourage leaf growth instead of tuber growth, especially when you use plant food with too much nitrogen.
Step 1: Use a 5-10-10 or 8-24-24 N-P-K fertilizer. The first value in an N-P-K fertilizer, nitrogen, should be the smallest number. You may want to take a soil test to determine the best N-P-K ratios.
Step 2: Skip animal manure, which might result in thin or stained roots. You can mix in compost and other rich organic matter like kelp and bone meal when planting your slips.

How and when to water sweet potatoes
While their tuberous roots are sensitive to overwatering, sweet potatoes have better yields with thorough watering during hot, dry summers.
Step 1: Water the crops weekly in the summer to help your sweet potato roots grow and spread.
Step 2: Cut back on watering toward the end of the growing season.
Sweet potatoes aren’t difficult crops, but getting them started and being patient with their long growing period can be a challenge. With these easy tips, you can grow robust sweet potatoes for delicious recipes, whether you’re baking them into a pie or simply roasting them for a perfect autumn side dish. And remember to save a few sweet potatoes to start slips for next year’s harvest!


