If you’re planning your spring or winter vegetable garden, then you’re likely looking for ways to grow your favorites. One vegetable that may not have made your list is the turnip. It might not be as popular as it once was, but this root vegetable is tasty and easy to grow, making it well worth a try!
Turnips are crunchy, earthy, and a little sweet. They even have a long and interesting history as one of the first vegetables carved into jack-o’-lanterns. If you’re curious about this simple vegetable, then you’re in the right place. Here’s everything you need to know about how to grow turnips.
When to plant turnips
Turnips grow quickly and are a cold-hardy vegetable, making them a great choice for any spring garden. You can plant turnip seeds as early as three weeks before the last frost of the year and continue planting them throughout spring. They don’t fare well in the heat of summer, though. To avoid growing them in the heat, the latest spring planting time should be a month and a half to two months before summer.
You can also grow turnips in the fall, and in some regions, in the winter. Temperatures that are consistently at or below 25 to 20 degrees Fahrenheit can damage or kill turnips. As long as the winters in your area are typically warmer than that, you can continue to grow turnips throughout winter. For a fall harvest, it’s best to wait until the heat of summer begins to wane. You can plant turnips in late summer for an early fall harvest. However, be aware that they’ll need more water.
Planting turnips
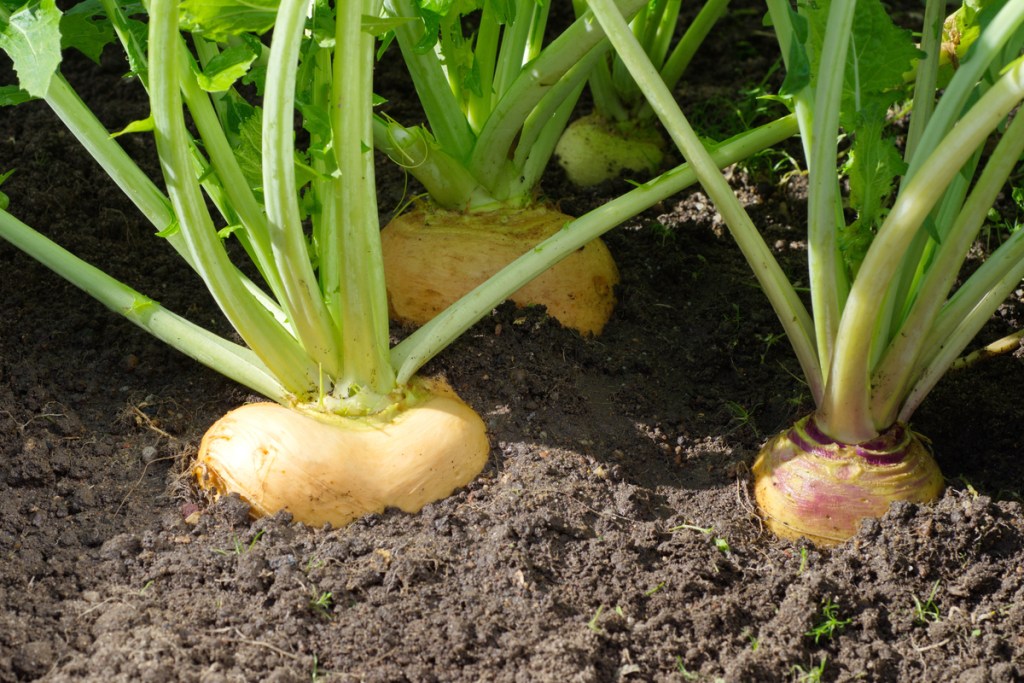
Like most root vegetables, turnips don’t transplant well. This means starting them indoors is not an option. However, planting turnips from seeds is simple and reliable. Begin by loosening the soil and removing rocks or debris. Compacted soil or large rocks could impact the way the turnip root grows. Turnips are not terribly picky about soil quality, but mixing in a small amount of compost can be beneficial.
You have a couple of options for seeding turnips. You can scatter the seeds across your garden and thin them, so the turnips are roughly 5 inches apart once they sprout. If you do, water the soil before seeding them. Turnip sprouts are edible, so you can eat the ones you thin. Alternatively, you can space the seeds 1 apart and thin them to 5 inches later. You can also space the seeds 5 inches apart and forgo the thinning entirely. No matter which method you choose, only cover the seeds with a quarter-inch of soil.

Caring for turnips
Turnips don’t require much care, but there are a couple of things that can save you a lot of trouble. When you first plant turnips, or when you first see them begin to sprout, cover them with row covers or pest netting. Turnip leaves are particularly tasty to caterpillars and aphids that can be annoying if you plan on harvesting turnip greens.
Turnips also thrive with consistent and regular moisture. They can develop mildew or other fungal infections if you overwater them or if their leaves become too wet. It’s best to water them more frequently with smaller amounts of water and to water them below their leaves rather than from overhead. This means turnips actually do quite well with drip irrigation systems.
Weeds can pose an issue to young turnips, since they are sensitive to any disturbance of their roots. Weed regularly, especially while the turnips are still young, but do so carefully and by hand. Adding a layer of mulch around the turnips can help suppress weeds and keep the soil moist.
When and how to harvest turnips
Most turnip varieties are ready to be harvested in a little under two months, with some early varieties being ready after only a month and a half. You can harvest turnip greens earlier, typically beginning one month after planting. However, turnips are edible even as sprouts, which you can harvest a few weeks after you plant them.
Size is the most important factor when deciding when to harvest your turnips. Small turnips are tender and tasty, while larger turnips become woody and unpleasant to eat. Harvesting turnips earlier rather than later yields better results, especially if you’re planning to make them into your favorite turnip soup.
To harvest turnip greens, cut the leaves off the plant. If you want to harvest both the leaves and the root, then only take a few leaves at a time. Leave about 3 inches attached to the base of the plant and the leaves may grow back.
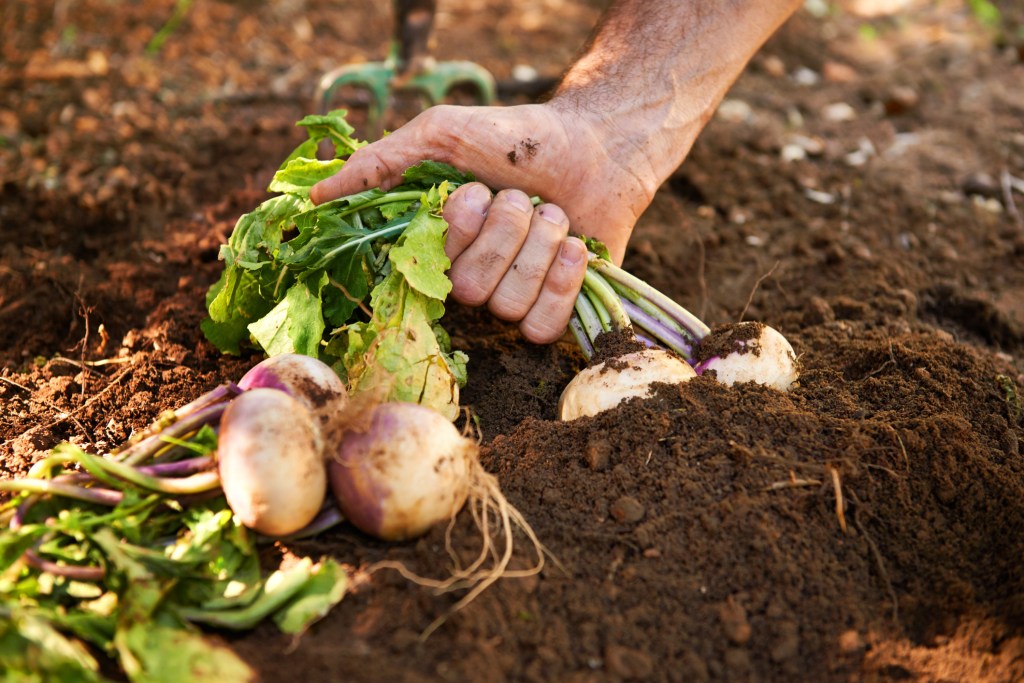
To harvest the root, dig or pull up the entire plant. If you dig, do so gently to avoid damaging the root. Pulling the turnip is faster. Grasp the plant as close to the ground as you can and pull up gently but firmly. Wiggle the plant from side to side if there is resistance.
Turnips are a versatile and delicious root vegetable. You can eat them raw or cooked and use them in almost any dish that calls for carrots or potatoes. Turnips can grow quickly, and in almost any season, which makes them an excellent choice for community gardens or food relief programs. Additionally, they store well in root cellars, so you can have tasty turnips even in the heat of summer.

