Hardening off your seedlings as you bring them outside is crucial – here’s how to do it

Tips to help you successfully transplant your seedlings

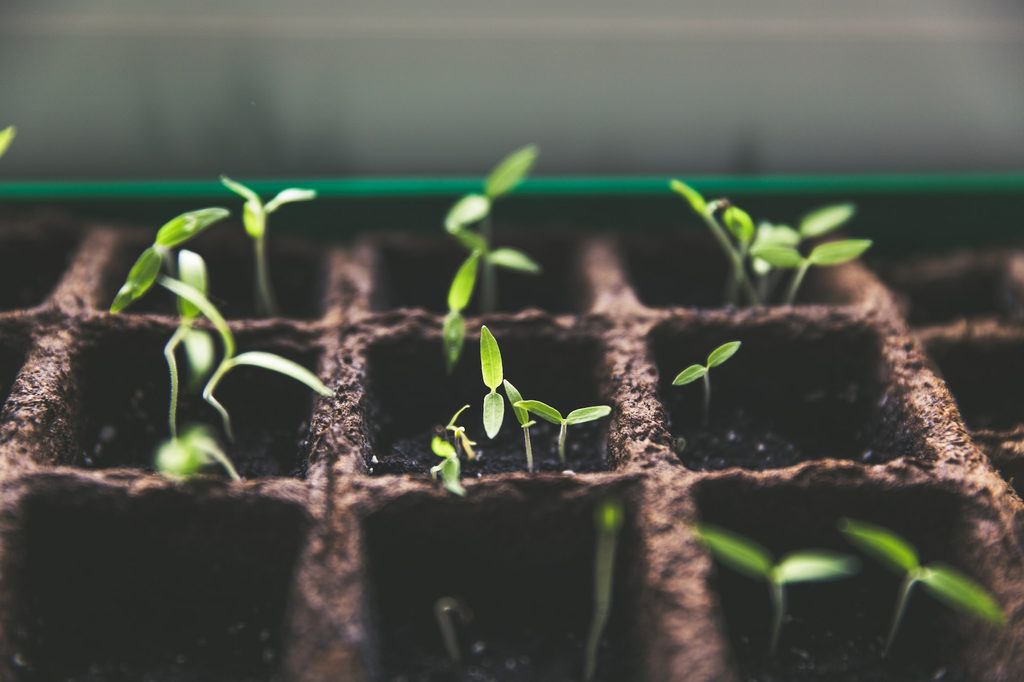
Seedlings in plant tray
Markus Spiske / Unsplash

Even gloomy winter days can’t stop enthusiastic gardeners. Unsurprisingly, many avid gardeners start their plants indoors when cold temperatures and unpredictable precipitation bar them from directly sowing their seeds outside. Still, the last frost date eventually comes around, and that’s when it’s time to bring those baby seedlings outside. Transporting seedlings outside is a simple process, but it still requires savvy coordination to prevent unwanted transplant shock. To help you keep your plants happy and healthy as they situate outside, we’ll show you how to harden off seedlings.

What does hardening off seedlings mean?
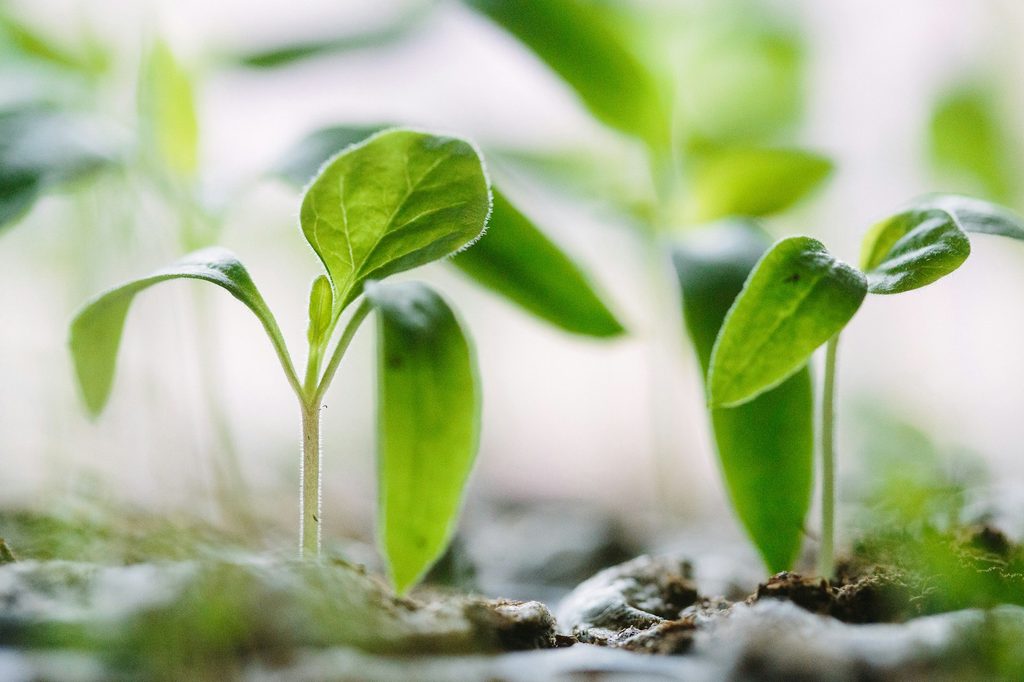
Growing seedling
Francesco Gallarotti / Unsplash

After spending a few weeks in your cozy home, it can take your seedlings some time to get used to an outdoor environment. The concept of hardening off your seedlings is simple, really. About two weeks before you plan on placing your plants in the ground, slowly expose your tender seedlings to outdoor conditions, whether your climate features sunny, rainy, or windy weather.

Recommended Videos

To do this, you’ll want to bring your seedlings out on warm, sunny days and leave them in a shady area until nightfall. As the days pass, continually leave your plants out for longer periods of time (about an hour or two more each day) until you feel comfortable leaving them outside overnight. Gradually, you can also expose them to sunnier conditions if they need it.

Your seedlings should be about a few inches tall and have established leaves before you bring them outside. Ideally, the best time to start most seeds is about four to six weeks before the last frost. Even after the last frost, consider waiting for a few days or weeks before bringing your plants outside — temperatures should be at least 45 degrees Fahrenheit.

Tips for successfully hardening off your seedlings
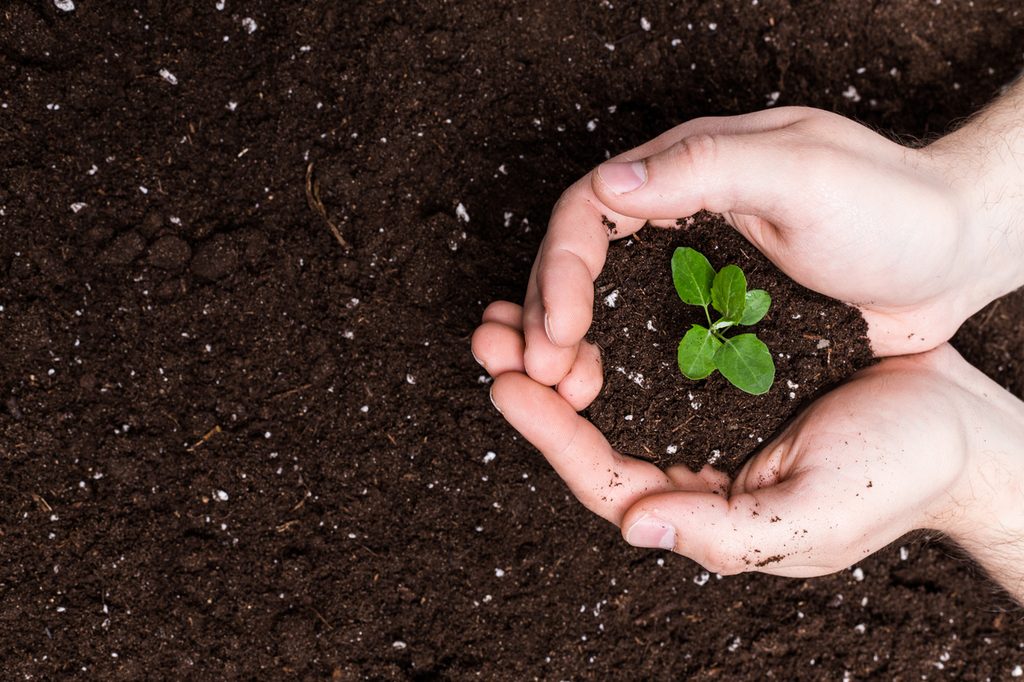
Cupped hands holding soil and little seedling
FabrikaSimf / Shutterstock

For the most successful crops possible, here are a few more pointers on how to transition your seedlings to outdoor conditions.

  • Water your seedlings less frequently as you harden them. Overwatering can lead to issues such as fungal growth and root rot, which can hurt young plants.
  • Consider using a cold frame to acclimate your seedlings to outdoor conditions. You can open cold frames during the daytime and close them during the nighttime.
  • Leave your seedlings on a table or elevated surface to avoid pest damage.
  • Always keep an eye on the weather, in case any unexpected rain or cold snaps occur. Should you face extreme weather, bring your plants inside until outdoor conditions stabilize.
  • If you have established plants that you’ve brought inside for the winter, they will also benefit from a hardening off process.

Bringing your seedlings outside can be an exciting process, but be sure not to rush it. While hardening off your baby plants can take some time, it will all be worth your effort when you enjoy healthy, robust crops down the line.

Stacey Nguyen
Stacey's work has appeared on sites such as POPSUGAR, HelloGiggles, Buzzfeed, The Balance, TripSavvy, and more. When she's…
Don’t let these common plant pests ruin things: What to do when you find them
Watch out for these common plant pests
Aphids on the petals of a daisy

As much as we wish it weren’t true, houseplants and greenhouses aren’t exempt from pest problems. Since they’re inside, you don’t have to worry about deer or rabbits or squirrels chomping at the leaves, but bugs can still find their way indoors. Whether they buzz in through a window or hitch a ride on your pets, pests are sure to find your plants eventually. Some pests are more common across different species than others. Here are the most common types of plant pests to watch out for, and what you should do when you find them.
Mealybugs

Mealybugs are sap-sucking insects that cause gradual damage to your plants over time. Houseplants infested with this pest often exhibit yellowing leaves and leaf drop. They have a cottony appearance, which is obvious when contrasted against the green foliage and stems. For survival, they often nestle and cause damage in nooks and crannies like crowded stems or unfurled leaves.
Signs of an infestation
Because yellow leaves and leaf drop are signs of an array of problems, those things alone don’t indicate a mealybug infestation. What you want to look for, especially if some of the foliage starts to fall prematurely, are cotton-like spots on the stems and leaves. Mealybugs also leave behind a sticky substance that’s wax-like and powdery in appearance, so if your plant starts to look like it has a white film coating parts of it, chances are there’s a bug problem.
How to get rid of mealybugs so they don’t come back
Mealybug infestations can be handled in a variety of ways, depending on the size of the infestation and the kind of method you want to use. For smaller mealybug populations, you can use natural solutions like:

Read more
How to care for desert rose, a gorgeous succulent
Your desert rose care guide
Light pink desert rose flowers

Does your houseplant collection need a stunning new addition? Why not try growing a desert rose? Adenium obesum is a beautiful drought-tolerant flower from the dogbane family. Native to parts of Africa and Asia, this plant’s vibrant flowers and relatively small size when grown in containers make it a wonderful and uncommon houseplant. Curious about growing your own? This guide will walk you through everything you need to know about keeping your desert rose happy and healthy.
Planting desert rose

Desert roses can grow in traditional gardens or in containers, but they are better suited to containers in most parts of the U.S. They prefer warm weather and are sensitive to the cold. Growing your desert rose in a container allows you to bring it indoors during winter to keep it safe and warm.

Read more
Zoysia grass is tough and versatile – here’s how to care for it
Planting and caring for a zoysia grass lawn
Green grass lawn

The basics of lawn care may not change much from one lawn to the next, but many of the finer details do change based on the type of grass you’re growing. If you want the lushest, greenest lawn possible, you’ll need to tailor your care routine to your lawn. Zoysia grass is a popular grass species for lawns, with thick, vibrant blades that require shockingly little care. How do you know if zoysia is right for your lawn, and how do you keep your zoysia lawn looking its best? This guide will answer all your questions.
Planting zoysia grass

Zoysia grass can grow from seeds, sod, or plugs, and all options have different benefits and drawbacks. Seeds are excellent if you have a large area to cover, and they’re generally more affordable. However, zoysia grass grows slowly. Sod and plugs, which are already partially grown, are much faster to establish and begin spreading than seeds. However, they’re more expensive and more time consuming to plant. Some people choose to use a combination of seeds and plugs to get the best of both options.

Read more