

The seasons are changing once again, meaning it’s time to start getting your garden ready for spring. If you’ve planned your next garden and know what you want to plant, but aren’t sure when or how to prepare the garden for spring, then you’re in luck. We’ll walk you through everything you need to do to make sure your garden is in peak condition for the new season. From when to start to how to get your soil and plants ready, this guide will tell you everything you need to know.
Gathering your supplies
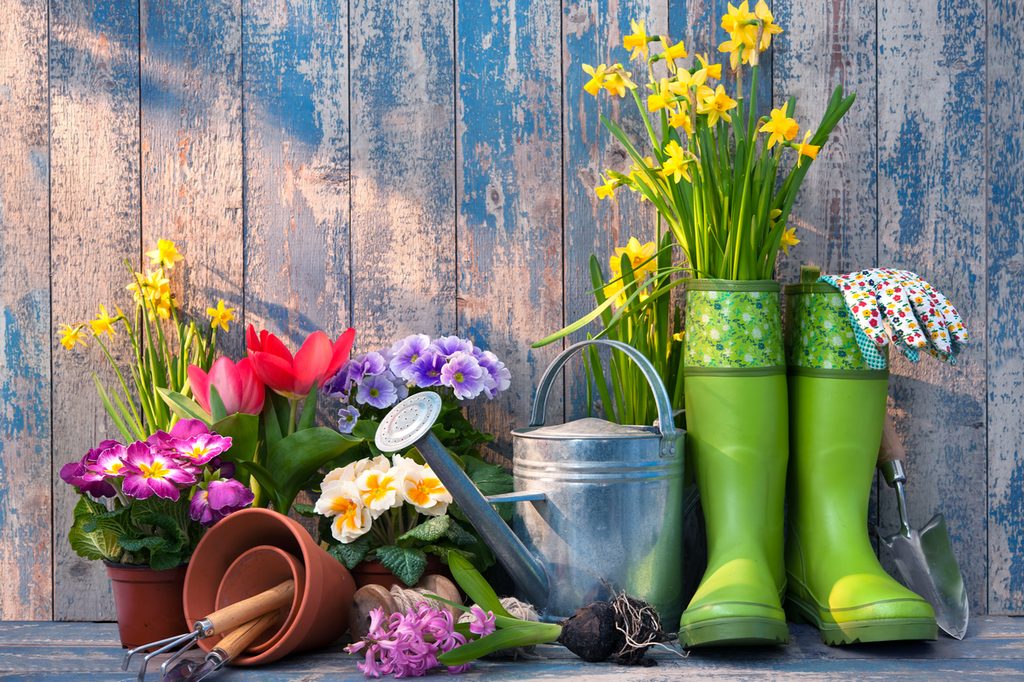
Before you can begin to prepare the garden for spring, make sure you have everything you’ll need. If you’re planning on ordering seeds or plants online, go ahead and place your order so you won’t have to wait for them to arrive after the garden has been prepared. This is also a great time to order supplies that you already know you’ll need for projects you want to tackle, or things you know you’re out of such as fresh potting soil or fertilizer.
Then, take an inventory of everything you have, to make sure nothing needs to be replaced or repaired. Check your tools for signs of rust or damage, but don’t stop there. It’s a good idea to check any outdoor structures while in this stage, too. Furniture, raised garden beds, trellises, water features, and garden sheds should all be inspected, so you know what needs to be done.
Cleaning your garden
Wait to start cleaning your garden until the daily high is an average of 50 degrees Fahrenheit or higher. This isn’t just because cleaning your garden in the cold is unpleasant; it’s to protect your local pollinators. Many insects, including pollinators, spend the winter burrowed under fallen leaves or sheltering in dried plants. If you get rid of the leaf litter and old plants in your garden too early, you’ll be getting rid of all those pollinators, too.
Once the weather is warmer and the pollinators have started to stir, it’s time to clean out the old to make room for the new. Start by cleaning up fallen leaves and branches, as well as any old mulch that needs to be moved. Then uproot any plants that didn’t survive the winter, or that you don’t want in your garden anymore. As long as these plants don’t have mold on them, you can add them to your compost bin. Any plants that are moldy or diseased should not be composted, and should instead be disposed of away from your other plants.
This is also a good time to get rid of any broken structures that can’t be repaired or repurposed. If you don’t have time to take your broken garden furniture or shattered decoration to the dump right away, designate a spot away from your garden to pile them all up together. That way, they won’t be in your way as you go through the rest of the steps.
Preparing the soil
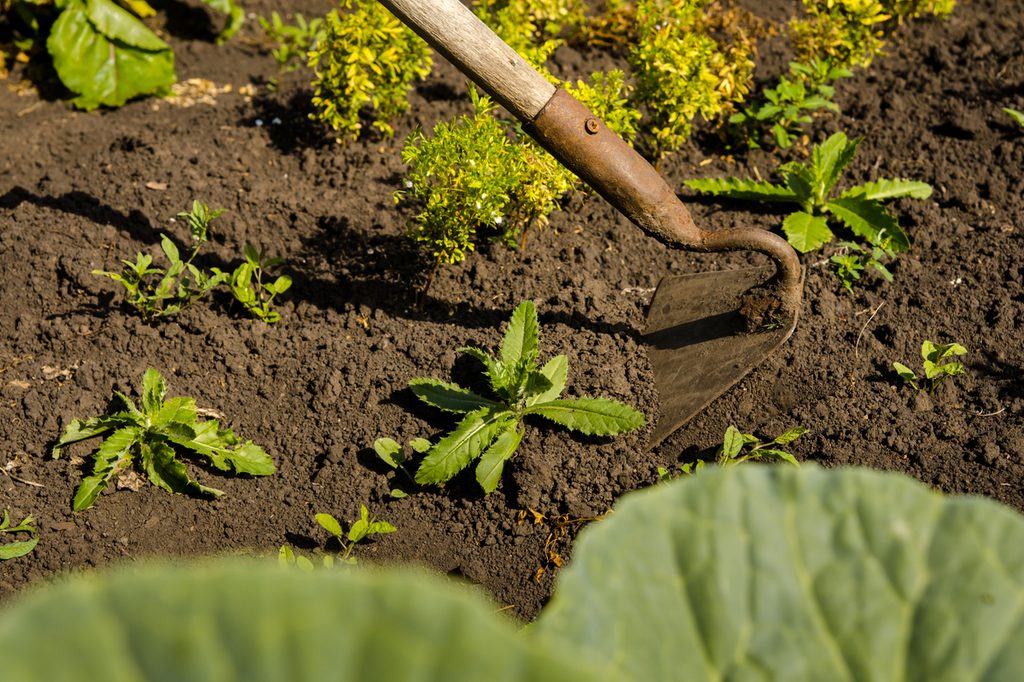
Once you have a clean space, start loosening the soil with a trowel or spade so that you can work with it. If it is still too frozen to get a tool into, you’ll need to wait for it to thaw.
Next, add a layer of compost on top of the soil, and use your spade or trowel to mix into the top several inches of soil. This is especially important if your garden was left empty over winter, in which case rain and snow may have caused erosion or loss of nutrients. If your garden had a cover crop, you can use a soil testing kit to see how healthy it is and use that to determine if it needs improving.
Planting and transplanting
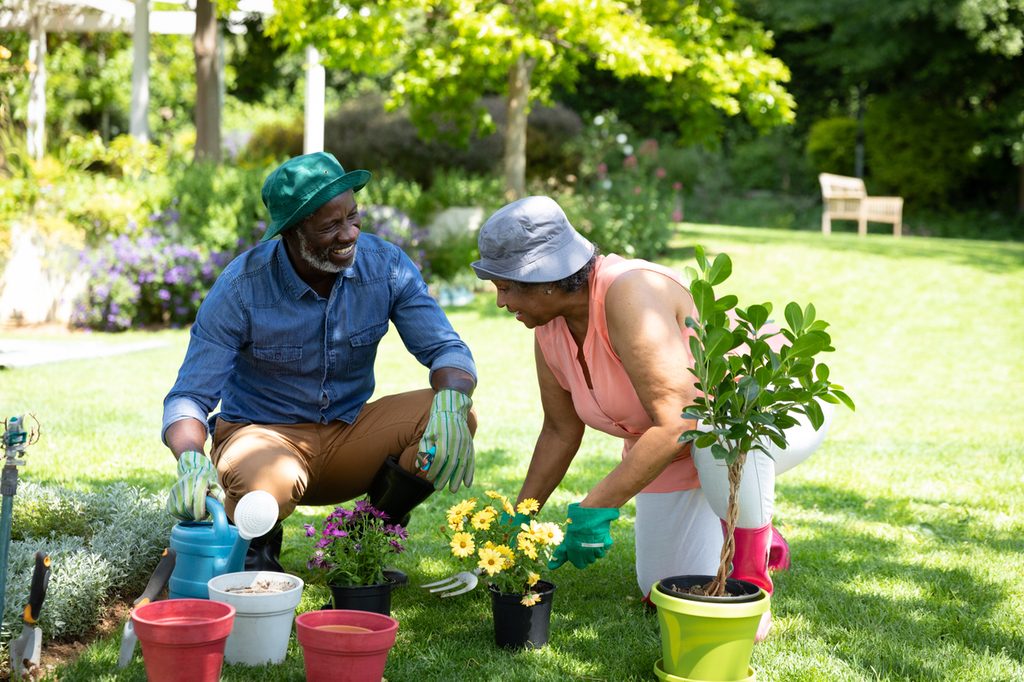
Now that your garden is clean and the soil is prepared, you can start planting or transplanting your new plants. This will vary depending on the type of plants you’re growing, so pay close attention to the individual needs of your plants. Keep an eye on the weather, and start planting on a mild day with calm weather.
Morning is the best time to plant, as the brighter, more intense sunlight of noon can make new plants stressed. Planting them in the morning gives them time to adjust before the noon sun arrives. It’s also better for gardeners. Even if it isn’t as hot and bright as summer, you should give yourself time to adjust to being outdoors again, too!
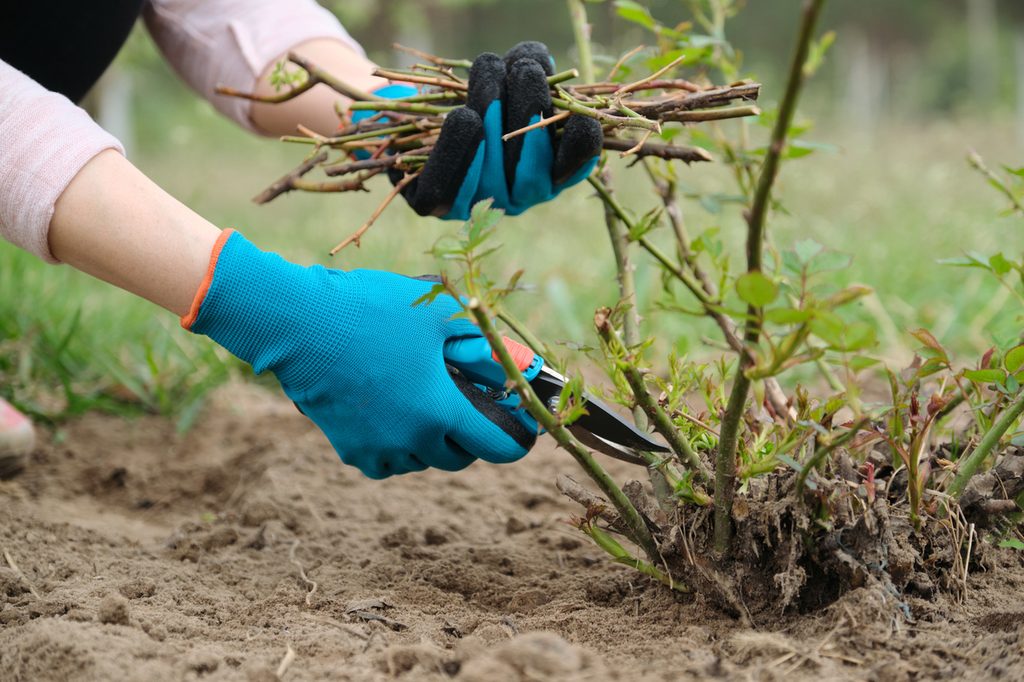
Maintaining your perennials
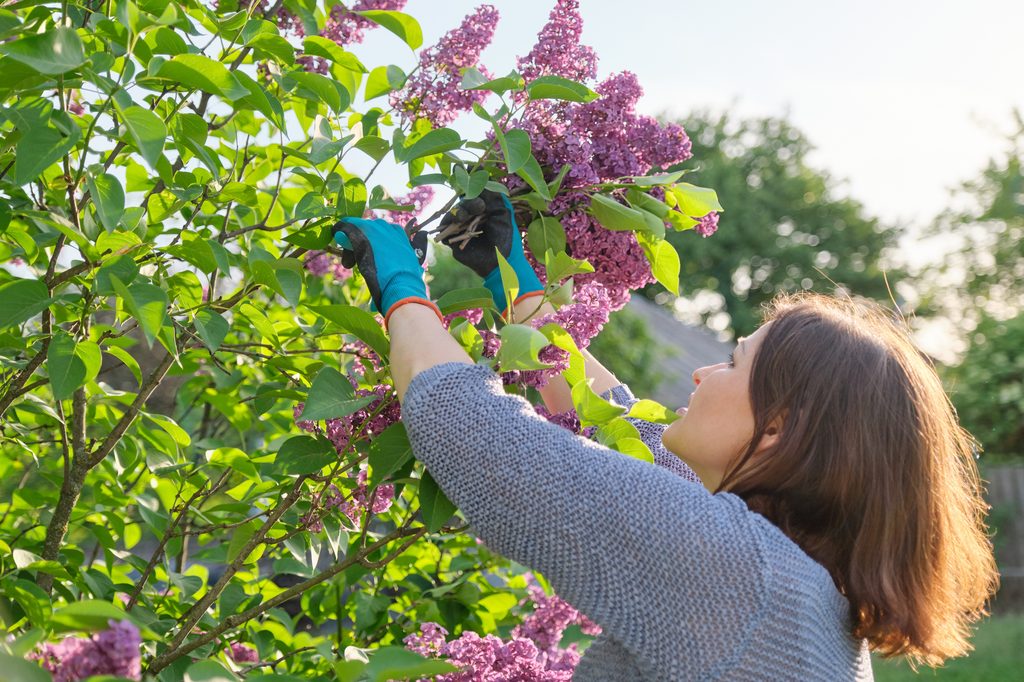
This step can actually be done at any point in the process, or even split across multiple steps. Not every perennial will need attention, but some will need to be pruned, divided, or cut back. Check the individual needs of your perennials to see what they require.
Perennials that bloom on new growth should be cut back or pruned in late winter or early spring to encourage them to put out plenty of new growth. Perennials that spread through their roots are typically divided in spring to prevent overcrowding. Some trees should also be pruned in spring, especially to remove branches that were damaged during winter.
By following this checklist you’ll have your spring garden ready in no time! Whether you’re planting fruits and vegetables or tons of spring flowers, preparing your garden for spring is a simple and straightforward process. Just take it one step at a time.


