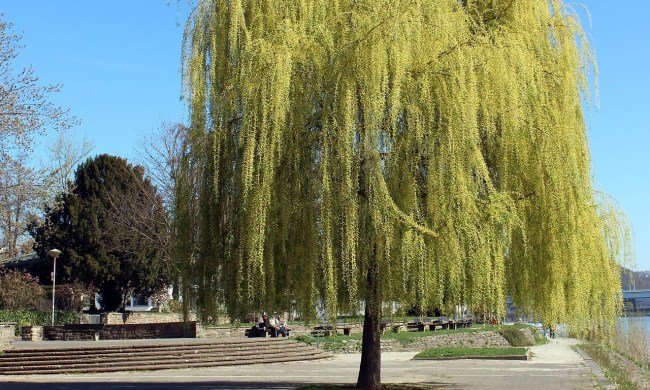
For the health of the tree and safety of those who live and play in its shade, occasional pruning is an important task. In the first few years after planting, pruning encourages a strong, healthy branch structure that sets the stage for decades, or centuries, to come. Later on, occasional damage and disease problems may make it necessary to trim large branches. But, necessary as it may be, doing it wrong can cause serious problems. Follow along as we discuss the right way to remove large tree branches.

Before firing up the chainsaw, consider the urgency of the task and whether now is the best time to do it. In some cases, as with a dead, diseased, or storm-damaged limb, the project is urgent and must be done as soon as is practical. But in the case of an average, healthy branch, the best time to remove it is winter. At that time, the tree will have a reserve of energy to begin rapid, healing growth within just a few weeks. Plus, there are no leaves on the tree to obscure the work.
Tools for the job
Branch thickness dictates tool selection. Small branches that are less than an inch in diameter can easily be removed with handheld bypass pruners or loppers. Medium-sized branches between 1 and 4 inches in diameter should be cleanly removed with a sharp pruning saw or bow saw. The tool of choice for removing branches that are 3 to 4 inches in diameter or larger is a chainsaw. In addition to the right cutting tool, don’t forget this essential gear:
- Safety glasses
- Work gloves
- Hard hat
- Hearing protection
- Chainsaw chaps
- Non-slip work shoes or boots
- Long sleeve shirt and long pants
How to safely remove a large tree branch
The larger the branch diameter to be removed, the more difficult it will be for the tree to heal over. With increased size, more surface area is exposed to potential for insect infestation and infection. Not only that, but these larger branches hold proportionally more foliage than smaller ones, so cutting them off has a greater impact on the tree’s energy production and growth (healing) rate. Simply put, with increased size comes increased risk and less margin for error.
The ultimate goal is to make a smooth, clean cut that will heal as quickly as possible. You can do it in just three steps.
Step 1: Notch cut
Make this partial cut about 2 feet out from the trunk. Starting on the underside of the branch, cut upwards a quarter of the way through the branch to create the notch. This first cut severs the bark and outer growth rings to prevent the branch from splitting and tearing when the next cut is made, but the branch is still securely attached.
Step 2: Relief cut
After making the notch, the next cut relieves most of the downward pressure made by the weight of the branch. Beginning on the upper side of the branch, a couple of inches past the notch, cut completely through the branch. You will be left with only a short section of the branch base sticking out from the trunk.
Step 3: Final cut
The final cut cleanly removes the remaining branch base from the trunk. Locate the branch collar, or swollen area with rough bark that surrounds the connection point of the trunk and branch. Make the cut across the top of the branch collar, being careful to follow the angle of the collar itself. Avoid cutting into the branch collar, since it will produce the callus that will heal over the cut. In many cases it may be easier to cut from the bottom up.
How to remove a high branch
In most cases, it’s best to either rent a bucket lift to work from or hire a tree service to remove high branches. A bucket lift provides a safe, secure working platform that you can easily move into position. It allows you to safely remove the largest branches as numerous smaller, lighter pieces, instead of just a few large, heavy pieces.
Climbing a tree to cut a branch adds multiple layers of risk, including falling, increased risk of life threatening cuts, damage to people or property by the falling branch, and more. If it’s necessary to remove a branch at heights, consider these safety tips:
- If possible, work from the ground, using a pole chainsaw for extended reach.
- Never carry a running chainsaw up a ladder. Instead, use a rope to haul up one that’s not running. Then get into a secure position before starting it.
- If utility lines are running through the canopy, call a professional.
- Before climbing and once you’re in the tree, consider where the branch will fall. Make sure the area is clear of people, pets, and property that may be damaged. Bear in mind that heavy branches that drop through a tree canopy will cause damage to adjacent branches as they fall.
- A branch viewed from the ground may appear manageable until you climb the tree. Don’t be afraid to stop and call a pro if the job turns out to be more than you bargained for.
Follow these tips to make sure that when you cut large branches off your trees, you’re doing so safely! This way, your plants will stay at their healthiest, as will you.


