Can you grow maple trees for homemade maple syrup? How to take care of them and harvest the sap

Caring for a maple tree to make maple syrup

A large maple tree with red leaves
pieonane / Pixabay

Drizzled over pancakes or used to sweeten baked goods, maple syrup is a delicious treat. While it’s easy to find in stores, you can also make it at home! The process takes patience, but growing maple trees, harvesting the sap, and turning it into sweet maple syrup is definitely possible. If you’d like to get started, here’s what you need to know.
Recommended Videos

Difficulty

Moderate

Duration

1 hour 30 minutes

What You Need

  • Nitrogen-rich fertilizer

  • Drill

  • Spile

  • Hammer

  • Bucket with a cover

  • Outdoor fire or burner

  • Large pot

  • Pot holder

  • Spoon

  • Bottle

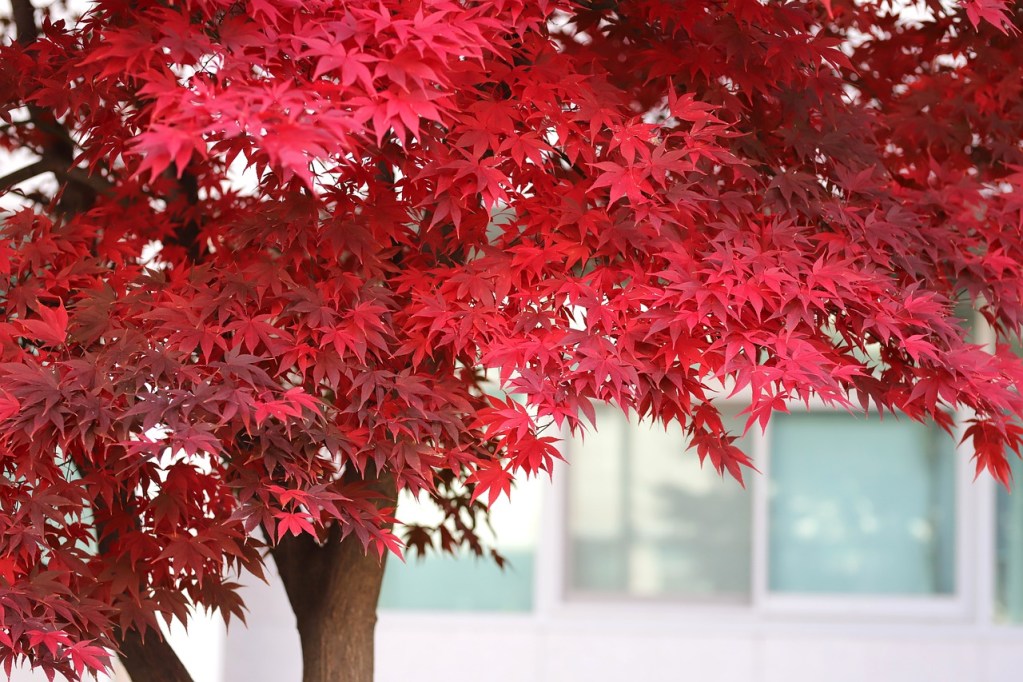
Maple tree with red leaves in front of a building
HeungSoon / Pixabay

Choosing the right variety of maple tree

Any variety of maple trees can produce maple syrup, but some are better than others. Sugar maples are one of the most commonly used maple tree varieties, as their sap has a higher sugar content. Black, red, and silver maples are also commonly used. Smaller maple trees, such as the Japanese maple, are less commonly used.
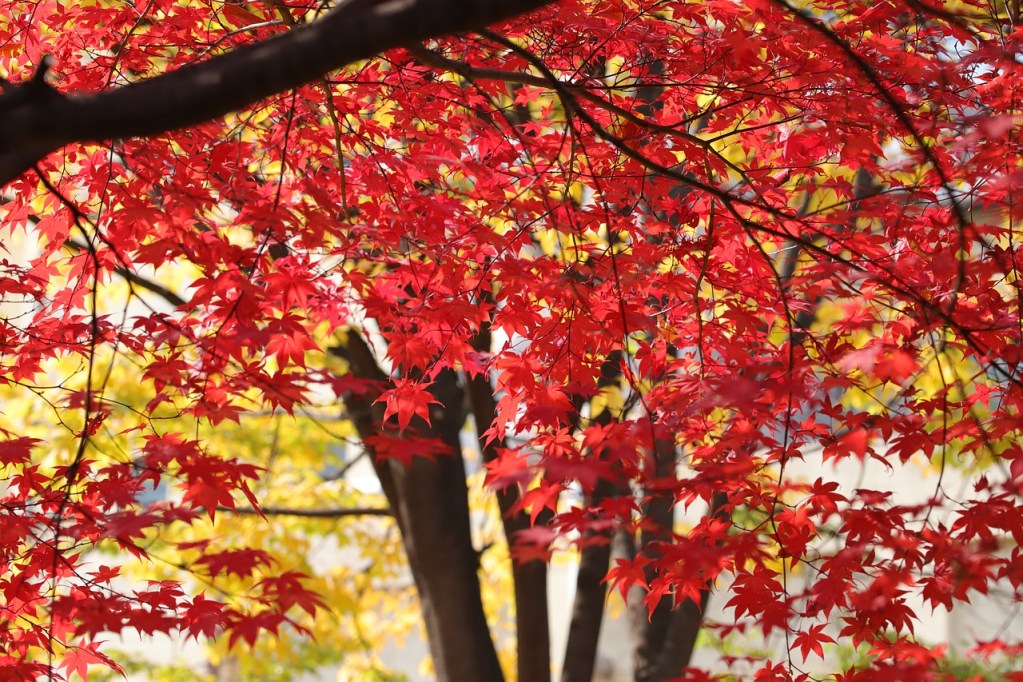
A cluster of maple trees with red leaves
HeungSoon / Pixabay

Caring for maple trees

Here's how to care for your maple trees:

Step 1: Plant them in full sun.

Step 2: Make sure you use well-draining soil.

Step 3: Feed the maple trees nitrogen-rich fertilizer or compost.

Step 4: Water your maple trees semi-regularly.
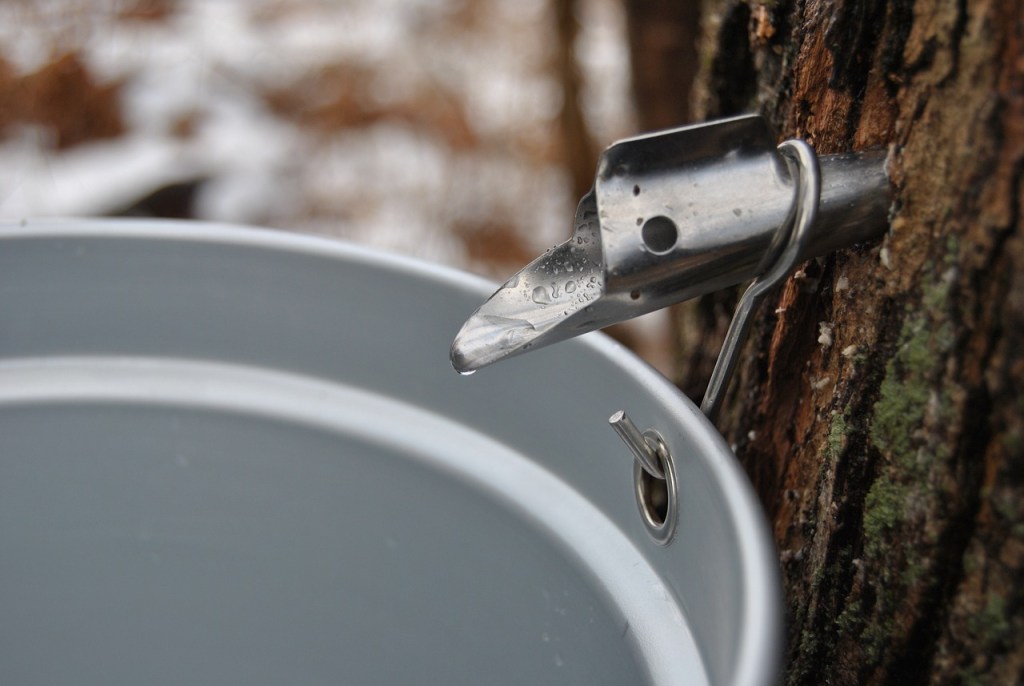
A metal spile with a bucket in a maple tree
Image used with permission by copyright holder

Harvesting the sap

This is how and when to harvest the sap:

Step 1: Begin harvesting in early spring, when the nights are below freezing, but the days are above freezing.

Step 2: Harvest from healthy trees that are at least 10 inches in diameter.

Step 3: Drill a 2-inch hole angled upward into the sunnier side of the tree.

Step 4: Place the spile in the hole.

Step 5: Tap it in with a hammer.

Step 6: Hang your sap collection bucket.

A bucket with a cover is ideal to keep debris out.

Step 7: Collect the sap at the end of each day.
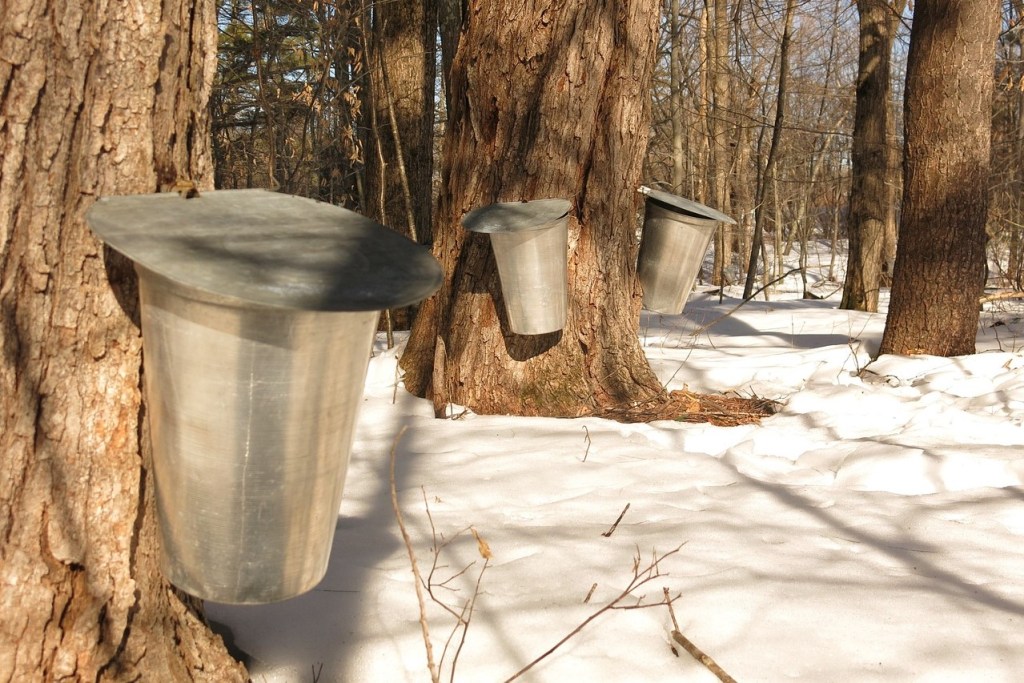
Several maple trees with covered metal buckets hanging from them, harvesting maple sap
Image used with permission by copyright holder

Turning sap into syrup

You can turn any amount of sap into syrup, but the more sap you have the better. It takes roughly 40 gallons of sap to make 1 gallon of syrup. When you’ve got all your sap, here’s how to turn it into syrup:

Step 1: Set up a fire or burner outdoors.

Making maple syrup indoors isn’t advisable, as it will cover your walls with steam.

Step 2: Fill your largest pot with maple sap.

Step 3: Boil the sap until it is dark and thick.

If it changes color very quickly or begins to smell bad, remove it from the heat immediately as it's starting to burn. Use a pot holder when moving the pot, as it will be hot.

Step 4: Take a spoonful of the syrup and let it cool, then pour it back into the pot.

If the syrup flows quickly and is watery, let it boil longer. If the syrup is thick and falls slowly, it’s ready. If it is too thick to pour, then you’ve made maple candy instead of syrup.

Be careful not to touch the syrup! It will still be hot, and since it's sticky, it will be difficult to get off your skin before it burns you.

Step 5: Pour the syrup into a bottle.

If the bottle is not heat resistant, let the syrup cool first.

You may notice sugar crystals in the bottom of your syrup. This is called sugar sand. It’s edible, although the texture can be unpleasant for some. It will settle to the bottom of the bottle and stay there, or you can filter it out. Now you’re ready to enjoy your maple syrup!

Topics
Cayla Leonard
Cayla Leonard is a writer from North Carolina who is passionate about plants.  She enjoys reading and writing fiction and…
Stargazer lilies – how to grow them for stunning blooms
Indoor and outdoor care for stargazer lilies
A cluster of stargazer lily flowers

Of the many popular flowers found in summer flower gardens, lilies are perhaps one of the most versatile. There are many colors, patterns, and even shapes available, so you're sure to find a lily that fits your garden. One popular lily variety is the stargazer lily, which has large, striking flowers. In outdoor gardens, they make for a stunning centerpiece, but did you know you can also grow them indoors? They even make fantastic cut flowers! This guide will explain everything you need to know about caring for your stargazer lilies, whether indoors or out.
Indoor care

Stargazer lilies, like other lily varieties, can grow indoors with proper care. Indoor care for stargazer lilies begins with choosing the correct container. It needs to be deep and have sufficient drainage holes. Avoid shallow pots or those without drainage holes, such as ceramic pots. Likewise, you must use well-draining soil to avoid overwatering. Stargazer lilies enjoy moist soil, but they don’t tolerate standing water. Soil that is rich in organic matter is ideal.

Read more
How to grow a coffee plant (and how many beans it can produce)
Enjoy homegrown coffee beans with these tips
A white coffee cup tipped over on a matching saucer with roasted coffee beans spilling out of it

Coffee is a delicious drink, and the grounds can be useful for gardening, but did you know you can grow your own coffee beans? It’s easier than you might think, and it can be both fun and rewarding! If you’re looking for a way to supplement your store-bought coffee, curious about blending your own custom coffee mixes, or just think it would be cool, this guide will explain everything you need to know about growing coffee plants. We'll answer all your questions from how to plant them to when you can expect your first harvest.
Planting coffee plants

Throughout most of the U.S., coffee plants need to grow indoors or in a greenhouse. They are hardy in USDA zones 10 and 11, but the winters north of that get too cold for them. You may be able to keep them outdoors in zone 9 with increased protection, but most gardeners prefer to keep them in containers and move them indoors or into a greenhouse. With their love of warm, humid conditions, coffee plants are a perfect candidate for greenhouse growing.

Read more
This is how many pumpkins per plant you can grow
What to expect from a pumpkin harvest
A small pumpkin sitting on top of a fence post

As summer ends and fall begins, the pumpkin harvest season is almost here! These lovely gourds have so many uses, from baking them into delicious pumpkin pies to carving them into Halloween decorations. Knowing when to expect them is one thing, but how many pumpkins can you expect to harvest? Is there any way to encourage your pumpkin plant to produce more pumpkins, or should you plant a specific type of pumpkin to ensure the biggest harvest? Here’s everything you need to know about how many pumpkins per plant to expect this harvest season.
How many pumpkins can grow per plant?

On average, pumpkin plants grow two to five pumpkins per plant. However, this depends on a few factors. Each pumpkin needs space and nutrients to grow. The larger the pumpkins are, the fewer you can expect to see on your vine. On the other hand, varieties with smaller pumpkins tend to produce more pumpkins. Pumpkin vines growing in poor soil or that are weak, sick, or stressed also tend to produce fewer gourds. These pumpkins may also be smaller than the species’ average, since the plant has less energy to devote to each pumpkin.

Read more