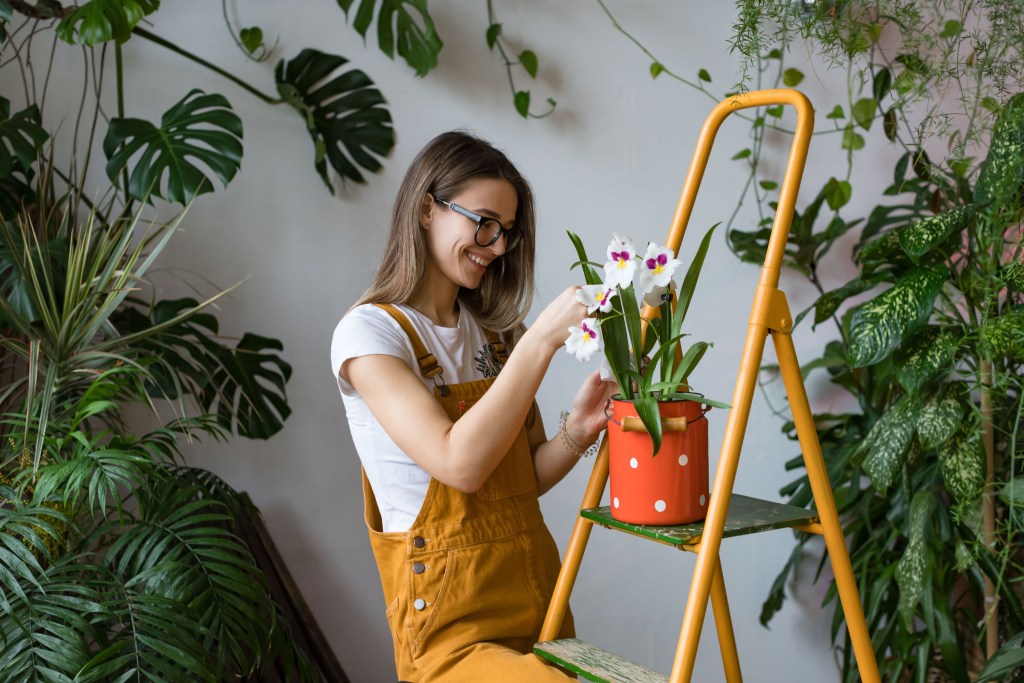
It isn’t always easy to know how to keep orchids alive. Orchids are stunning, unique looking, and have the unfortunate reputation of being hard to care for. That doesn’t mean you should give up on your dreams of having a lovely orchid garden, though!
If you find yourself desiring an orchid or suddenly in possession of an orchid that you aren’t sure you know how to take care of, here are some recommendations for keeping your orchids alive indoors.

Get to know your orchid
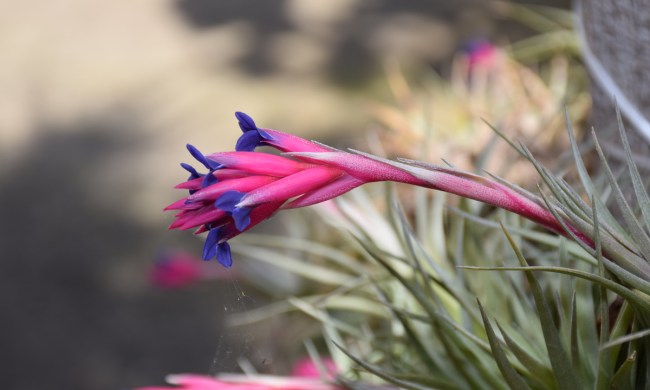
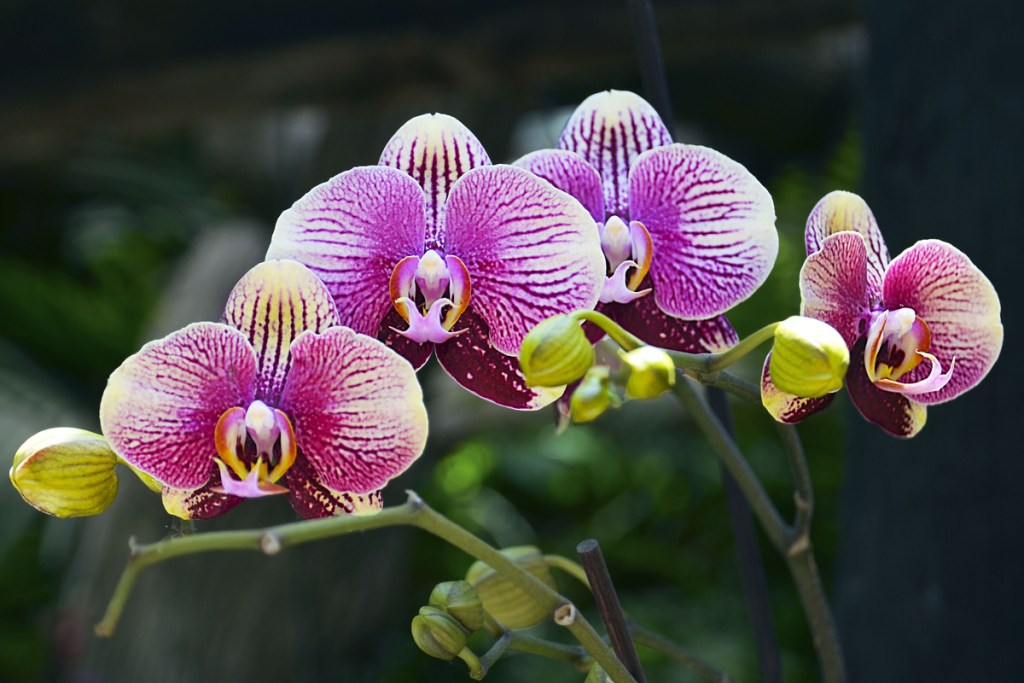
What kind of orchid do you have? An orchid is any flowering plant that has the male and female reproductive parts fused into a single structure called a column. The flowers are symmetrical, with three petals and three sepals. Orchids are the largest family of flowering plants in the world, with more than 25,000 species growing in habitats such as bogs, temperate woodlands, tropical rainforests, and more.
They are divided into two groups based on where they grow. Terrestrial orchids grow in soil. Epiphytic orchids grow in the canopies of trees. The most popular orchids come from the epiphytic group, including Cattleya, Cymbidium, Dendrobium, Oncidium, and Phalaenopsis. Terrestrial orchids, such as Ludisia, Paphiopedilum, Phaius, Phragmipedium, and Zygopetalum, are steadily increasing in availability and popularity.
Getting to know your orchid’s family will give greater insight into its native growing conditions, which you can replicate at home.

Are orchids hard to keep alive?
Orchids can be difficult to keep alive, but they don’t need to be. As long as you take your time when planning and setting up a space for your orchid, it’ll likely do just fine. Orchids are easier to take care of if you’re a naturally meticulous person.
If you find yourself often forgetting to care for your plants, you may do better with something like a snake plant. However, if you have your heart set on an orchid, they aren’t impossible to care for.

Do orchids do well indoors?
Orchids can do quite well indoors, provided the conditions meet their needs. In many places, orchids do better indoors than they do outside. This is especially true in colder climates and places with thicker soils that retain water. Orchids enjoy a very specific balance that can sometimes be hard to meet in places other than their native habitat.
Pot and soil requirements
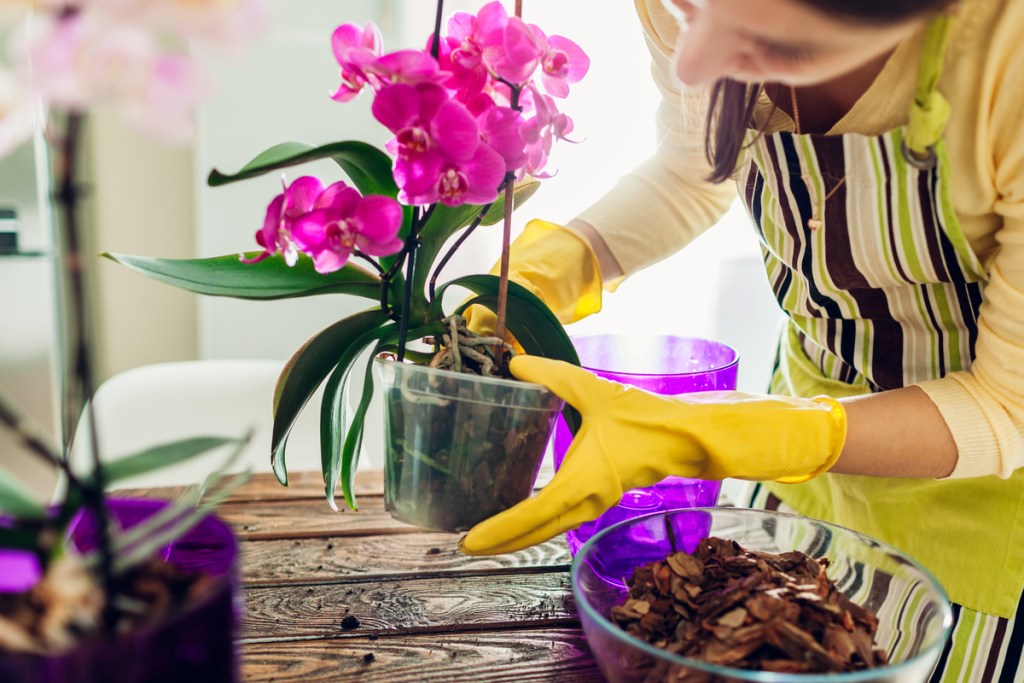
There are a lot of things to consider when caring for your orchid, starting with what you plant them in. Orchids are very sensitive to rotting, mushy roots, so it’s crucial to have a pot with drainage holes on the bottom and a potting soil that drains well.
Step 1: Choose a special potting mix specifically made for orchids or create your own with a well-draining soil mixed with moss or bark.
Note that you’ll have to water your orchid a little more frequently if you use a bark base because they drain much more quickly than other types of potting soil.
Epiphytes prefer a very coarse orchid potting mix or chunky orchid bark, because it retains some moisture and nutrients but freely drains excess water. Terrestrials prefer a finely textured orchid potting mix with high organic content and excellent drainage.
Step 2: Plant the orchid in a pot with good drainage to avoid leaving the plant in standing water.
Step 3: No matter what potting medium and pot combination you use, only water your orchid when the soil is dry to the touch, both at the surface and an inch or so from the top.

Light requirements
Light is another important factor for orchids. They enjoy a lot of indirect light and don’t do very well in intense or direct light.
Step 1: If possible, place the orchid by a south- or east-facing window for optimal indirect light.
Step 2: If you don’t have any windows that get mostly morning light or only have the option of a window with very strong afternoon light (such as a west-facing window), put up a sheer or gauzy curtain to help diffuse the light.
Step 3: If your only option is a north-facing window, you may need to supplement your natural light with grow lights.
Humidity requirements
Orchids do best in warmer temperatures ranging from 60 to 75 degrees Fahrenheit, and their preferred humidity range is 40 to 60%. Keep an eye on your thermostat to avoid cooling your orchid down too much. If your humidity is lower than 40%, you should gently mist your orchid with plain water.
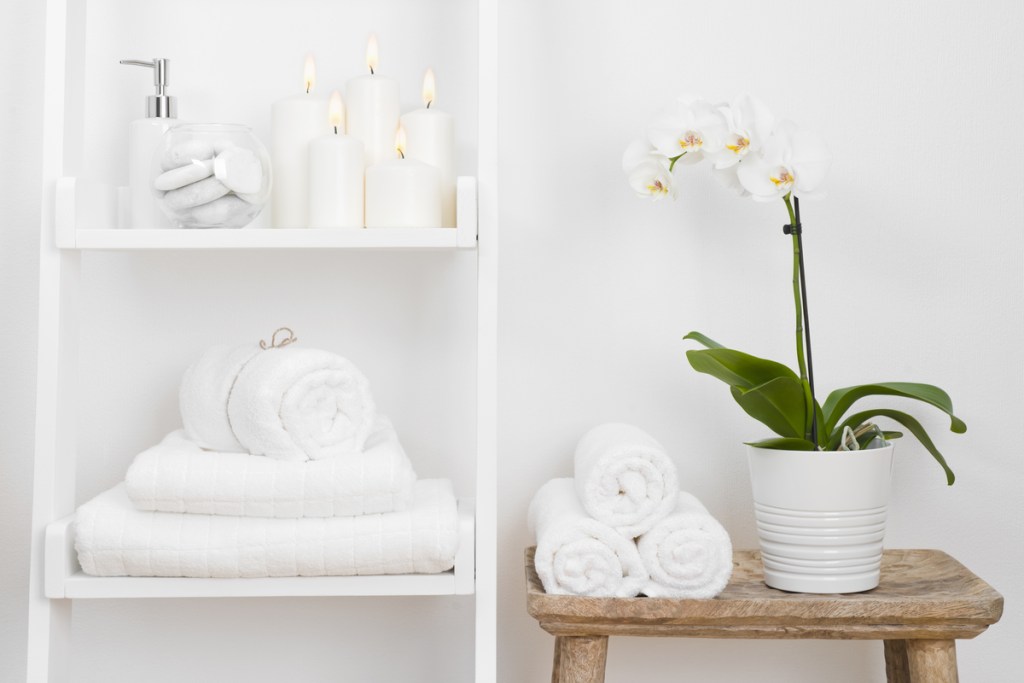
Step 1: To supplement the humidity your orchid receives, place it near your bathroom while you shower.
Taking your orchid into the shower with you may mean exposing it to too much moisture, so try to find somewhere near, but not in, your shower. Orchids will enjoy the heat and steam from a hot shower without becoming overwhelmed by too much moisture.
Step 2: Epiphytic orchids especially thrive in humid locations. Where they grow in the wild, they get most of their moisture by the rainwater that gets trapped in tree bark with decomposing organic matter. You can help replicate these conditions in your home with the humidity in a bathroom or over a kitchen sink.
Watering
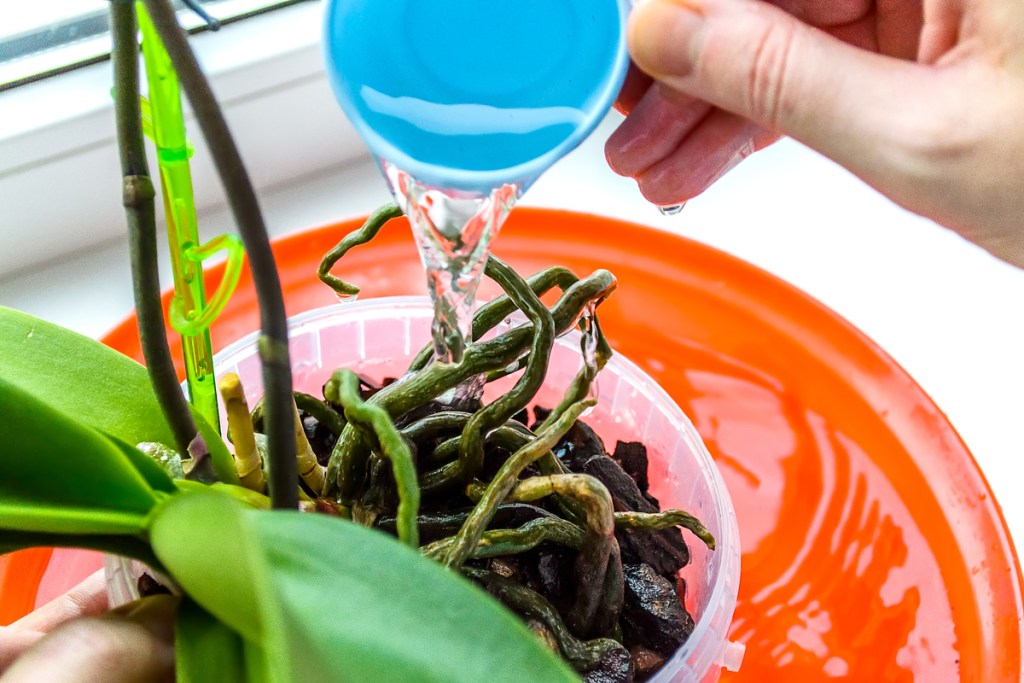
Like many plants, orchids prefer to be evenly moist but not soaked, and they don't like to dry out. Here's how to get that balance.
Step 1: Water orchids about once a week with rainwater or day-old tap water. Do not use distilled or salt-softened water.
Step 2: Place the plant in a sink and apply room-temperature water beneath the foliage and over the whole root zone for 15 to 20 seconds. Then, let the plant drain.
Fertilizing
Orchids need food, too!
Step 1: Mix a liquid 20-20-20 complete and balanced fertilizer at one-quarter strength. Apply this diluted food once weekly during the regular watering schedule from spring through fall.
Step 2: Every fourth week, skip the fertilizer and just use plain water to flush away salt buildup.
Step 3: Do not feed orchids while they are blooming or if they are stressed or otherwise unhealthy.
Pruning
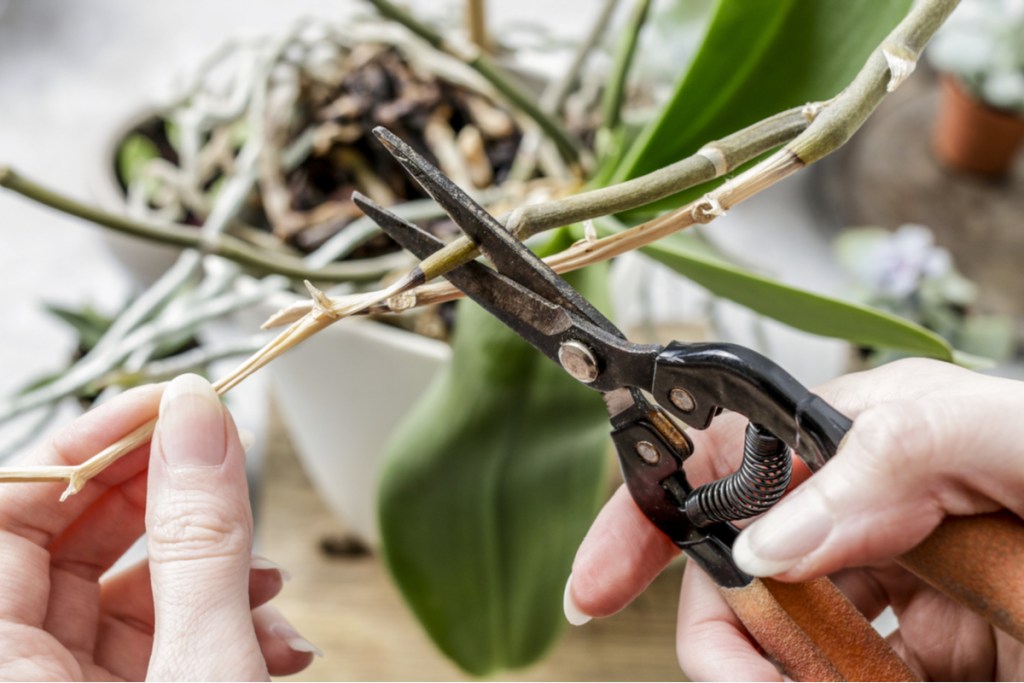
Orchids typically put out an entirely new stem for each bloom, so removing the stem along with the flower stops the orchid from pouring more energy into keeping that stem alive. Instead, the plant redirects its energy towards creating a new stem for a new flower.
Step 1: Orchids bloom on long stalks that grow from the base of the plant. When the flowers fade, the stalk may turn brown and die back. If this happens, use sterilized pruning shears or scissors to cut off the stalk where it grows out of the main plant.
Step 2: If the cut stalk remains green, there is a chance that it will produce another round of blooms in two or three months. In this case, you can either leave it alone or cut the top back to just above the first node (the swollen area on the flower stalk that looks like a bud is swollen beneath the surface).
Repotting
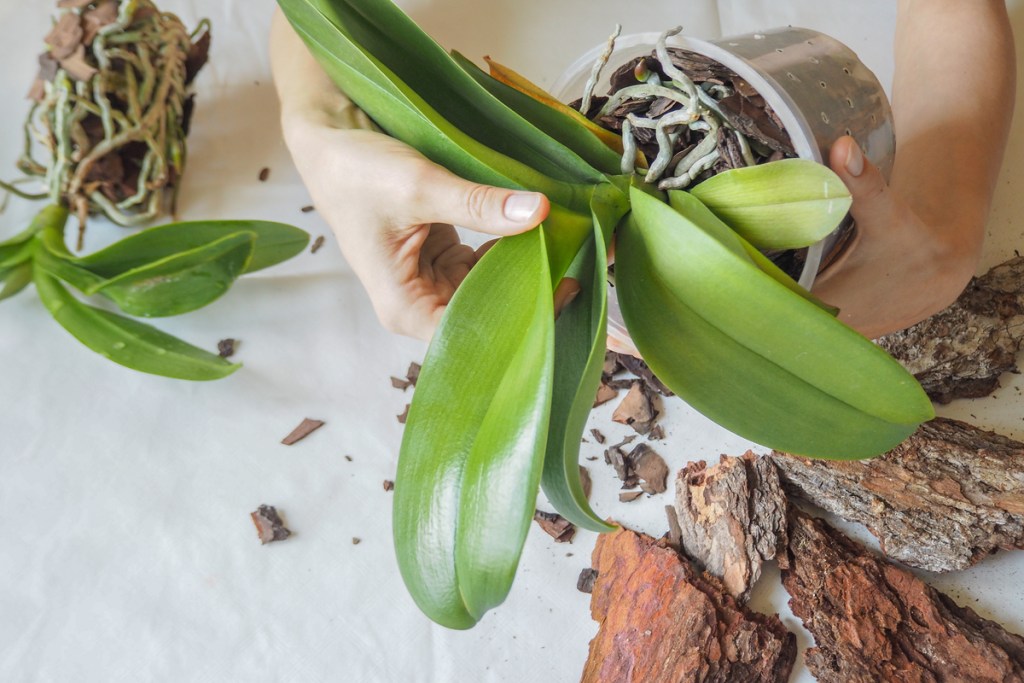
Many orchids prefer to remain pot bound, so there’s no need to worry when aerial roots emerge above the pot rim. Use the condition of the bark-based potting mix as an indication that it’s time to repot. When the mix is worn out, broken down, and turning to dust (normally every one to three years), it’s time to repot.
Step 1: Water the plant thoroughly.
Step 2: Remove the orchid from its container and gently remove remnants of the old orchid mix.
Step 3: Prune away dead, withered roots with sterilized shears or scissors.
Step 4: Replant with new orchid mix so that the bottom leaves are above the bark and the bark surface is half an inch below the pot rim.
Checking for pests
To keep your orchid as healthy as it can be, you'll want to routinely screen for any pest issues. In addition to looking unseemly, pests can feed off your plant, damage plant tissue, and weaken your plant's disease defenses. Here's how to identify and manage orchid pests.
Step 1: Periodically check your leaves, stems, roots, and blooms for signs of pesky pests.
You might notice clusters of bugs, damaged foliage, or sticky residues.
Step 2: Identify what kind of pest you have.
Common indoor orchid pests include mealybugs, scale, thrips, aphids, and spider mites.
Step 3: If your pest issue is mild, you may be able to get away with spraying your plant with water.
Step 4: If your pest issue is more severe, you may need to apply insecticidal soap or horticultural oils until the issue resolves itself.
Follow the instructions on your product label closely for the best results.
Step 5: Consider repotting your plant into fresh orchid bark, as pests may live and lay eggs in the potting mix over time.
Orchids have become notorious for being finicky and difficult to care for, but anyone can grow these gorgeous flowers with the right conditions. Now that you know these easy tips for orchid care, you can go forth and turn your regular house into an orchid-filled greenhouse!