Pumpkins are a fun seasonal gourd with so many uses. There are pumpkins for pies, jack-o’-lanterns, and displays. You can grow tiny pumpkins or massive pumpkins. If you’d like to start growing pumpkins in your garden but aren’t sure what to expect, then you’ve come to the right place! While there are some differences between pumpkin varieties, this general guide for pumpkin plant growth is a great place to start. Understanding when pumpkins grow and when to harvest them will ensure that you get the freshest picks for fall.
Pumpkin germination
Growing pumpkins from seed is easy and fun, but there is something to be aware of first. Different pumpkin varieties will grow at different speeds. When buying seeds, the packet should tell you how long it takes to be ready for harvest. If not, you can look up the specific variety you have. If you aren’t sure what type of pumpkin you have, though, most pumpkin varieties take between 90 and 110 days to fully mature and produce fruit.
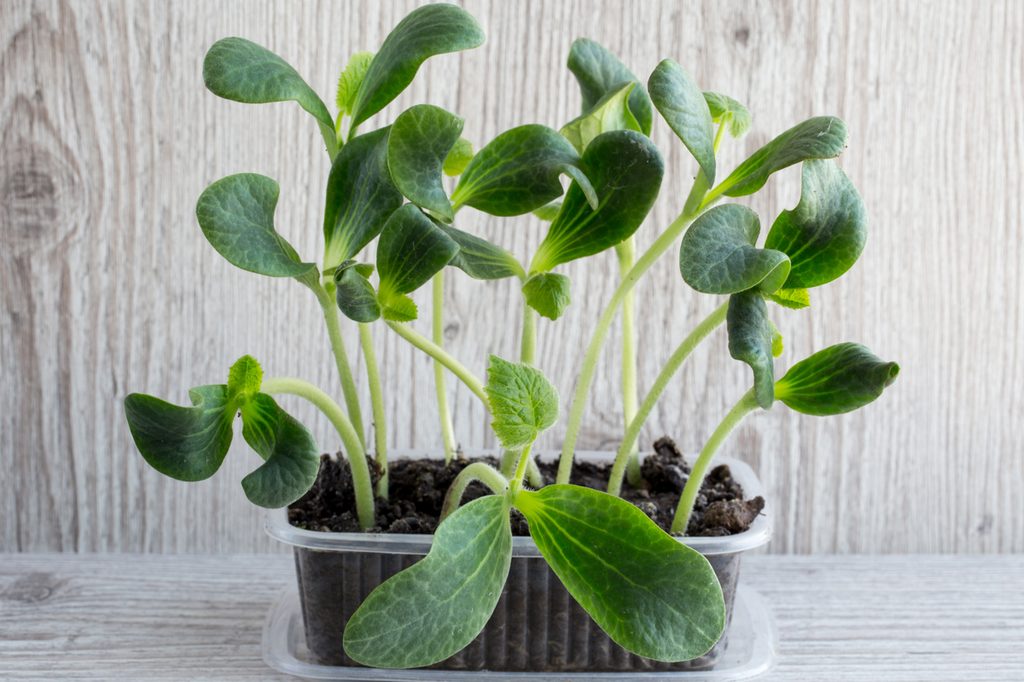
Pumpkin seeds don’t take very long to germinate and sprout. In fact, they’re quite fast! Pumpkin seeds typically germinate in about 10 days. There aren’t usually any issues with this stage. It happens so fast that by the time any issue was noticed, it would be too late to fix. The good news, though, is that you’ll know fairly quickly if your plants aren’t growing. If your seeds haven’t sprouted after 10 days, it’s time to plant another round of seeds.
Pumpkin maturation
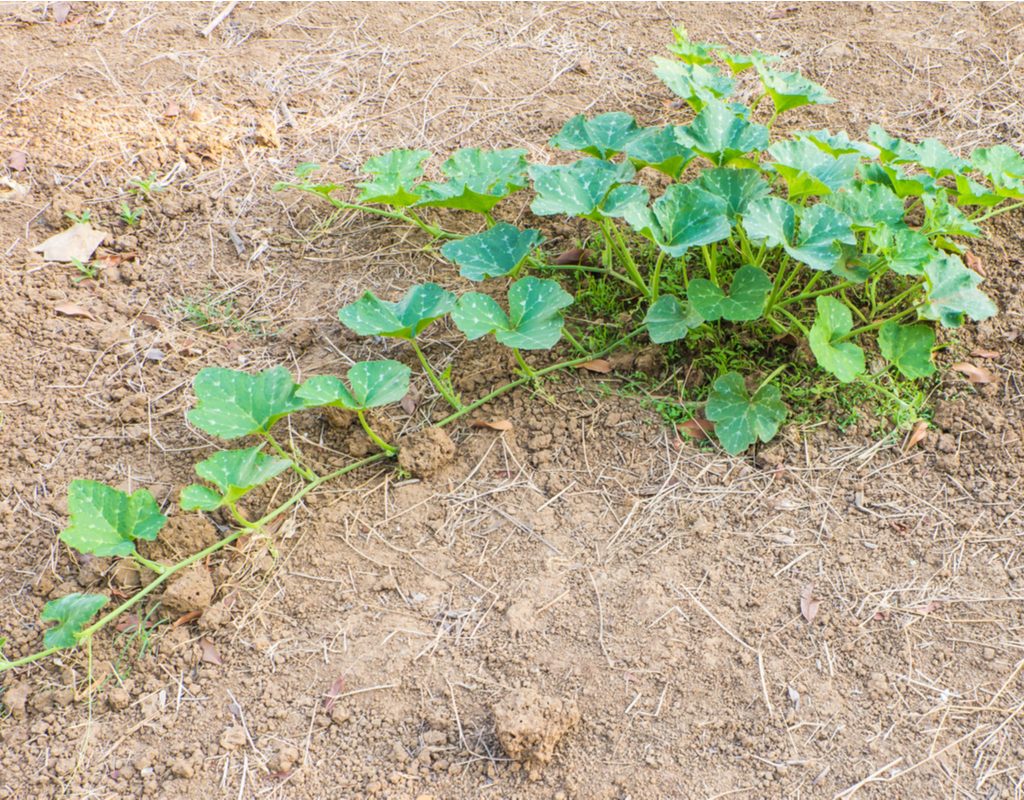
Pumpkin plants spend most of their time growing long vines. Depending on the variety of pumpkin you have, you could have anywhere from a few feet to 20 feet of vines! Since this is the stage that pumpkins spend the most time in, this is where you’re likely to run into problems. Pests, for example, can be an issue. There are beetles that love the leaves, and squash vine borers that like to tunnel into the vines. Beetles can be prevented by covering your plants when they’re young.
Garden fabric designed to let in light but keep out insects is another particularly good choice. The plants can be uncovered when they’re more mature and can withstand beetles. Borers, on the other hand, are best removed by hand. They’re caterpillars, so a covering won’t always keep them out. Instead, look for signs that they’ve entered your plant and use a knife or box cutter to remove them.
Pumpkin harvesting
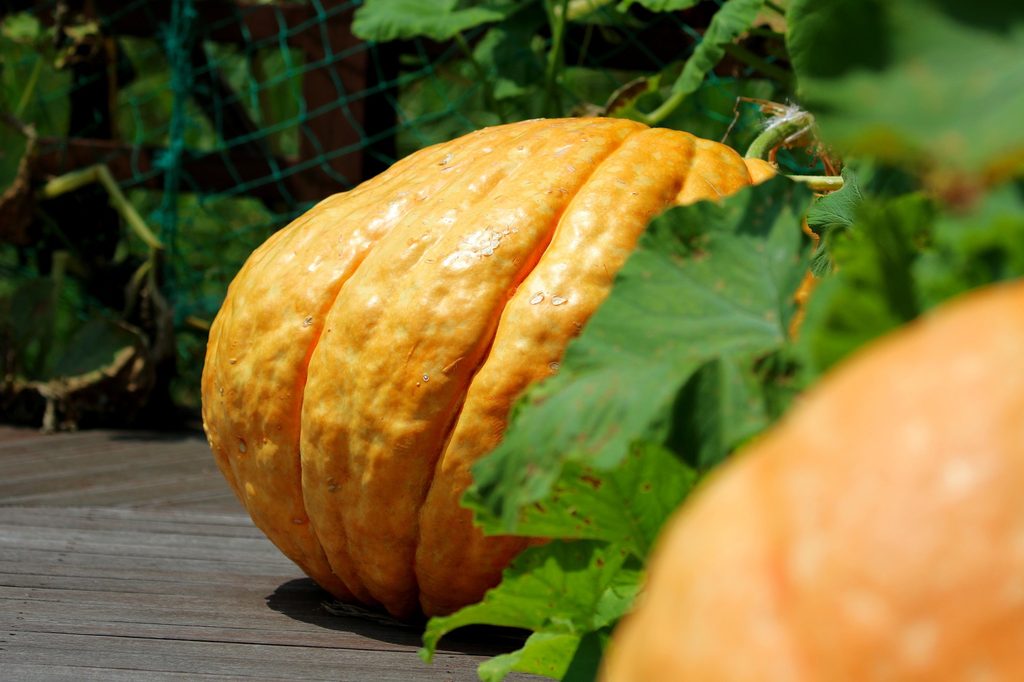
Depending on the variety of pumpkin, your plant should start flowering about eight or nine weeks after being planted. Another week after that, your first pumpkins will start to grow. The rate of pumpkin maturity depends a lot on the variety of pumpkins you have. Smaller pumpkins will mature more quickly than larger pumpkins.
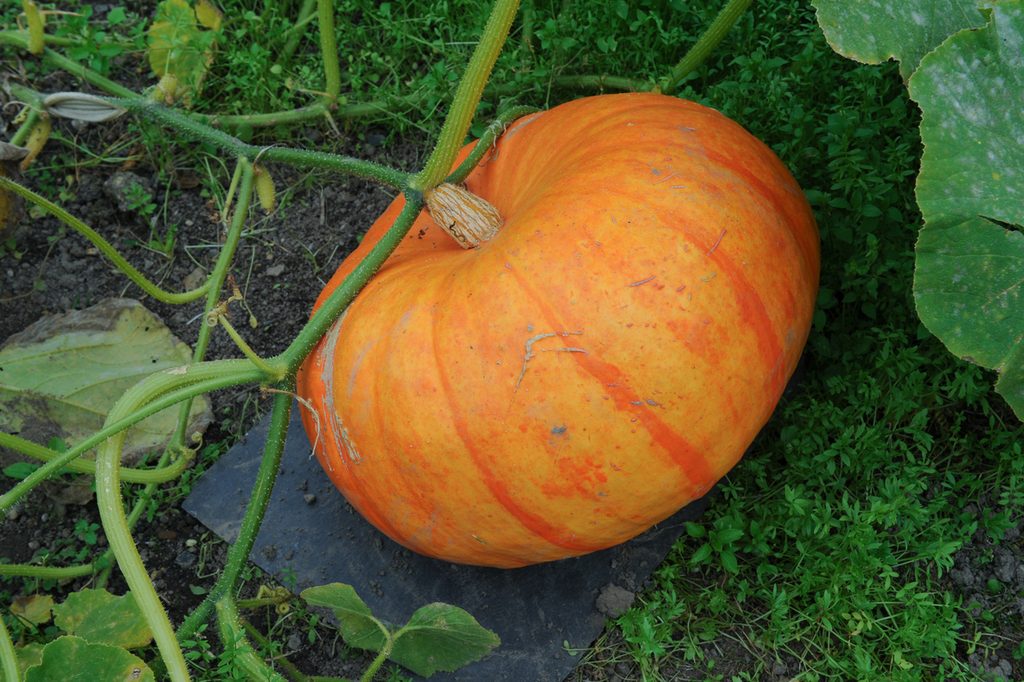
Whether you have large or small pumpkins, though, it’s easy to tell when they’re ripe. They should have a good, even color throughout, and the outside should be hard. You should be able to hit it with the palm of your hand and press your fingernails to it without damaging the pumpkin.
Some vegetables and fruits can be picked unripe and then ripened off the vine. Pumpkins, however, are not one of them. Pumpkins that are picked before they’re ripe don’t keep as well as ripe pumpkins because their rind hasn’t had as much time to fully harden. Likewise, don’t leave them on the vine past ripening in the hopes that they’ll get bigger. Look for a variety that naturally grows to the size you want, and you can avoid a lot of hassle and heartache.
Can you speed up the pumpkin-growing process?
You can speed up pumpkin growth slightly, although it isn’t an exact science. The best way to ensure a speedy harvest is to make sure your plants are getting all the nutrients they need. This is especially true of sunlight and water! Pumpkins love the sun, and a lot of sunlight means that water evaporates more quickly, so they need more frequent watering.
Although it may not speed up development as much as lots of sun and water do, you can expect a heartier, healthier harvest if you grow your pumpkins on a trellis. Being away from the ground protects pumpkins from pests and increases air flow, which helps fend off disease and rot.

How long do pumpkins last after harvest?
As long as they’re left unscathed, pumpkins can actually stay fresh for a long time after harvest. Typically, you’ll have one month with a pumpkin if you store it at room temperature — this time frame can even be as long as three months to one whole year if you leave your pumpkins somewhere dark and cool. How long your pumpkin lasts can also depend on its variety, as smaller pumpkins generally last longer.
Do keep in mind that if you plan on carving your pumpkins for Halloween, they will rot much sooner. It’s a good rule of thumb to carve your pumpkins about three to five before Halloween, but you can also give your pumpkin a bleach bath post-carving to stave off mold.
Whether you’re going for a big or small pumpkin, it’s important to remember that things take time to grow. You can’t rush perfection, after all. Now that you have a realistic timeline for pumpkin growth, you’re all ready to plant your own patch.

