Having fresh fruits and vegetables for meals and snacks is a great way to inject your diet with extra nutrients and add a little flair of color to your meals. Grocery stores, however, don’t always have exactly what you want; or, if they do, it may be more expensive if it’s out of season or not grown locally. So, what are you to do? Grow it yourself! Gardening for food doesn’t have to be difficult or complicated, and practically anyone can do it. Here’s your simple guide to the ultimate fruit and vegetable garden!
Choosing your fruits and vegetables
The exact fruits and vegetables you choose will depend on your climate and personal taste, but there are a few things to keep an eye out for. Try to choose a wide range of fruits and vegetables, and plant a few of each. Look for plants with similar, but not exactly the same, harvest times. If all your plants are ready for harvest at the same time, you may have difficulty getting it all in on time, resulting in some fruits or vegetables going to waste.
Look for plants with compatible needs. If all your plants have exactly the same needs, it can place a higher demand on resources. For example, if all your plants need a lot of calcium, the calcium in your soil will be depleted faster. Instead, your plants should have varied needs and benefits. For example, pairing a plant that needs extra nitrogen with a nitrogen fixing plant, or a tall, sun-loving plant with a smaller, shade-loving plant underneath.
Some of the easiest fruits and vegetables to grow are tomatoes, strawberries, zucchini, cucumbers, pumpkins, and leafy greens like lettuce, cabbage, and spinach. Starting with these makes for a great baseline, and you can add any other fruit or veggie that you find particularly delicious to the mix.
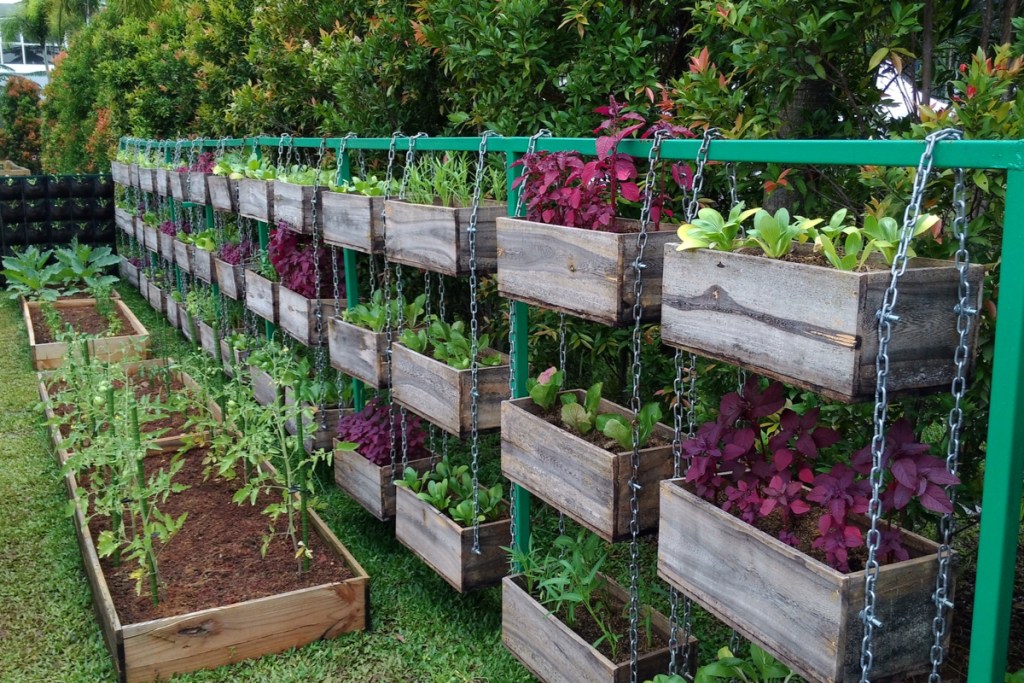
Arranging and planting
There are a few things to consider when arranging your ultimate garden. Plant needs are one. Make sure the plants that need the most sun are in the sunniest areas of the gardens and the ones that prefer shade are provided some shelter. Consider planting sun-loving, vining plants — such as pumpkins, cucumbers, or squash — on an A-frame trellis with shade-loving plants underneath.
Another thing to consider is pest control. If you live in an area that’s frequented by rabbits or deer, plant deer-resistant vegetables at the edges of the garden with the plants they find tastiest in the center. Although this won’t stop every pest, and you may still need to put up a fence or deer scare, it can help dissuade them and reduce your problems.
Caring for your garden
Be sure to water your garden in the morning before it gets hot. Wet leaves often burn, and you want to give the water time to absorb into the soil before evaporating in the sunlight. Watering in the afternoon or evening may be OK during warmer seasons, although it isn’t ideal, but avoid it altogether during cooler stretches. Many types of bacteria and fungi thrive in wet, dark climates, so watering just before dark can encourage infections.
Keep a careful eye out for any signs of disease, and act quickly at the first signs of infection. Although some diseases only affect a limited range of plants, some diseases can spread throughout your garden. Treatments can range from applying fungicide, increasing a particular nutrient in the soil, or removing the infected plant or part of the plant.
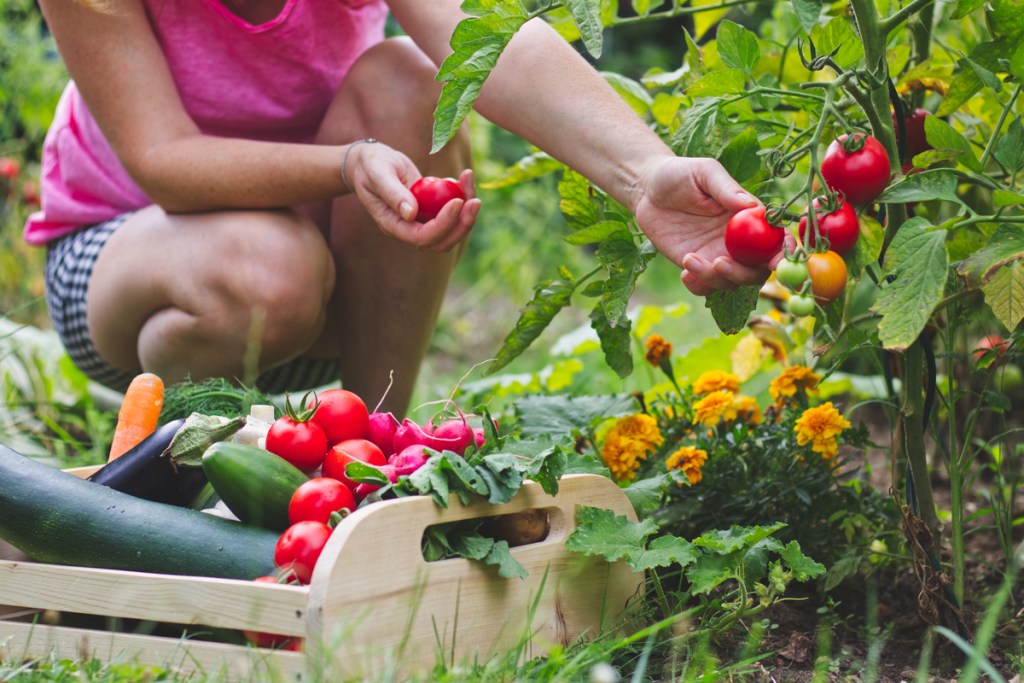
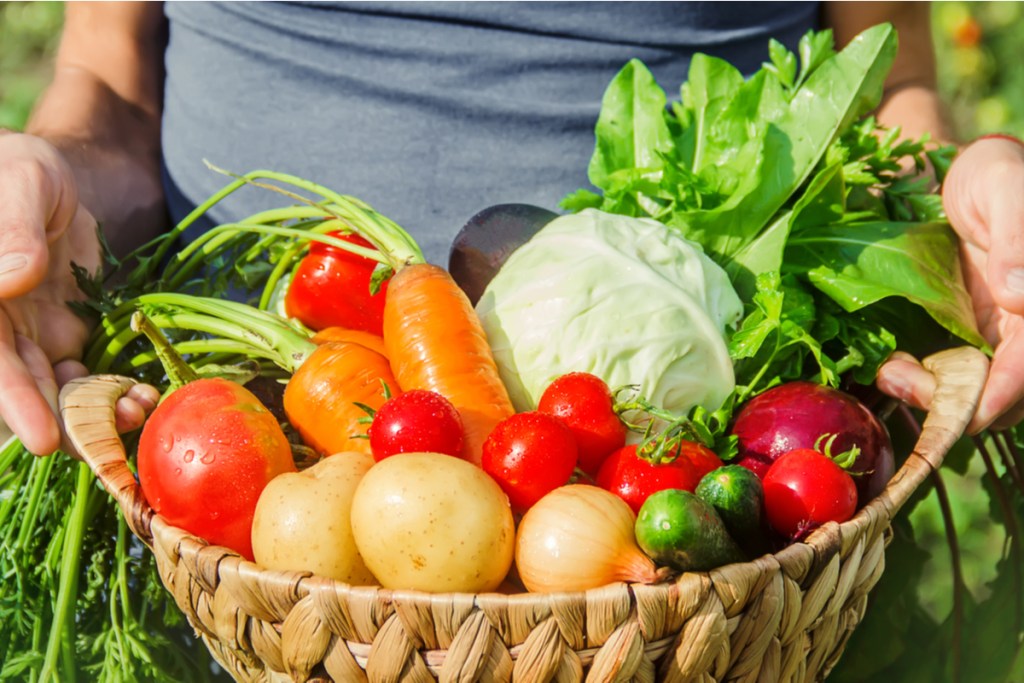
What to do at harvest time
When it comes time to harvest, it’s best to do it as the fruits and vegetables ripen rather than wait for a lot of them to be ready for harvest. Harvesting a little at a time as they ripen reduces waste, as fewer fruits and vegetables are left to rot on the vine, and you can eat or preserve them as they come, rather than having to deal with many at once. It can also lead to an increased harvest, as some plants will produce additional fruits after the existing ones have been harvested.
It’s also best to harvest in the morning, around the same time you would be watering your garden, and for similar reasons. It protects you, the gardener, from heat stroke, but also keeps your nice, ripe fruits and veggies from drying or wilting in the sun before you can pick them.
There you have it, the simple guide to planting the ultimate fruit and vegetable garden. You now know the tips and tricks to planting, caring for, and harvesting your garden. Remember to choose compatible plants, plant them strategically, and water and harvest in the morning. What your ultimate garden looks like and what flavors it provides are up to you, so enjoy your fresh garden feast!


