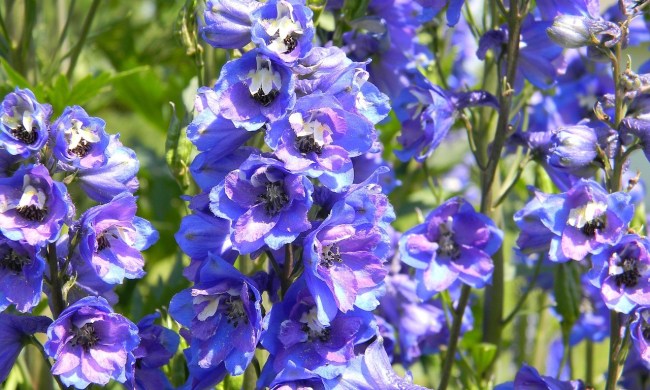
Moving to a new home can be exciting and stressful. Some people deal with this stress by carefully planning and packing each box, while others find relief in just putting everything into whichever box it will fit in. One thing that can’t be boxed up, though, is your outdoor garden.
Whether you have a sprawling, intricate outdoor garden or just a few precious plants, it can be difficult to leave them behind. What if you don’t have to leave them, though? Here is everything you need to know about whether or not you can transplant your garden, and how to safely go about it.
Can you transport your outdoor garden?
Unfortunately, this question isn’t easily answered with a simple yes or no. There are several factors that impact whether or not you can take your garden with you when you move. These factors largely boil down to the issues of legality and practicality.
Some states prohibit or limit what plants can be brought into the state with the general exception of houseplants. This is mostly to limit invasive species and preserve the native plants of each state. If you’re moving across state lines, check that state’s department of agriculture website to see if any of the plants you want to bring aren’t allowed, or if you need to schedule an inspection with the department of agriculture to ensure your plants are pest free. While you may think it’s worth the risk to bring them anyways, that really isn’t advisable. Aside from being liable for fines or other punishments, you may also be held responsible for any damage the invasive species does to the environment.
When it comes to practicality, you just need to consider how many plants your garden has and how big they are, how much room you have available, and what method of transportation you’re using. If you have a large garden, or several large plants, you may need to leave some behind.
Preparing your plants
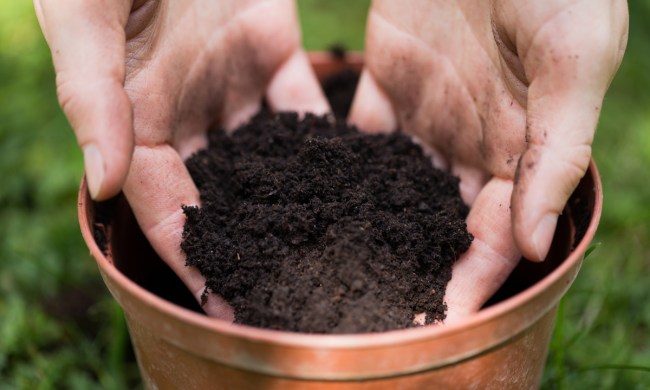
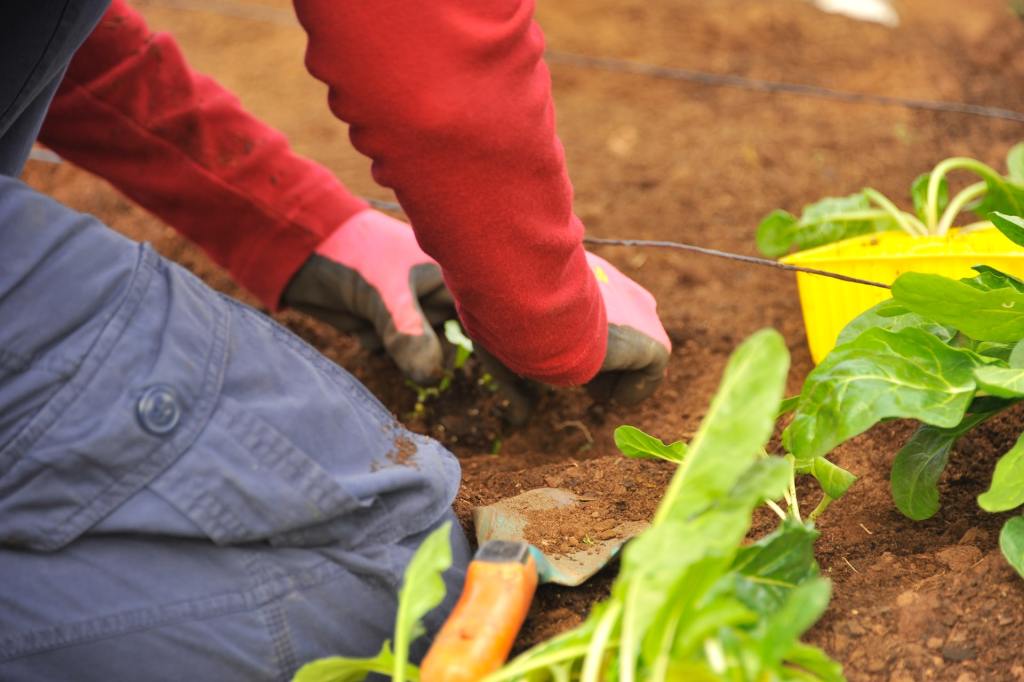
Before you can move your plants, you need to get them out of the ground. Be careful and gentle when you dig, and try to avoid damaging the roots as much as possible. It’s best to work in the morning, before the sun becomes intense and before you water them. Pot your plants in plastic pots — as many other types of pots are breakable — and water them after potting. It’s best to do this at least a week in advance of the move to let them adjust before the stressful moving day.
Treat your plants with the pesticide of your choice a couple days before moving. This is partly to ensure you aren’t bringing insects into your car and to ensure you pass any department of agriculture inspections, but it’s also vital to your plant’s health. Moving is stressful, and stress leaves plants weaker and vulnerable to pests and diseases.
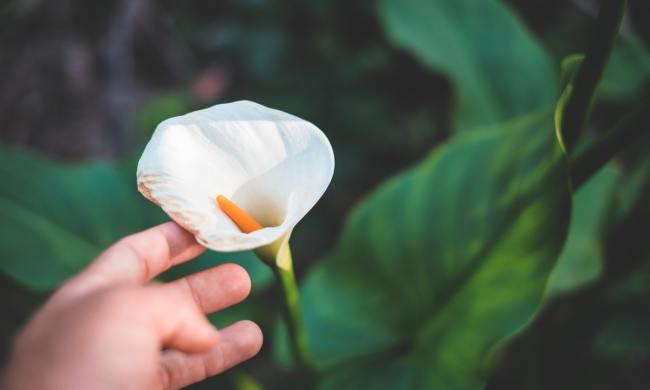
When it comes to larger plants, such as shrubs or bushes, or plants that you have to leave behind but don’t want to, there is another option. You can take a cutting from the plant to regrow the plant at your new home. In this case, simply take your cutting and store it somewhere dark, cool, and dry for the duration of the move until you’re ready to plant it. In some states, cuttings are subject to the same regulations that full plants are, so be sure to double-check before moving!
Transporting your plants
There are a couple methods of transportation available. If you’ve hired movers, you may be able to send your plants in the moving van, depending on the company you choose. The mail is another option, although this may not be the most cost-effective method if you have a lot of plants, and there are restrictions on sending plants through the mail. You can also take your plants in the car with you. If you’re using one of the first two options, be sure to read the company policies regarding plants. Regardless, some things remain the same no matter which option you choose.
Make sure the bottoms of the pots are sealed against spills. Taping a garbage bag over the bottom of each pot is the easiest way to do this. If you’re concerned about the pot tipping over during the move, you may consider securing another bag over the top, with a hole for the plant itself. Larger plants or plants that are unusually top-heavy can benefit from adding a counterbalance to the base of their pots. Rocks are perfect for this.
Be sure the plants are secure in whatever container they’re traveling in. This may mean getting boxes that are just slightly bigger than your plants, or adding additional packing material around the plants to hold them steady. If you’re taking the plants in your car, be sure the surrounding boxes are secure, and wedge the box of plants in tightly to keep it from sliding around.
Be gentle when replanting your garden, and keep a sharp eye out for any signs of disease when your plants are extra vulnerable in the weeks that follow. You’re ready to transport and transplant your outdoor garden. If you’re moving across state lines be sure to read up on any laws that might affect you. Otherwise, just be gentle with your plants and exercise caution. Remember, if you can’t take the whole plant, you can always take a cutting!