If you want to know how to start cucumber seeds indoors, then you’re in luck! Starting your cucumbers indoors is a great way to maximize your growing season. Cucumbers are an amazingly versatile vegetable, great for salads, refreshing cucumber water, and pickling. They aren’t difficult to grow, either, with their only quirk being the occasional need for hand pollination. It takes a bit of patience to start seeds indoors, but it isn’t difficult. Luckily, we’re here to tell you everything you need to know about starting your cucumbers, including how to care for them and when to transplant them outdoors.
When to start your cucumbers
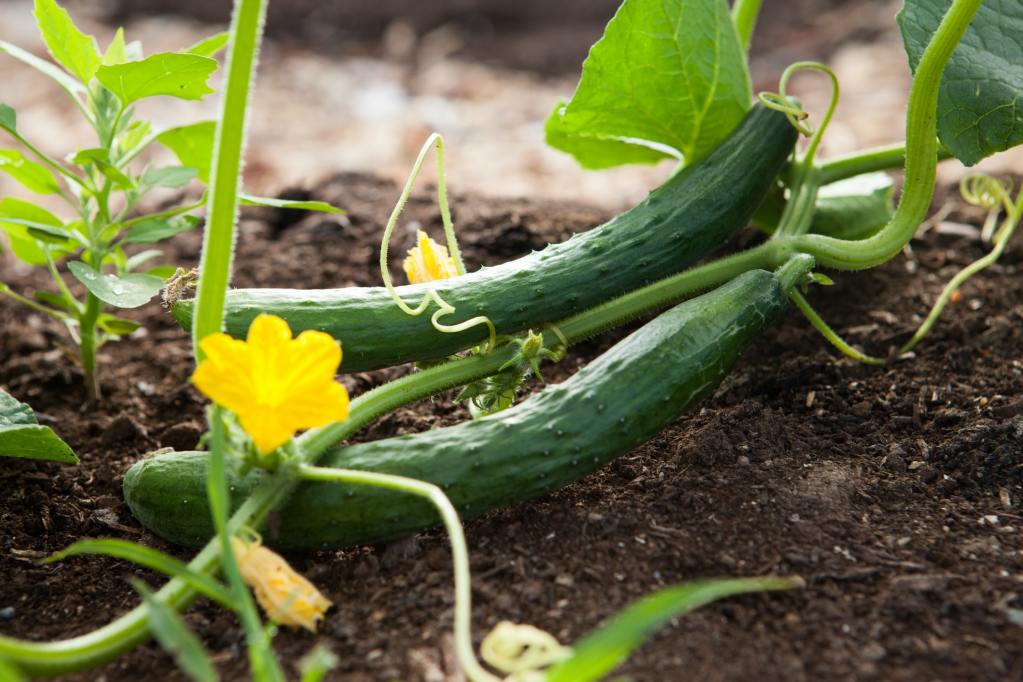
If you’re sowing your cucumbers directly into your garden, then it’s typically best to start planting two weeks after the last frost of the year. Cucumbers are easily damaged by cold and frost, so they need the weather to warm up a bit before they can be safely planted. However, starting your cucumbers indoors allows you to control the temperature, meaning you can start your cucumber seeds earlier.
Starting your seeds two or three weeks before the last frost gives your cucumber plants time to grow and develop indoors. It also ensures that they’ll be old enough to transplant at around the time you would typically begin planting your cucumbers. However, you can start them even earlier if you so choose. Just remember that the earlier you start them the longer you’ll have to care for them indoors before moving them outside.
Planting your seeds
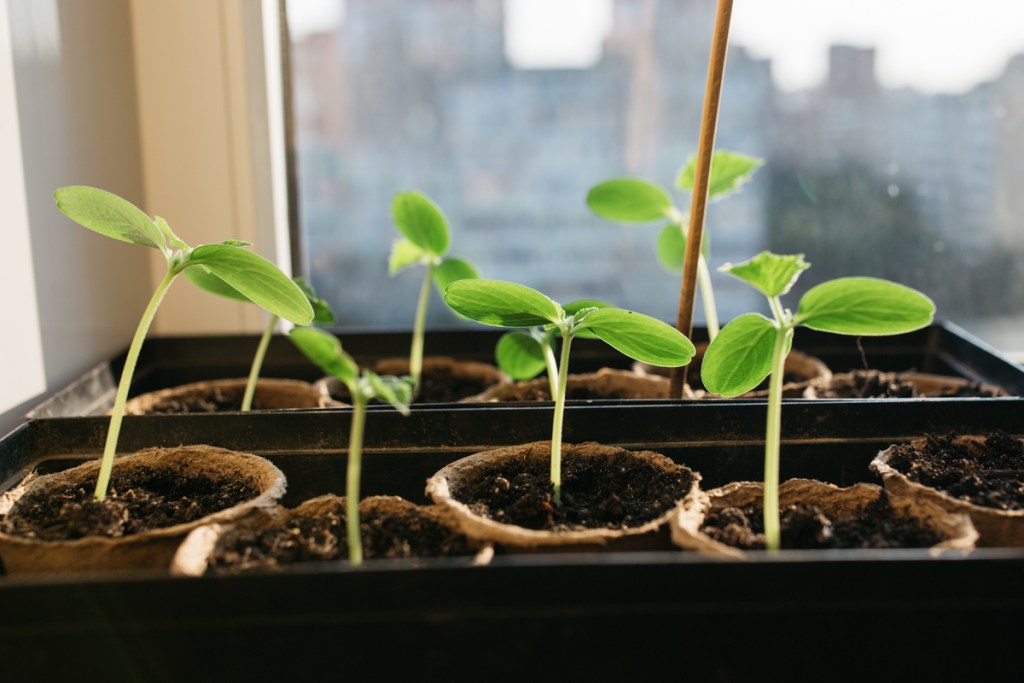
Start your seeds in small pots, with only one or two seeds per pot. You can use any rich, nutritious soil, but there are seed-specific potting mixes available at most gardening stores. Mixing compost with regular potting soil will work well too. Moisten the soil, then plant your seeds roughly half an inch deep.
Place your pots in a warm, sunny spot. Window sills can be a great choice but check for any drafts first. Although warmth and light are both important, the cold will damage a cucumber seed faster than a lack of light will. If you don’t have anywhere in your home that’s both warm and sunny, consider getting a heat mat or a grow light. These tools can make starting seeds indoors much easier. If you do have a heating mat, set it to around 70 degrees Fahrenheit for the best results.
Caring for your cucumber seeds
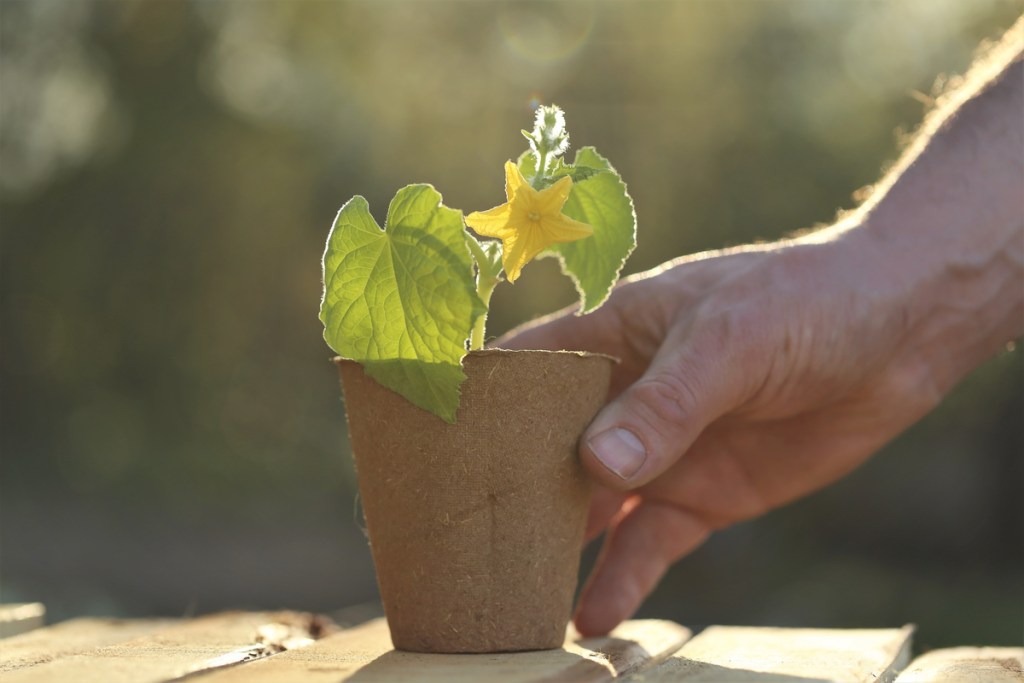
Whether you use an artificial grow light or the good old-fashioned sun, make sure your cucumber seedlings are getting between six and eight hours of light each day. Although they can grow with only four or five hours a day, you’re more likely to see stunted or slowed growth. Cucumbers will also grow with more than 8 hours a day, but keep a careful eye out for sunburns. The tender leaves of seedlings are more vulnerable to sun damage than adult plants.
Water your cucumber seedlings daily to keep the soil moist, but don’t let the soil stay soaking wet. Water them only a little at a time to avoid overwatering. The potting soil should be well-draining to help with this and make sure that the bottom of the pot you use has drainage holes. If you notice water is building up in the soil, check to see if the drainage holes are blocked.
When and how to transplant your cucumber seedlings
Do you have to transplant your cucumbers?
You can forgo transplanting entirely and grow cucumbers indoors. It does take a bit more work since your plant won’t have all the benefits of being outdoors. However, if you live in an area that’s typically unsuitable for cucumbers, then growing them indoors is a great option. Pay attention to the variety of cucumbers you’re growing. Vining cucumbers will need something to climb, while bush cucumbers stay low to the ground. For most indoor or container gardens, bush cucumbers are a better choice.
When are they ready to transplant?
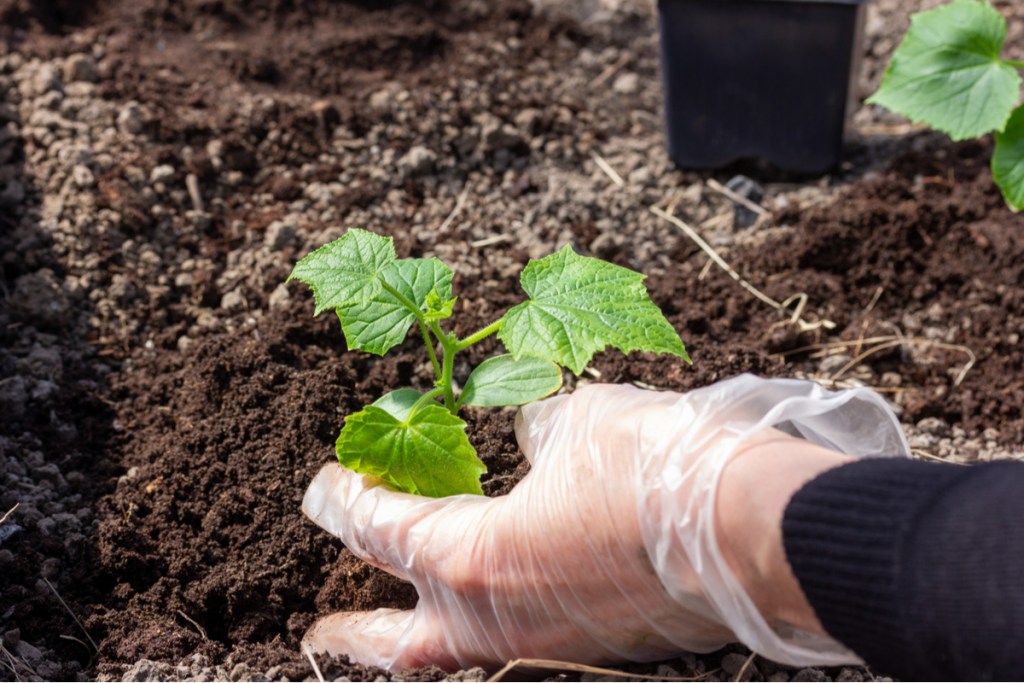
After three or four weeks, you should notice that your cucumber seedling is outgrowing its initial pot. At this point, you have a choice. If the last frost of the year has passed, then you can begin transplanting your cucumbers into your garden. However, if the last frost hasn’t arrived yet, or if you want to keep them indoors a little longer to increase their odds of survival, then you’ll need to move them into a larger pot so they can continue to grow.
How to help your cucumbers survive the transition and thrive
Cucumber plants are sensitive to the stress of transplanting, so it’s important to harden them first. Hardening a seedling is the process of acclimating them to the outside elements so that they’re prepared for life in the garden. This is done by taking them outdoors for an increasing length of time, starting somewhere protected and gradually moving into open spaces. Start by leaving the seedlings on a covered porch or patio, or even just by an open window, for an hour or two at a time. Hardening your cucumbers should take one to two weeks.
Whether you prefer them pickled, stir-fried, or raw, cucumbers are a popular garden vegetable for a reason. They’re easy and quick to grow and have a myriad of uses. Starting your seeds indoors can give you a jump start on your growing season. Just remember to harden your seedlings before you transplant them, and keep them warm while they’re growing!

