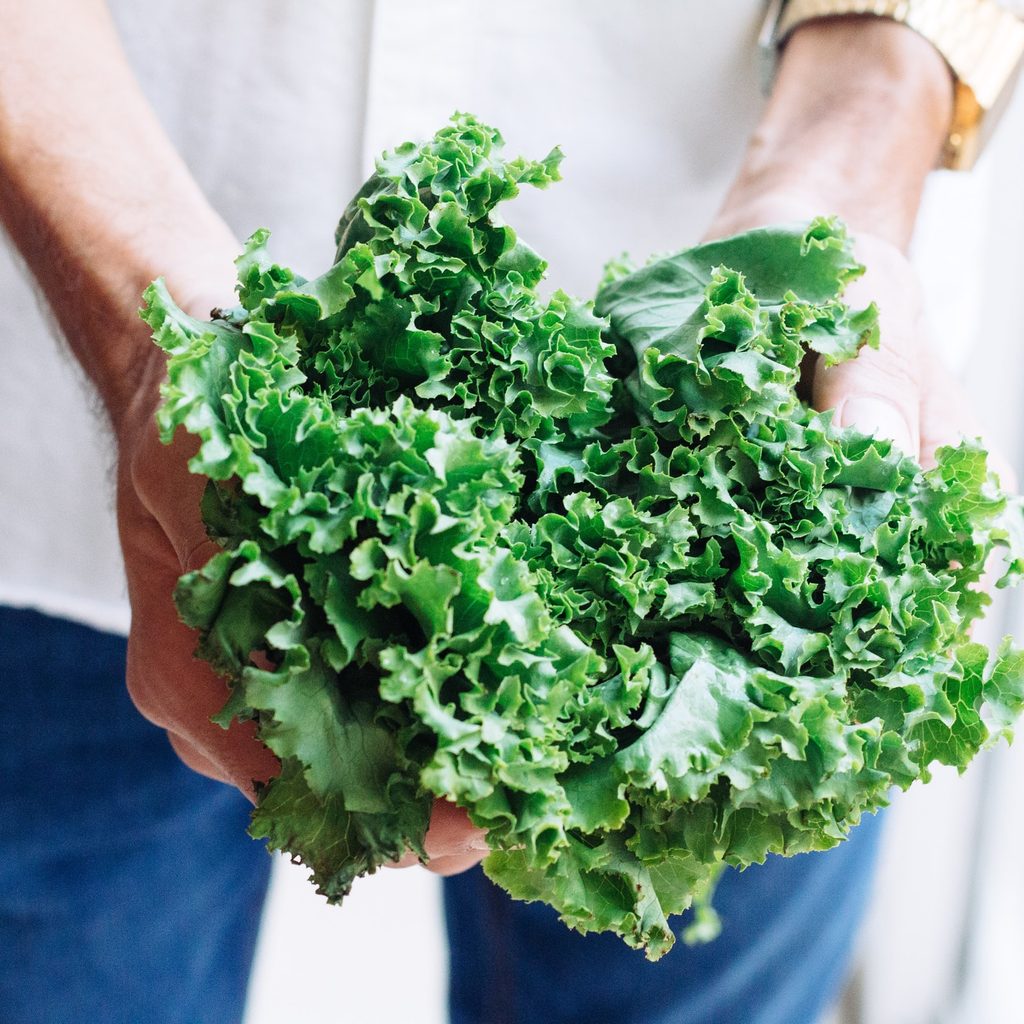
Kale is a versatile veggie, often added to salads, sautes, sandwiches, and even smoothies. Not only is it tasty and popular, but it can also grow easily in your backyard.
If you’re looking for a way to enrich your winter garden and your winter meals, then consider adding a few kale plants and learn how to grow kale! In this simple guide, we’ll lay out everything you need to know about planting, growing, and harvesting kale this winter.
When should you start your winter kale?
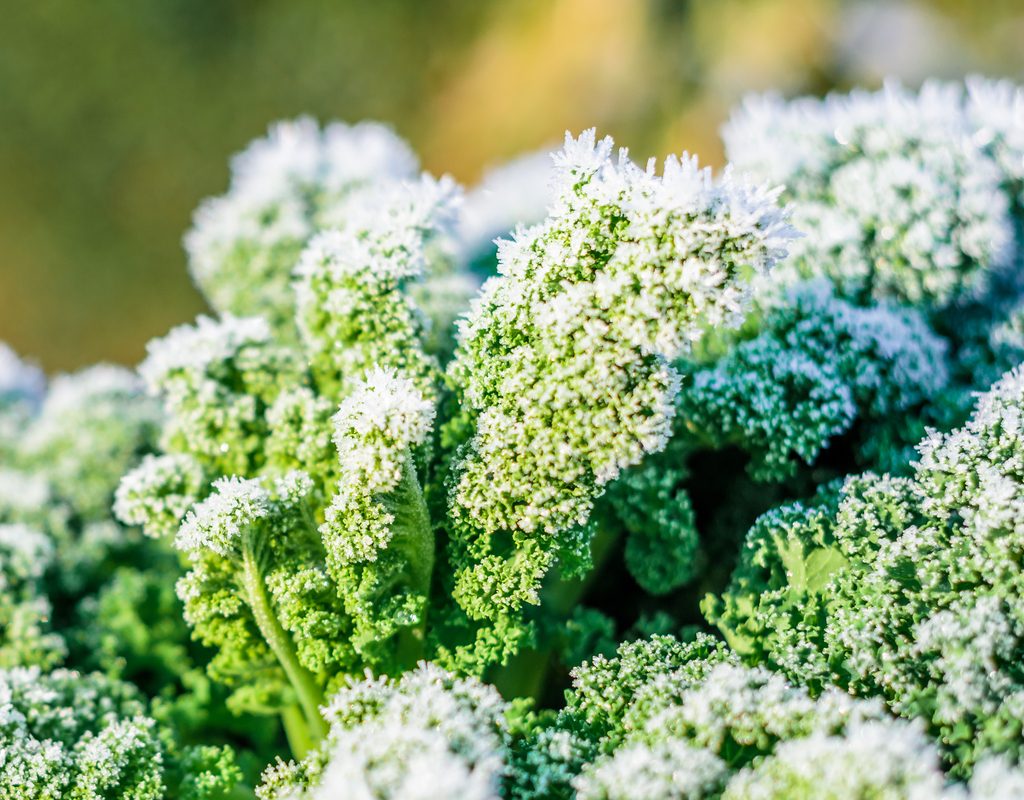
Kale is a vegetable that’s naturally suited to cooler temperatures, which is great news for your winter garden. However, it can still be damaged if it gets too cold. This means your planting time will depend on how cold your winters get. Kale can be grown easily in the winter in USDA hardiness zones 7 through 10. If you live in these zones, you can plant your kale in late summer or during fall.
Some gardeners in more northern zones have no issue with kale in winter, while others see frost damage, so use your best judgment when thinking about how harsh the winters are where you live. For those of you who live north of zone 7, you may need to take more precautions. Here are your options:
Step 1: Start kale indoors, then transplant it into your garden in late summer or early fall.
This will help you get a harvest in before the temperature drops too low.
Step 2: Grow your kale in containers instead, planting them in late summer or early fall and bringing them indoors at the beginning of winter.
Starting your kale
Follow these steps to set your kale up for success:
Step 1: Choose what variety of kale you want to plant.
If you don’t already have a favorite variety, there are several that are more cold-hardy or frost-resistant than others. Why not try Red Russian, lacinato, or Blue Curled Scotch? All three are delicious and do very well in the cold.
Step 2: Plant your kale in soil that’s rich with organic material and well-draining.
Kale isn’t particularly picky about soil type, as long as it has enough nutrients and is not in standing water.
Step 3: Plant your kale where it will get plenty of morning sun with some light afternoon shade.
Kale does best in full sun, however, it is also sensitive to heat. If you plant your kale during late summer, provide them with some shade in the afternoon. The morning sun is ideal for kale since mornings are typically cooler than afternoons.

Caring for your kale
Once winter sets in, kale requires little to no care. When the ground is frozen, you won’t be able to feed your kale, so don’t worry about fertilizing it. Additionally, the cold is likely to kill all or most of the weeds, and any water you give your kale would freeze.
Before the weather turns cold, here's how to care for your kale:
Step 1: Keep your garden free of weeds.
Step 2: Water your kale regularly.
On average, kale needs roughly an inch to an inch and a half of water each week, which translates to being watered every few days or twice a week.
Step 3: Add a layer of mulch to your garden to increase water retention and keep the soil warm.
Step 4: Watch for frost damage, especially on the edges of the leaves.

How and when should you harvest your kale?
There are two ways you can harvest kale. You can harvest a few leaves at a time, or take the whole head at once. Harvesting the leaves and leaving the rest of the plant is ideal in most cases since it reduces food waste and encourages new growth on your kale plant, resulting in a larger harvest overall. However, if you live north of zone 7 and are expecting a hard freeze or a heavy snow or ice storm, then harvesting the entire head at once is a good idea.
No matter which method you choose, here's what to do:
Step 1: Begin harvesting kale after the first month of growth, whenever the leaves are the desired size.
For most kale varieties, you can expect fully mature leaves two to two and a half months after planting. However, young kale leaves can typically be harvested starting a month after the kale was planted.
Step 2: Use a sharp, clean knife or shears to harvest your kale.
Step 3: Store your harvested kale in a cool, dry space.
Now you know everything you need to start your winter kale garden. Before you know it, you’ll have plenty of fresh, crunchy kale to add to your soups and salads all winter long. Just remember to keep an eye on the weather, and maybe find out your USDA hardiness zone before you start. If you think your winter might be too cold for it, you can always grow your kale indoors instead.