
A basement garden, though not thought of often, can be a wonderful addition to your home — especially during the winter. A basement greenhouse is a great way to overwinter your plants, as it ensures that all of your work won’t go to waste just because the weather’s cooling down.
Whether you have a furnished or unfurnished basement, it’s possible to designate a specific area for growing plants indoors. Though potentially costly, it can be a good alternative if you aren’t ready to commit to (or don’t have the space for) a regular outdoor greenhouse.
You don’t need much to get started. All you need are some grow lights, pots, seeds, potting soil, and water.
1. Counter your basement’s natural environment
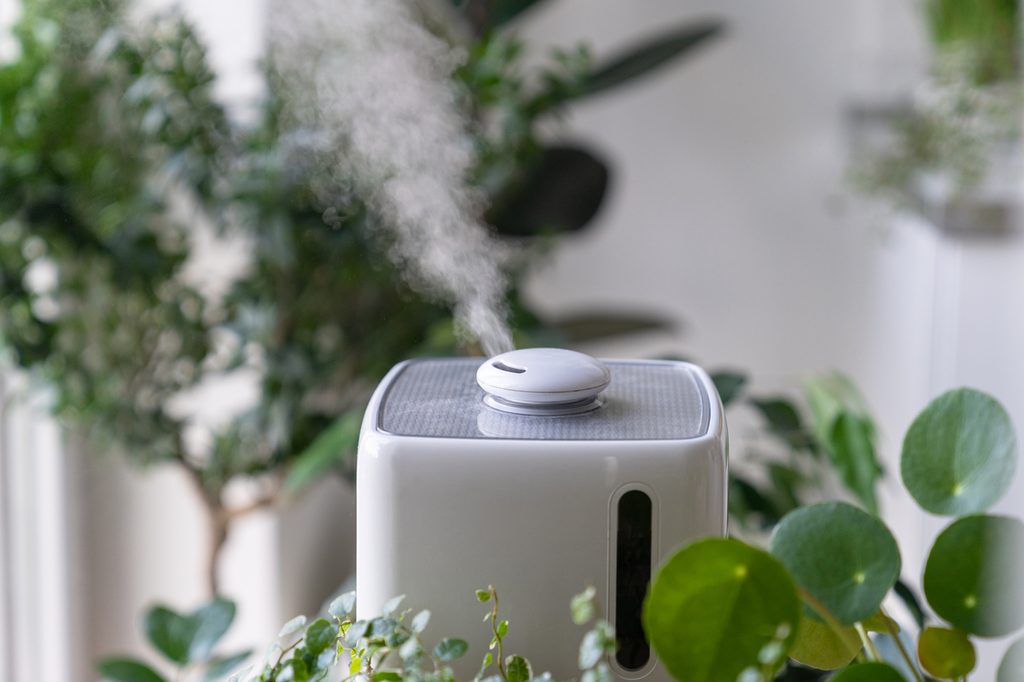
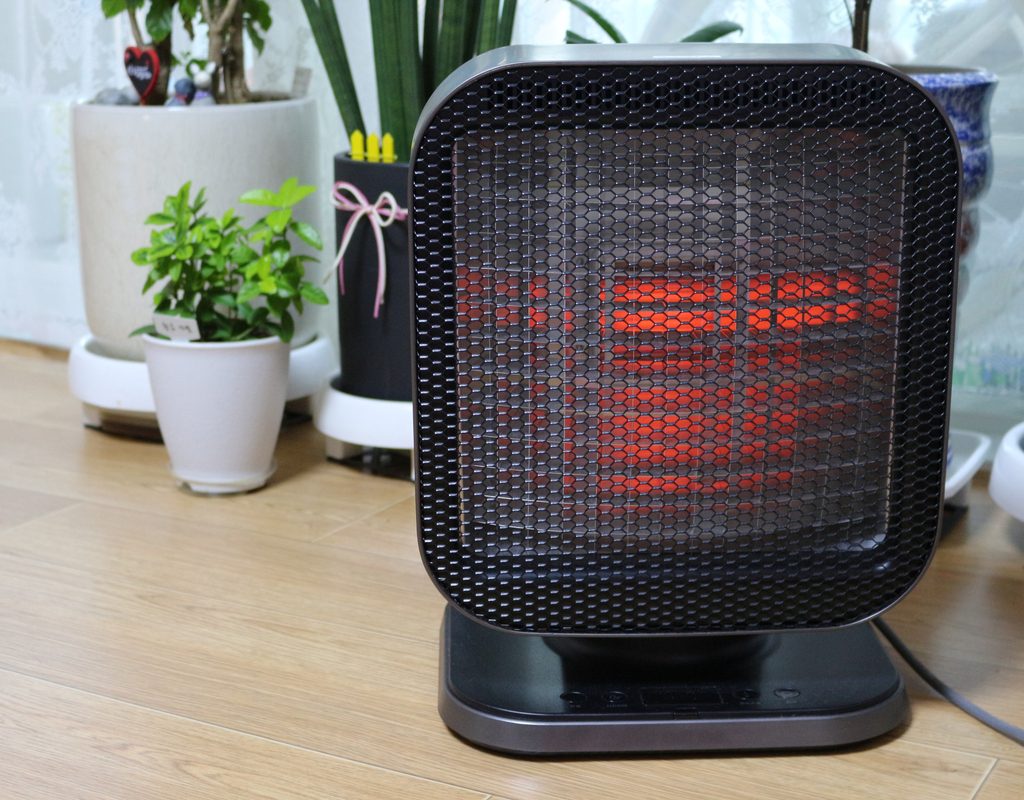
Many vegetables and other types of plants often require warmer temperatures. You’re probably wondering how basements are viable growing areas. Gardeners who choose to set up basement gardens will use heaters — a home-use heating unit or two will suffice if you don’t plan to set up a huge garden — to keep the space warm. If you have a damp basement, you’ll also want to invest in a few fans to keep the air moving, which will help prevent your plants from rotting (and keep the garden from getting moldy).
If you decide to set up a large basement greenhouse, it will be worth your money in the long run to invest in industrial-size heaters and fans. You’ll get more bang for your buck, and they’ll heat and cool the space more efficiently. However, because there won’t be a lot of sunlight in your basement, you’ll want to be sure that you’re using proper soil and pots. As with any indoor plant, choose planting pots that have good drainage holes to allow excess water to seep out. Your soil should be one that also drains well to avoid retaining too much water. Ideally, the potting soil should be a mix of compost, vermiculite, and peat.
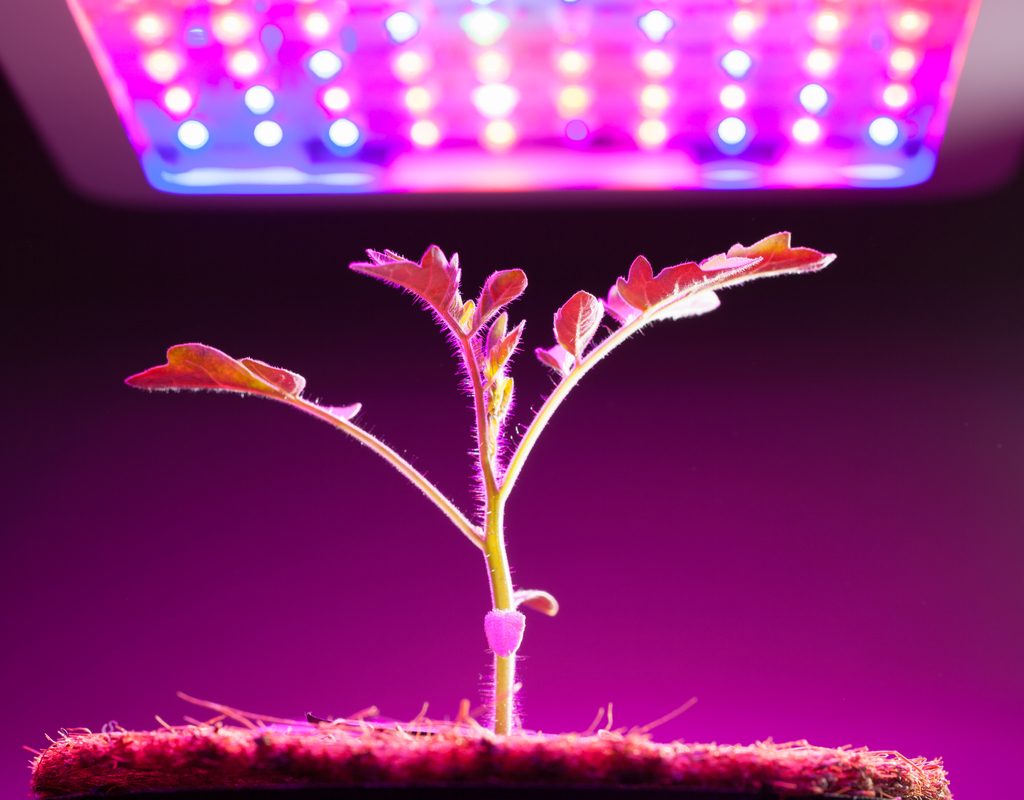
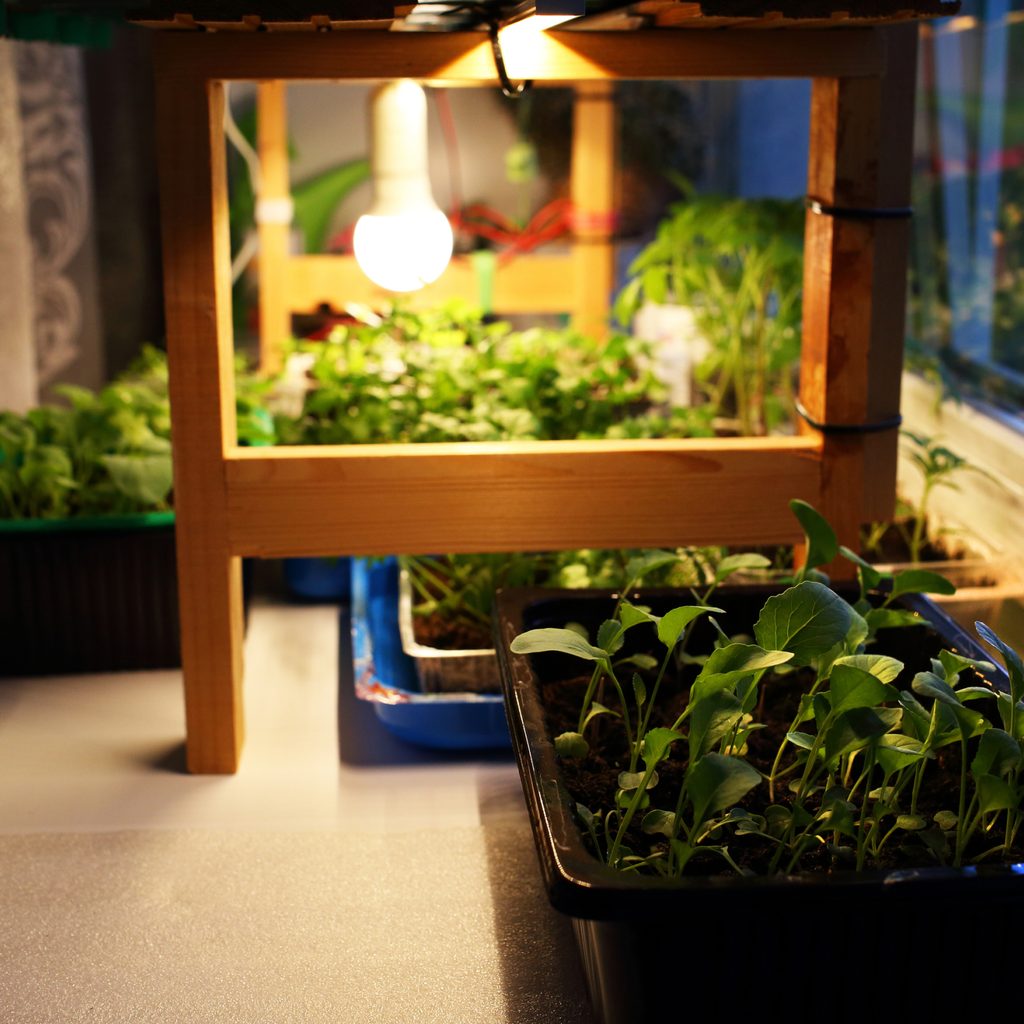
2. Recreate outdoor lighting for your basement garden
Basements, since they’re underground, naturally don’t have any windows — or if they do, they’re very small and don’t offer much light. That means that it’s crucial that you recreate outdoor lighting as best you can in your basement greenhouse. This will be the most challenging aspect and will likely require some trial and error to figure out what works best for your plants.
Depending on what type of plants you’ll be growing, you’ll want to research the best artificial grow lights for their needs. Different colors, like red and blue, are designed to achieve different results (red for flowering and fruit production, blue for leaves and vegetables). The other challenging aspect is that a plant’s needs for light may be different from seed to maturity, so you may end up buying multiple kinds of lighting for different plant stages.
This will likely be the most costly aspect of your basement garden, as the amount of lights you need will also depend on the size of your space. But with proper research, you should be able to get the most out of your investment.
3. Choose the ideal plants for your basement garden
It can be tempting to buy your plants right away out of excitement. We’re all familiar with that feeling — wanting to do one of the easiest parts first because it makes it more real. But in order to avoid wasting money, you’ll want to hold off on buying plants until you’ve nailed down your setup. This will ensure that 1) your plants don’t die while you’re in the process of setting everything up, and 2) you’ve adjusted your basement as much as possible before introducing them.
When you feel that your setup is warm and ventilated, you can begin purchasing the plants you’ve planned for and pot them in containers and soil that have good drainage. Ideally, you’ll have planned your lighting around the plants you want to grow, so it should be easy to pick them out and get them ready to put in your basement garden.
Which plants are best for beginners?
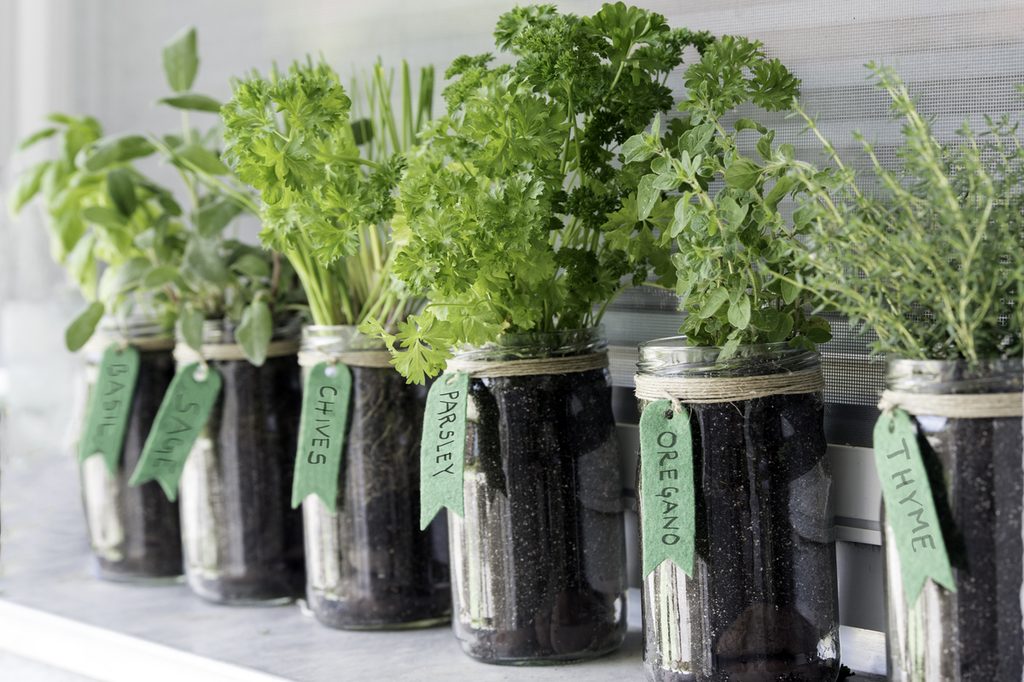
If you’re new to basement gardening (or indoor gardening, in general), you may want to start with easier vegetables like leafy greens, herbs, and radishes. Be sure to get the dwarf varieties, as you won’t have too much space and may not be able to accommodate full-grown standard varieties. These plants can endure cooler temperatures and limited light, so they’re especially nice if you aren’t sure your basement greenhouse is warm enough to grow plants like tomatoes or peppers yet.
Once your basement garden is established and has the ideal temperature, these are some of the best plants to grow:
- Swiss chard
- Lettuce
- Spinach
- Tomatoes
- Peppers
- Bush beans
- Peas
4. Ensure your basement garden has a viable environment
Even if you do everything flawlessly, things could still go wrong. Basements can be finicky environments, so you’ll want to make adjustments as needed. Warmer outdoor temperatures may mean your basement needs less heating to meet the needs of your plants.
One season’s basement garden may not necessarily be another season’s basement garden. It’s important to monitor the environment and adjust as needed, but be careful not to make drastic changes to avoid shocking your plants. Basement gardens can be viable greenhouse environments as long as you do everything you can to meet the needs of your plants. Keep in mind that there will be a fair amount of upkeep involved throughout the season. You’ll want to regularly check for pests, sweep up any fallen leaves, and repot plants as necessary.
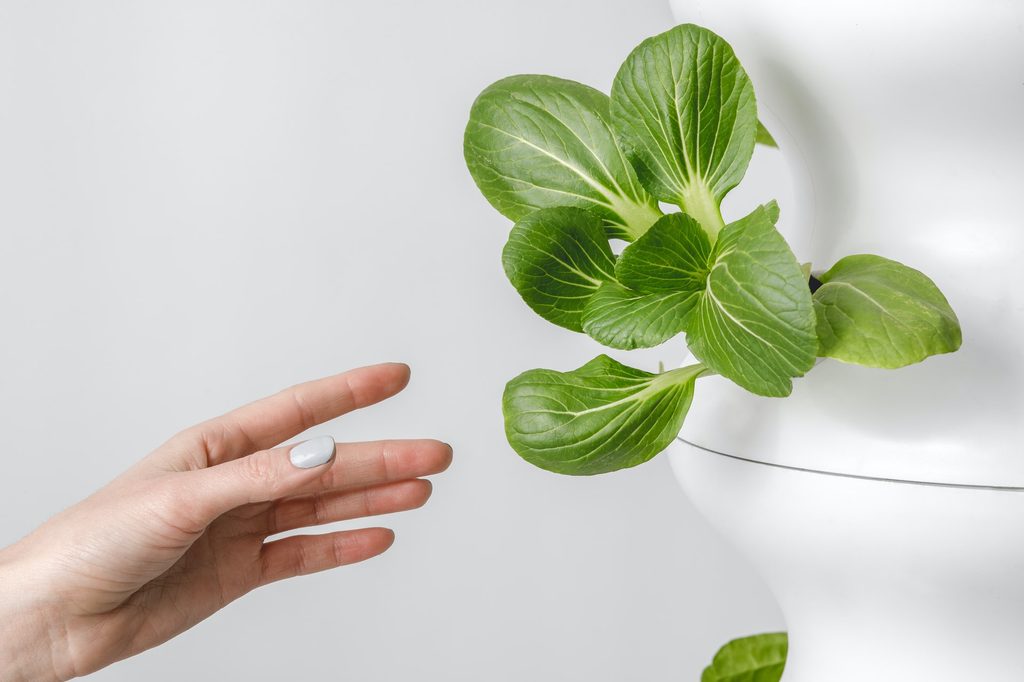
5. Decide whether your basement garden features soil or a hydroponic system
When you’re setting up your basement garden, consider whether you want to use soil or set up a hydroponic system. With soil, make sure that your potting mixture is entirely sterile so that you won’t inadvertently introduce pests that could undo all of your indoor gardening efforts. Soil is widely accessible, but it can be difficult to keep tidy and it often needs more space. While a hydroponic (or soilless) gardening system may require more setup and research, it can be cleaner and require less maintenance, resources, and, of course, space. With a hydroponic system, you’ll most likely need a net pot to support your plant in addition to oxygenated water supplemented with the appropriate plant food.
As your basement garden grows, you may also consider integrating more advanced elements, such as automatic watering systems, timers for the light and water, oscillating fans to help with airflow, and metal shelves to keep your plants organized. With some trial and error, you’ll be on your way to enjoying a bountiful basement garden harvest.


