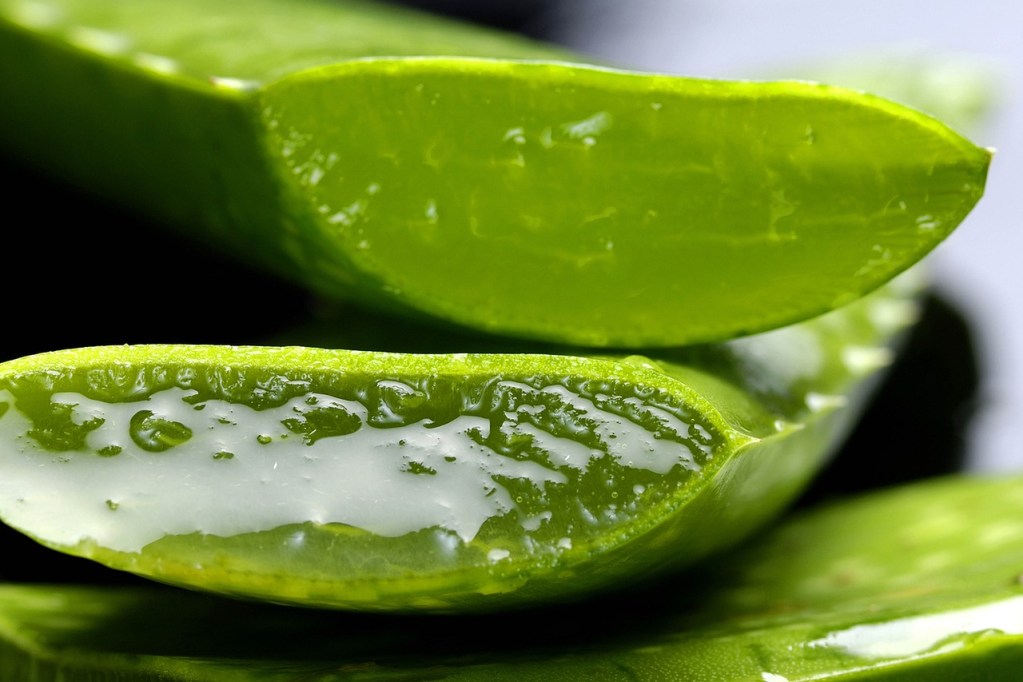
Of the hundreds of plants in the aloe genus, aloe vera probably has the most established reputation as a powerhouse personal care ingredient. The plant is best known for its versatile leaf gel, which you can use to soothe scrapes, burns, and other minor irritations. As a succulent, it’s relatively easy to grow and maintain, but there are things you should know about it to give it the best care possible. Ahead, we’ve gathered everything you need to know about this healing desert marvel — with these tips, you’ll be ready to harvest it in no time.
What you need to know about the aloe vera plant
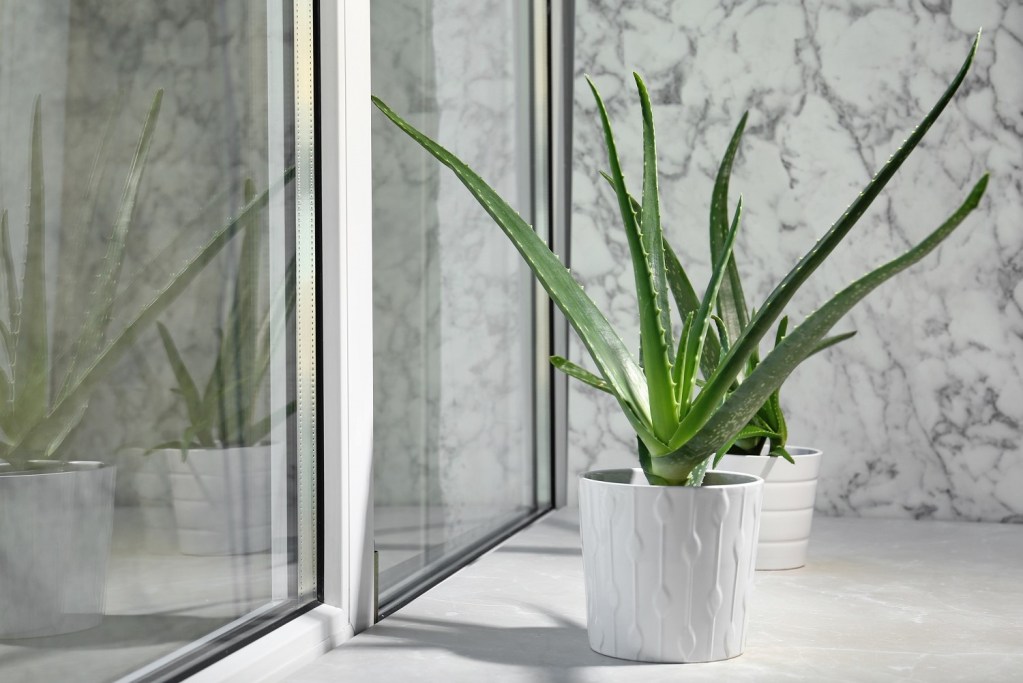
Aloe often grows in a rosette form — many varieties are spineless, but some have spines and teeth along their fleshy, upright leaves. They can push out tubular red, orange, or yellow flowers outside during the growing season. The most common variety is aloe barbadensis, or aloe vera. Aloe vera is often found in food, drinks, medicine, and personal care items — that’s right, it’s in beverages as well. It features dagger-like, fleshy green leaves with serrated edges, and you can grow aloe vera directly in the ground or containers. The leaves can grow up to two feet long and the plant, when grown outside, can sometimes push out a yellow flower stalk up to three feet tall.

How to care for an aloe vera plant
The aloe vera is a relatively hardy plant. Most aloes can live quite happily as potted plants as long as you repot them every year or whenever they become too rootbound. You can use a potting mix with equal parts perlite and coarse sand to provide a sufficiently loose and well-draining growing medium for your plant. That said, the easiest way to go about potting or repotting an aloe vera plant is by keeping it in a ready-to-go cactus mix.
Watering
The trickiest part about growing an aloe vera plant is probably getting the watering right. It’s a good rule of thumb to water your aloe when the top one or two inches of soil feel dry to the touch. You can also tell how your plant is doing by looking at the leaves since the aloe vera retains water in its succulent leaves. If you’re overwatering it, the leaves will feel soft and squishy. If you’re underwatering it, your plant will use the water stored in its leaves to survive, so it’ll look dry and shriveled up. In general, you don’t need to fertilize your aloe vera plant. If you do, however, consider giving it a diluted liquid cactus fertilizer every month or two throughout the growing season when you water it.
Lighting
If you’re growing a potted aloe vera indoors, leave it next to a south- or west-facing window. The more light you can give your aloe vera plant indoors, the better it will do. Outdoors, aloe vera plants will prefer some shade throughout the day. While they can take direct sun, too much direct bright light can cause the leaves to turn pink or brown from sun stress.
Along with sufficiently bright light, aloe vera plants also do best in temperatures between 50 to 80 degrees Fahrenheit. Native to the Arabian Peninsula, aloe vera is hardy to zones 9 to 11 in the United States, but you’ll be able to keep it as an indoor potted plant in most places as long as you can provide it with sufficient light. If you don’t get much light in your home, consider supplementing your plant with grow lights.
Pruning
In general, aloe vera can survive a wide range of conditions, but it does benefit from some routine maintenance. When pruning, just be careful to never take more than a third of your plant at a time. If you notice brown tips, use a clean knife or pair of scissors to remove the tips. To harvest gel from a healthy leaf, you’ll essentially want to cut it as close to the center of your plant as possible, then cut the leaf open to get the gel.
How to propagate aloe vera
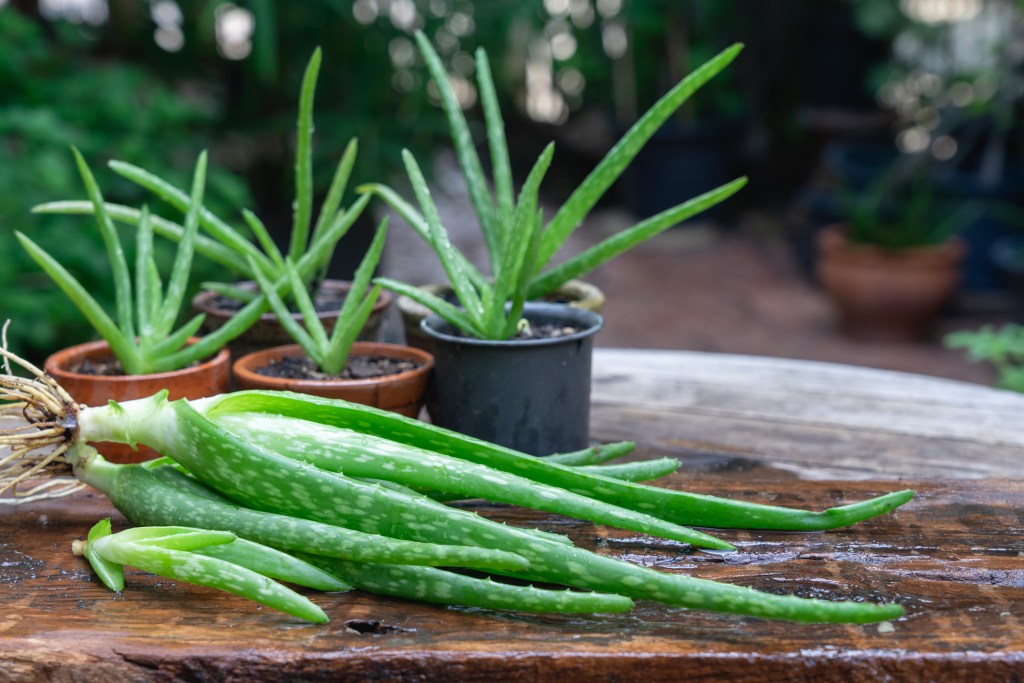
When it comes to propagating aloe, look for offsets or pups from the base of your plant. You don’t want your cutting to be too small, however. It’ll do best when it forms into a rosette shape. Propagate your aloe vera as you would with any succulent: Pluck or cut the offshoot close to the stalk, let the cutting form a callus, place it onto cactus mix, and let it root in two or three weeks.

Common aloe vera issues
Aloe vera plants do encounter issues from time to time. Here are a few to keep in your radar, plus tips on how to address them properly to help your hardy succulent bounce back.
- Thin, stretched-out leaves: With leggy aloe leaves, your likely culprit is lack of light. Consider installing grow lights in your home or place your plant in a sunnier location.
- Yellow, squishy leaves: Yellowing leaves are a telltale sign of overwatering. Check your roots for rot damage and smell the soil to see if the scent is off. Repot your plant in fresh cactus soil with lots of drainage and cut back on watering. It’s also a good idea to use a terracotta pot since clay wicks away excess water, which can be helpful if you tend to overwater.
- Crispy, brown tips: Your plant is likely underwatered or has too much direct light exposure. Water your plant deeply and consider moving it to an area with partial shade or indirect light.
- Small white or brown spots: Little sticky spots on your leaves may indicate pests like scale or mealybugs. You can remove pests with rubbing alcohol or an insecticidal soap solution.
One of the most common succulents, aloe vera is quite versatile and low-maintenance. When caring for this plant, giving it ample lighting without burning it and being careful not to overwater it should be your two biggest priorities. With some knowledge about what your aloe vera needs, you can be on your way to harvesting its beneficial gel from your home or garden in no time.
