Pruning your plants, or trimming away their dead and overgrown parts, helps their future growth. Best of all, pruning indoor plants is simple! All you need is a good pair of sanitized gardening shears or scissors. Under most conditions, as long as you have a general idea of how plants work, pruning your indoor plants won’t cause any harm to them. It’s healthy to do now and again.
Plants benefit from pruning the most during their active growing season, so you’ll want to identify what that is for each plant. Every plant is different. They have their own needs and preferences, and, as such, shouldn’t be assumed to grow at the same time as every other plant. Even so, pruning indoor plants can be a bit different than pruning outdoor bushes and trees, so let’s go over how to prune houseplants properly.
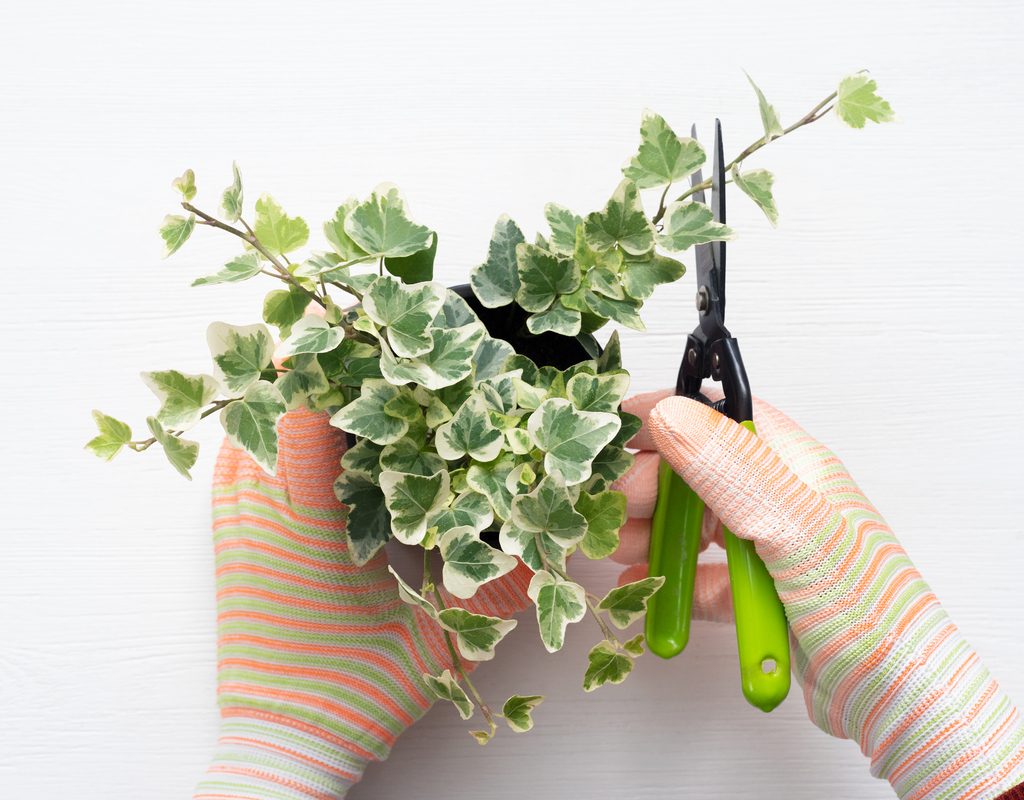
What to do before pruning your houseplants
Check to make sure you’re pruning them somewhat around or during their active growing season. For a majority of plants, this will be in the spring or summer — which works perfectly, as there will be plenty of light to help encourage new growth. Make sure that you have a sharp pair of shears or scissors (dull ones can crush the stems) and something that will sanitize them. If you have them, you can opt to wear a pair of gardening gloves if the plant is slightly thorny or sticky.
Before you start pruning, you’ll want to sanitize your tools to prevent possible infection to your plants, as you will be cutting them and the blades will make direct contact with the insides of the stems. You don’t need anything too harsh for this — placing your shears in the dishwasher or scrubbing them with soap and water (and thoroughly drying!) will suffice.
If you’re pruning a plant like a tree or something with more of a shape, try to envision how you want it to look. Similar to our hair, we can always cut more of our plant off, but we can’t reattach cut parts once the cut has been made. Do some research, too, to see if there are any recommendations of how much to cut from a plant at a time. You definitely don’t want to send your plant into shock.
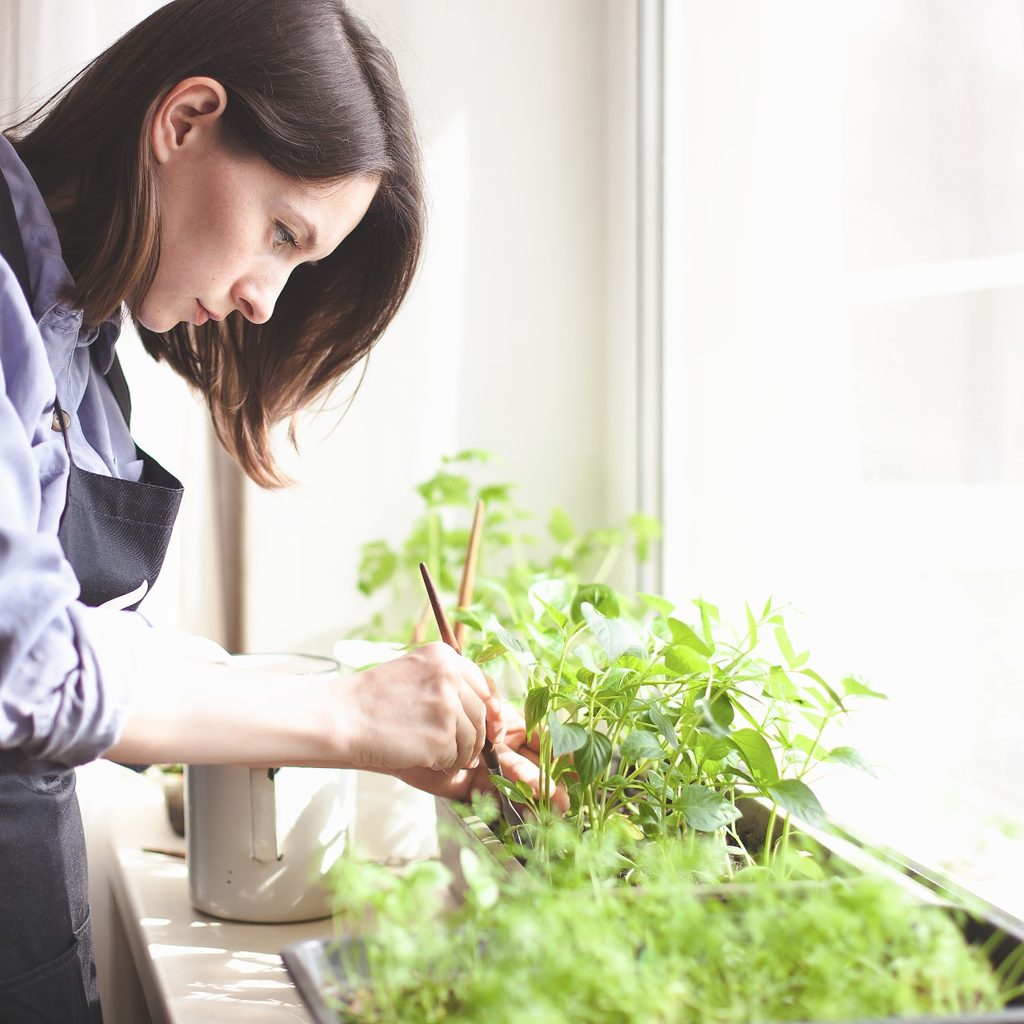
The best ways to prune your houseplants
The ideal way to prune your indoor plants will be to make sure your cuts are clean. The easiest way to achieve that will be to make sure you have a sharp set of shears. If they’re sharp and your stems are still being crushed, try changing the technique you’re using to make the cuts. For example, instead of cutting horizontally, see if cutting the stem at an angle makes a difference.
When cutting off healthy growth, you can always hang onto the stems for propagation if that’s something you’re interested in and if the plant is able to be propagated that way; however, if any of the cuttings are infected, make sure you dispose of them immediately instead of using them or tossing them into the compost bin. You don’t want to risk spreading disease to any healthy plants.
Which indoor plants need pruning?
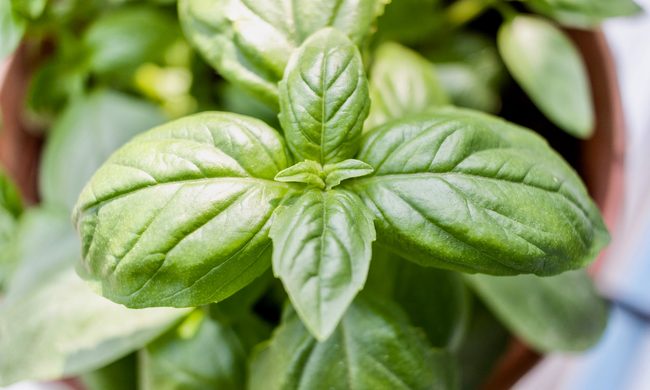
Theoretically, you can prune all indoor plants, but some will grow more quickly than others. There are some that will require more snipping than others. Fast-growing plants that will likely need semi-frequent pruning include pothos, philodendron, English ivy, tradescantia, and spider plants. There are also indoor plants that can become sparse over time for one reason or another — pruning will help them grow back fuller and more voluminous. Examples include nerve plants, polka dot plants, and various kitchen herbs. When in doubt, look up whether or not your particular plant will benefit from the occasional pruning session.
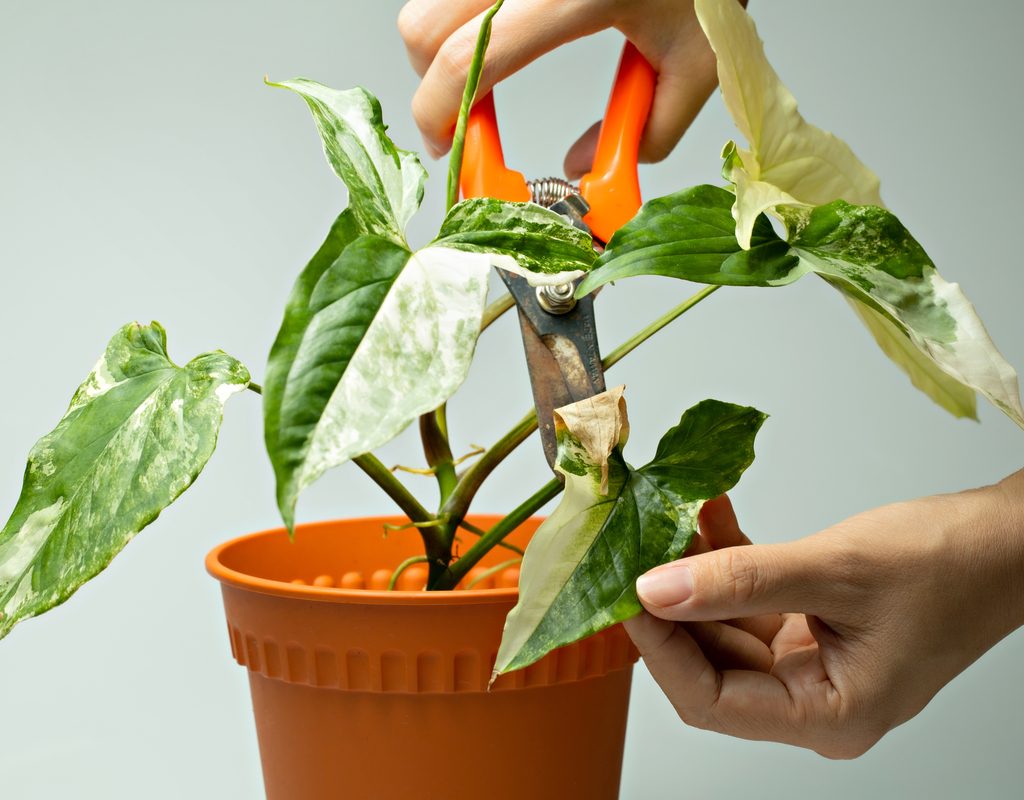
Make sure to trim yellow and/or dead leaves
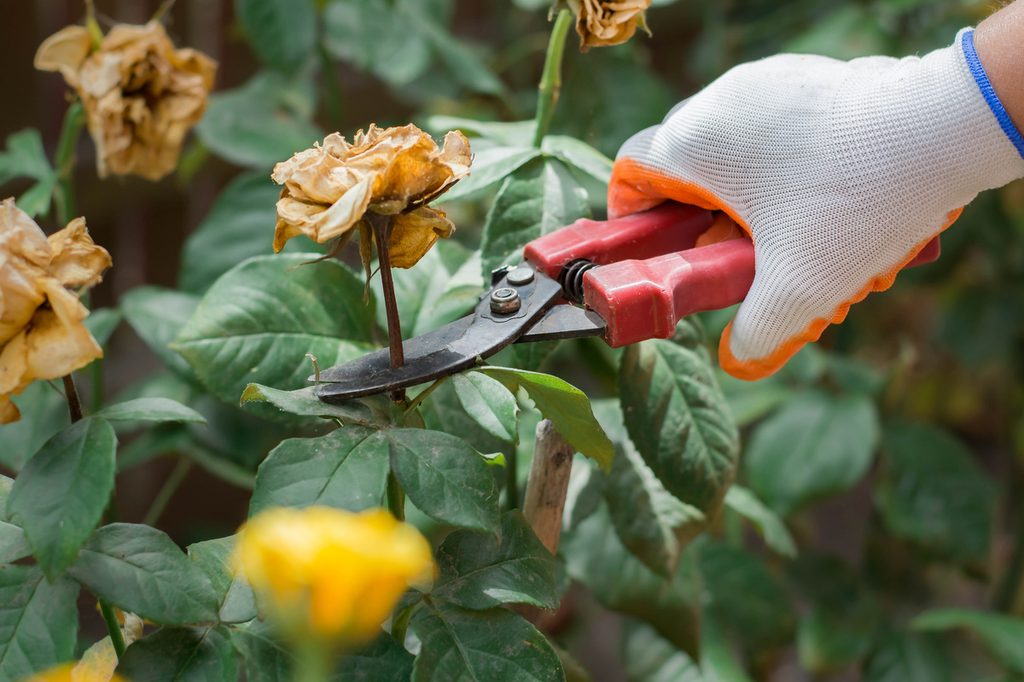
The most important stems and leaves to focus on will be ones that are yellowed, brown, or dying. Begin with these so that if they’re the only ones you want to remove, you won’t have to risk shocking your plant. By removing yellowed and dead leaves, you’ll give your plant a chance to refocus its energy to healthier growth. It will also help prevent any potential pest infestations that are attracted to dying foliage (and your plant will look as beautiful as possible).
If you decide you want to do more pruning to reduce the density of the plant, make sure you don’t cut off too much. You don’t want to send your plant into immediate shock, and you can always prune a bit more in the coming weeks after the plant has had a bit of time to recover.
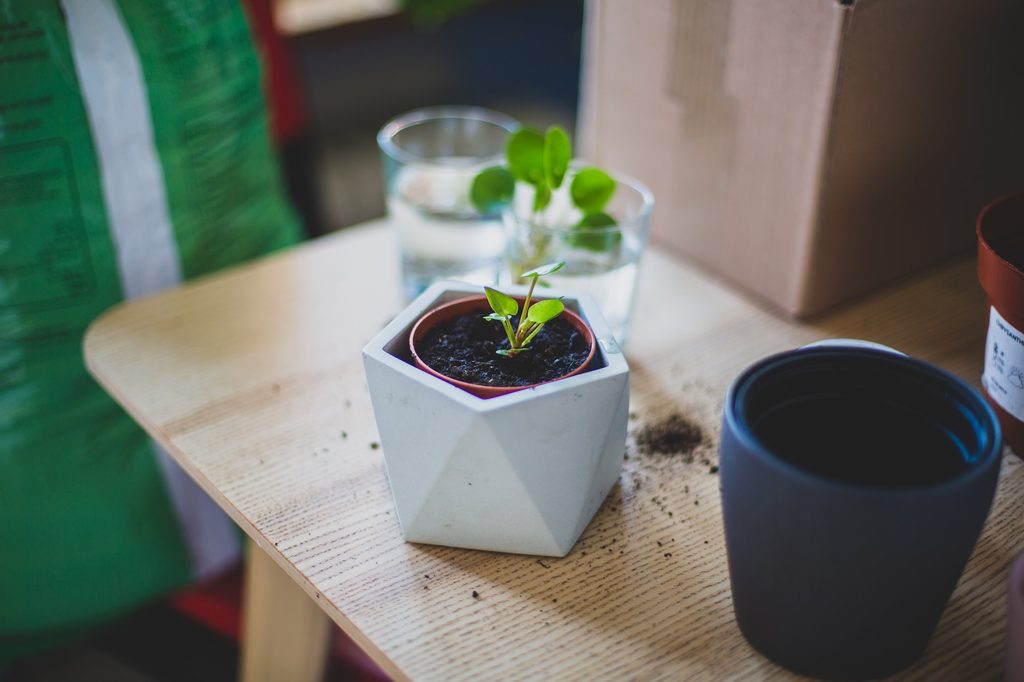
You pruned your plant — now what?
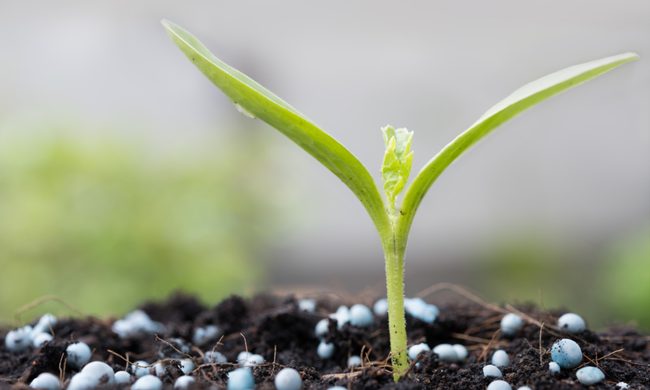
Healthy plants usually have no trouble recovering from pruning and are found to have new growth within a few weeks. This can vary from plant to plant, so don’t panic if it’s been a month and your plant still hasn’t grown much post-pruning. Some plants may droop a bit in the few days following pruning due to a bit of shock, but as long as you don’t overprune, your plant should bounce back. You can also look up the best fertilizers for your specific plant and feed it as needed to help encourage growth.
Although there isn’t a high risk of a single plant taking over your home, indoor plants can still be overgrown in their containers. Pruning is an important part of care that will keep your indoor plants happy, healthy, and thriving.

