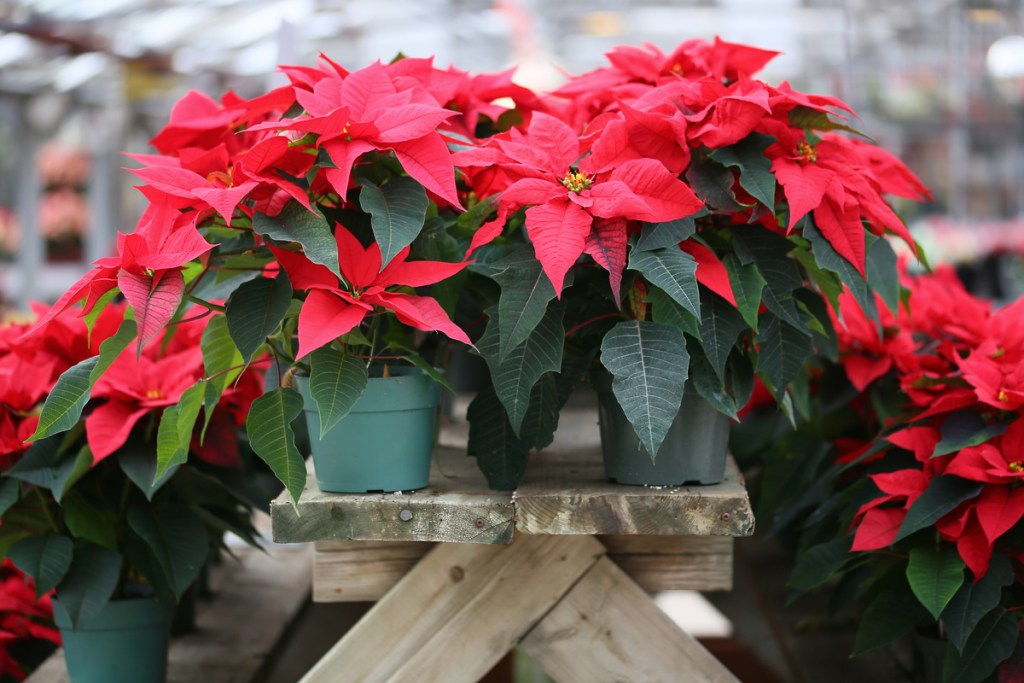
Whether you know the name or not, chances are you’re familiar with poinsettias. These stunning star-shaped flowers have become a popular Christmas decoration, making their way into many homes and celebrations. Native to Mexico, these beautiful plants are known for their bright red, festive blooms. Although the classic red variety remains the most popular, hybridizers have created poinsettias with cream, pink, salmon, yellow, and white blooms, too!
But why are they so closely associated with the holiday season? It has to do with where they grow natively. Their bloom time in their native region aligns with the winter months (and thusly the holiday season) in colder regions.
Poinsettia blooms symbolize the Star of Bethlehem and have a significant place in Mexican culture, so much so that there is a popular legend in which a girl is told by an angel to bring a weed to her church’s Nativity, where it blooms into a red poinsettia.
Although poinsettias are popular in colder regions during the holidays, many people treat them as one-off plants and dispose of them after the blooms die back. With proper care and patience, your poinsettia plant can survive past the season and even flower again!

How to care for poinsettias at home
Poinsettia care is rather simple during the blooming season, especially because they often come potted right from the nursery. You don’t need to worry about repotting this plant right away (and shouldn’t plant it outdoors unless you live in hardiness zones 9 through 11). Here's what you should focus on instead:
Step 1: Keep them in an environment that’s consistently between 65 and 75 degrees Fahrenheit.
This includes keeping them away from drafts and positioning them so their leaves don't touch cold window glass. Exposure to the cold will cause your poinsettias to stop blooming, and may cause damage.
Step 2: Place the poinsettias in a humid environment.
Since poinsettias are native to Mexico, they need a humid environment to survive in. If your house is dry during the winter, consider getting a humidifier to place in the room with your poinsettias or put your plants on a tray of pebbles filled with water.
Step 3: Give your poinsettias roughly 6 to 8 hours of bright, diffused light per day.
Diffused light is important, as direct sunlight can burn these plants.
Step 4: Water when the surface is dry to touch and saturate until water comes through the drainage hole.
Step 5: Use a well-draining, peat-based potting soil to plant your poinsettias.
Most poinsettias will come pre-potted from the nursery. If they aren't, or if you need to repot yours, then using the correct soil is crucial.
Step 6: Keep your poinsettias out of reach of your pets or children.
While poinsettias aren’t deathly toxic to people or pets, they can make your furry friends sick if the plant is eaten.
Step 7: Watch for yellowing or dropping leaves.
If the leaves on your poinsettias start to yellow or drop, it’s an indication of a problem. Most likely, it’s due to root rot caused by underwatering, overwatering, or over-fertilization. Some leaves will also fall because of inadequate lighting.

Encouraging your poinsettias to rebloom
After the holiday season when the blooms die back, many people dispose of their poinsettias thinking they’re a one-and-done kind of plant — but they aren’t a lost cause! Before you get rid of the gorgeous gifted plants, consider keeping them around for another year to see if you can encourage them to bloom again. Diligent poinsettia care combined with a specific process is the best way to get your planst to rebloom the following year. Here's what to do:
Step 1: Gradually decrease the amount of watering from December to early spring, letting the soil dry out before watering again.
If the stems start to shrivel, the plants are getting stressed from lack of water.
Step 2: Relocate your poinsettias to a cool spot where it’s around 60 degrees Fahrenheit after a couple weeks of decreased watering.
Step 3: Cut back the poinsettia stems to about 4 inches in May using sterilized shears or scissors.
Step 4: Repot (with fresh potting soil) into a container the next size up.
Step 5: Place the poinsettia stems in a bright window with diffused light, keeping the temperature between 65 and 75 degrees Fahrenheit.
Step 6: Water when the soil feels dry.
Step 7: Fertilize every two weeks with a poinsettia-specific liquid fertilizer once you begin to see new growth.
Step 8: Move your poinsettias outdoors when summer begins, placing them in a shaded area.
Step 9: Pinch the stems back to 1 inch to encourage well-branching plants in July.
If unpinched, the plants will grow leggy.
Step 10: Pinch the stems again in mid-August, when the stems have branched out more, leaving three or four leaves on each stem.
This is also a good time to bring your poinsettias back indoors.
Step 11: Move the poinsettias into complete darkness between 5 p.m. and 8 a.m. in October.
Any light exposure, even the smallest amount, will delay blooming. Poinsettias are affected by the length of the days and come October, we’re nearing daylight savings time and shorter daylight hours. To successfully rebloom, your poinsettias need about 10 weeks of 12 to 14 hours of darkness per day.
Step 12: Return the poinsettias to the sunny window at 8 a.m., where you’ll resume watering and fertilizing per your schedule.
Step 13: Repeat this cycle until the last week of November.
At the end of November, you can stop moving your poinsettias. Leave them in the sunny window, and you should see buds forming soon.
Step 14: Stop fertilizing around the middle of December, and keep watering your poinsettias as normal.
Step 15: Begin again at step 1 if you want to keep your poinsettias alive to bloom for the next year.

Using poinsettias as holiday decorations
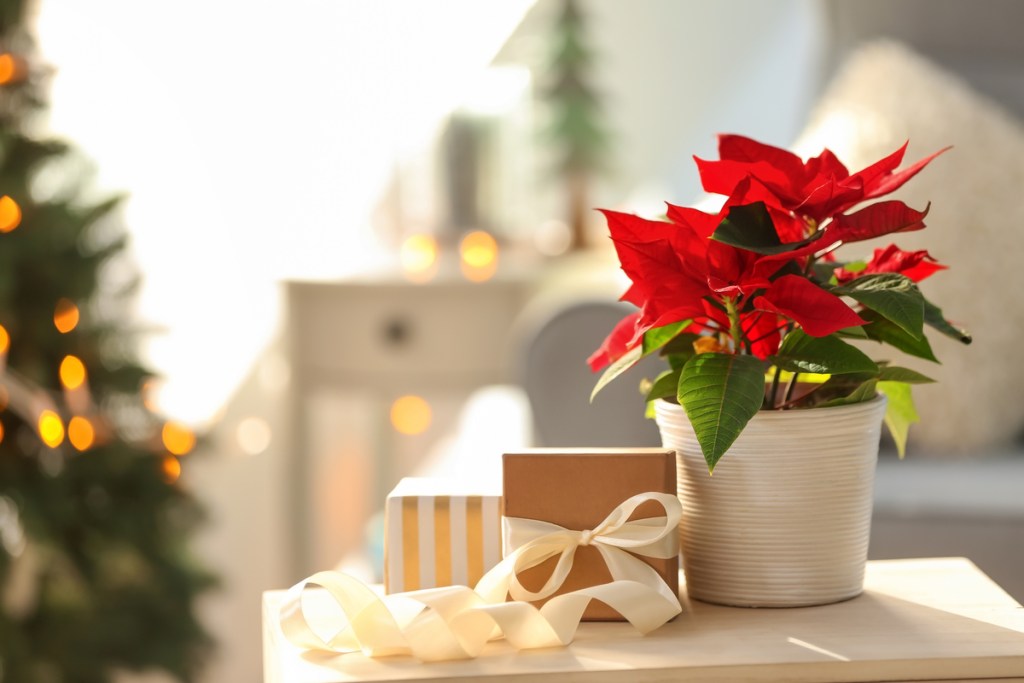
Poinsettias are one of the boldest, brightest holiday decorations — even more so because they bring natural, beautiful blooms to the equation. They can be used as minimally or as extravagantly as you want. A simple way to incorporate poinsettias as decor is to replace some of your houseplants on plant stands or tabletops (of course, you’ll be moving your houseplants to a temporary location as opposed to disposing of them).
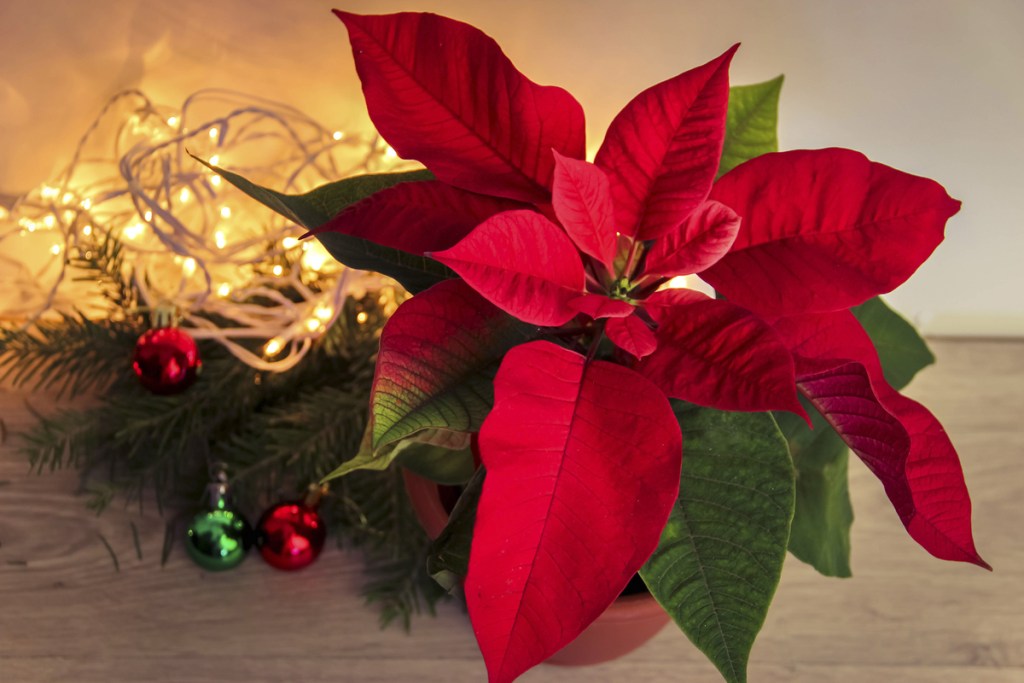
You can also take fresh poinsettia bloom cuttings and use them in flower arrangements, centerpieces, and wreaths. They make a great pair with scented pinecones and glittery ornament balls, balancing out fresh fragrances with festive decor.
You can find more poinsettia decor ideas here!


