If you've ever seen air plants in a nursery, you may have wondered how these unique, scraggly plants survive. They're often sold in terrariums, without soil or water to root in. Air plants can absorb water and nutrients from the air itself, which allows them to grow in fascinating ways, such as attached to trees or tangled up with other air plants. While there are many air plants you can grow, one of the most popular species is Tillandsia aeranthos
Believe it or not, the Tillandsia aeranthos (and other members of the Tillandsia species) are part of the bromeliad family. Best of all, the Tillandsia aeranthos is an easy-to-care-for air plant variety that grows fast and is great for beginners. Here's how to grow your own!
Benefits of growing a Tillandsia aeranthos in your home
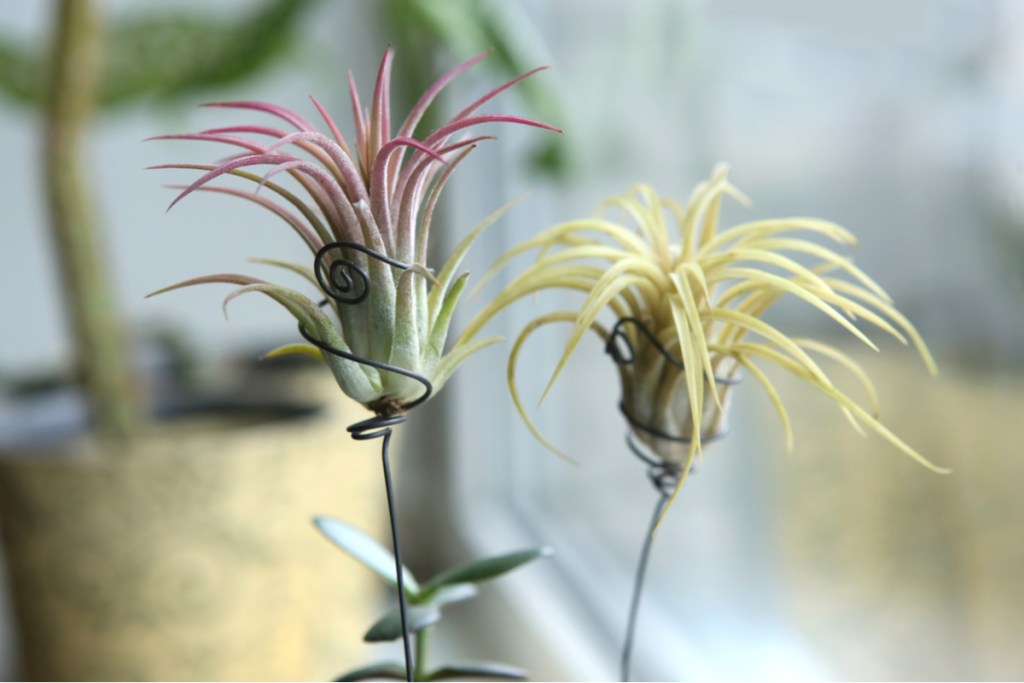
Most Tillandsia aeranthos plants are kept as houseplants, as they look great in a terrarium or as an accent on a desk. Perhaps the biggest benefit to growing any air plant is that it doesn’t create the same kind of mess as regular houseplants do. It doesn't need to be grown in soil or in containers, so you don’t have to worry about how to repot it when it gets too big.
And since you can display it in any way your imagination desires, there’s minimal investment in plant stands, which makes the air plant a great choice for those living in smaller spaces.
Other benefits of having these plants in your home include:
- They lower stress levels.
- They’re nontoxic to pets and humans.
- They reduce pollen allergies by trapping dust and pollen particles.
- They remove trace amounts of carbon dioxide and toxins from the air.
How to care for a Tillandsia aeranthos
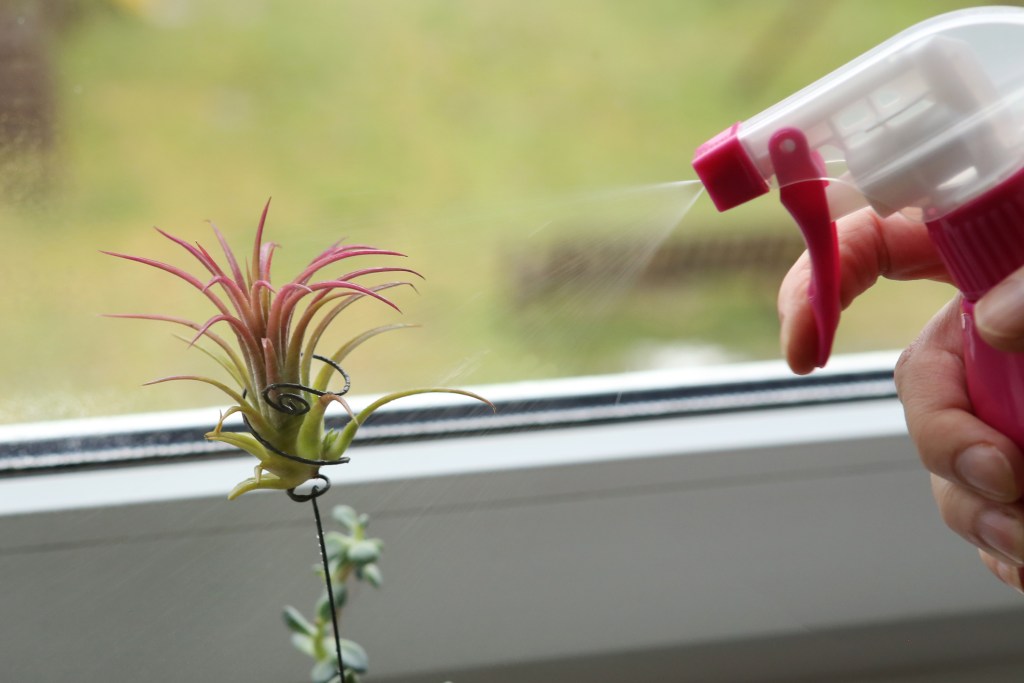
Because air plants aren't planted in soil, the hardest part of caring for them is getting the proper amount of water to the leaves. (Yes, the leaves. Air plants absorb water through their foliage, as opposed to their roots.) Underwatering and overwatering are the most common issues home gardeners run into with these plants.
If underwatered, the leaves of the Tillandsia aeranthos will turn brown, dry out, and start to curl. If overwatered, your plant becomes susceptible to rot that can ultimately kill it.
Step 1: Place the air plant in an area with filtered light. Avoid direct sunlight because it can burn the leaves.
Step 2: During the warmer months, mist your Tillandsia aeranthos a couple of times a week to keep the humidity levels up.
Step 3: Instead of misting, you may soak the leaves once a week for approximately 15 minutes. Take care to leave the bulb of the plant out of the water and let the plant dry upside down. Not only does this allow any moisture to drain out of the leaves, but it also keeps water from getting trapped in tight spaces where it can cause rot.
Step 4: Reduce watering in the winter to approximately once every two to three weeks. If your plant's leaves begin to curl, water it a bit more often, but not as often as during the summer.
Does the Tillandsia aeranthos need to be planted in soil?
Nope! Since the Tillandsia aeranthos absorbs water through its foliage as opposed to its roots, planting it in soil is unnecessary (and detracts from one of the drawing points of having one in your home). While you can plant it in soil, they are easier to care for when grown in a soil-less potting mix, like you might use for orchids.

Do Tillandsia aeranthos plants bloom?
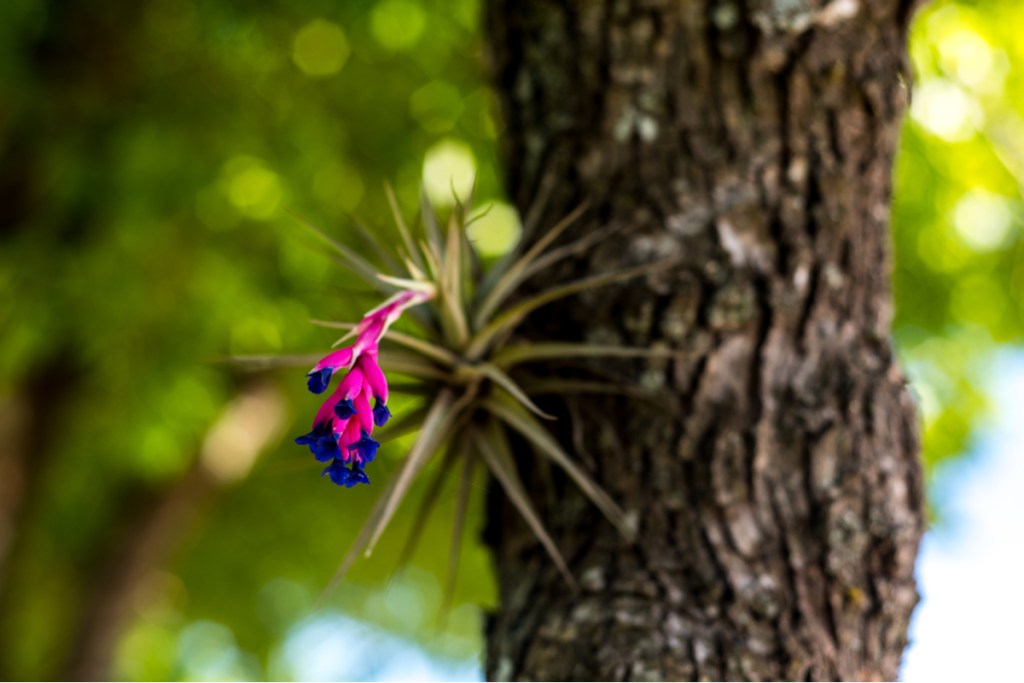
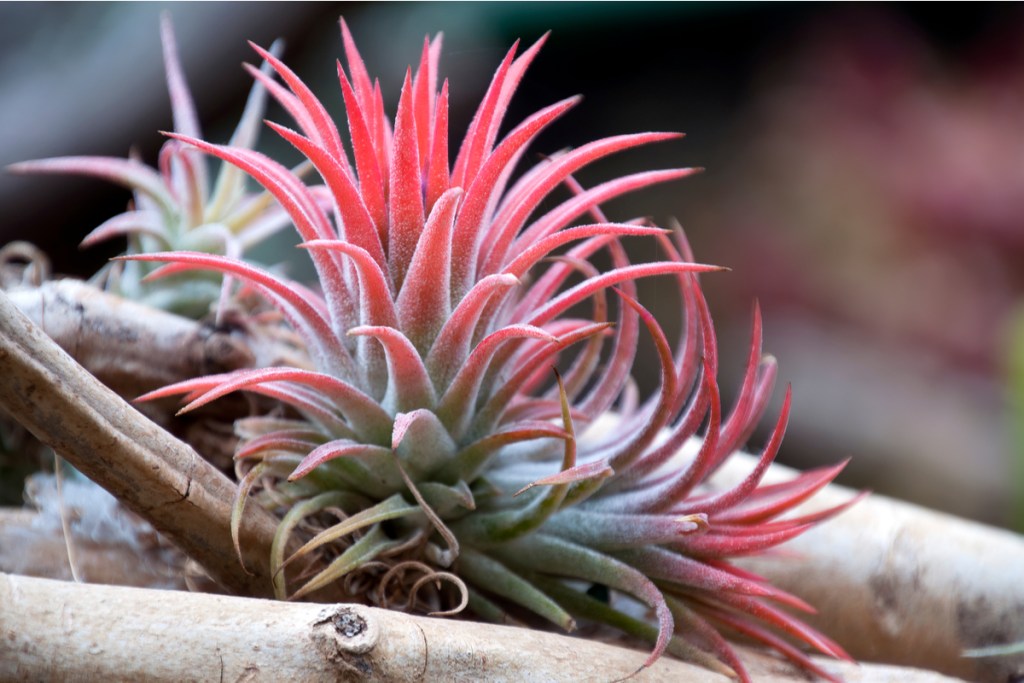
Yes! When cared for properly, your Tillandsia aeranthos will flower for a few weeks during the summer. The pink shades are complemented by blue- or violet-colored flowers, which are usually only a few centimeters in size. Even with a healthy plant, blooming only occurs every few years. That’s why many people will choose to let the clusters grow together instead of separating them; that way, a different plant will flower each summer.
How to propagate your Tillandsia aeranthos
Because the Tillandsia aeranthos grows offshoots that clump together naturally, it’s an easy plant to propagate. Similar to a spider plant, all you have to do is separate the offshoot from the parent plant when it’s strong enough to live on its own.
A healthy Tillandsia aeranthos will start producing multiple pups from the base of the plant, which you can choose to leave clustered if you want; however, if you’re hoping to give one as a gift or simply expand your collection, you’ll want to remove the offset safely from the parent.
Step 1: Once the pup is about a third of the size of its parent plant, use sterilized scissors or shears to cut as close to the base as possible without damaging either plant.
Step 2: If a cutting is successful and viable, new roots will start forming within a few months. At that point, the plant can be moved to its new permanent location.
Things to remember about your Tillandsia aeranthos
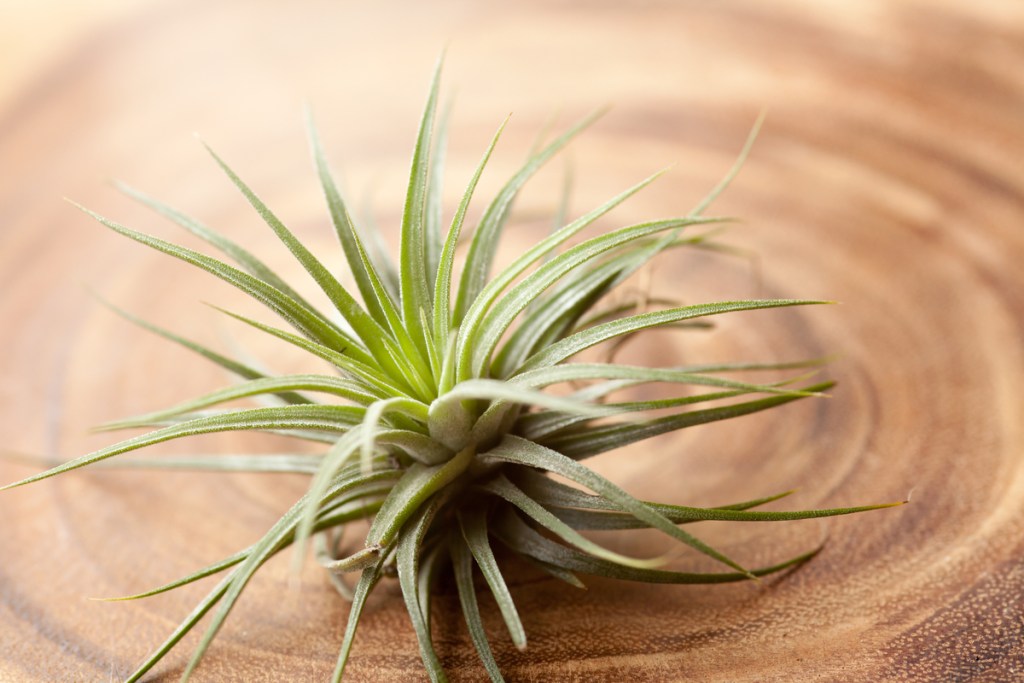
The most common issues home gardeners struggle with regarding these plants are proper sunlight and regular watering. If you notice any indication that your plant is burning, drying out, or rotting, it’s time to make some adjustments.
Step 1: Unfortunately, more often than not, a sign of rot can’t be reversed. If the rot is only on the outer leaves, you can try removing them safely and adjusting your watering schedule to see if that solves the problem. However, if your air plant is already falling apart, it’s too far gone.
Step 2: Conversely, if your air plant is drying out, you can always try giving it a good soak for a few hours to see if that helps correct the problem. Some air plant enthusiasts even suggest soaking for 12 hours, though we’ll leave the length of time to your discretion.

Can you grow Tillandsia aeranthos outdoors?
You can grow Tillandsia aeranthos outdoors, provided the weather is warm. They are easily damaged by frost and cold weather, so they grow better as houseplants in most parts of the US. However, you can move your Tillandsia aeranthos plant outdoors during spring and summer. As long as the temperature stays above 50 degrees Fahrenheit, your tillandsia plant should do just fine.
You should also place it somewhere it will be safe from severe weather such as high winds, or bring it inside before any storms arrive. In fall and winter, bring your Tillandsia aeranthos back indoors where it will be warm.

Is it OK to touch tillandsia plants?
While touching your tillandsia won't hurt you, it can hurt your plant! Tillandsia aeranthos has delicate leaves, which are thin and easy to bend out of shape or even break. What's more, the oil from your skin can even hamper their ability to absorb water. While occasionally handling your tillandsia plant to move it from one location to another is fine, you should avoid touching the leaves as much as possible.
If your tillandsia is in a container, transport it in the container if you can. If not, gently cup your tillandsia from the base, avoiding the tops of the leaves as much as possible. Never grab your tillandsia by the leaves!
The Tillandsia aeranthos, along with other air plants, can be quite rewarding to have in your home, if only for the unique look of each variety. They come in all kinds of shapes, sizes, and colors. Once you get the hang of their care requirements, air plants can make quite a remarkable addition to your collection.


