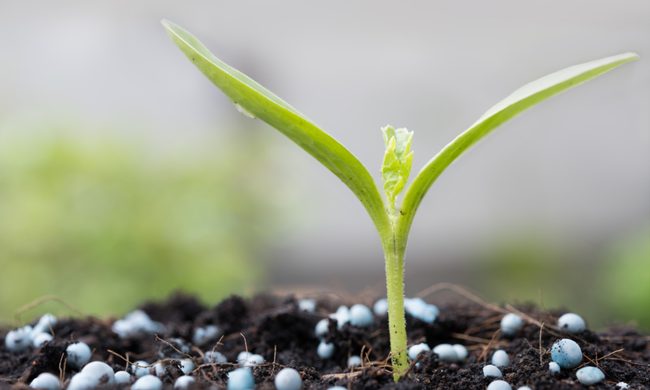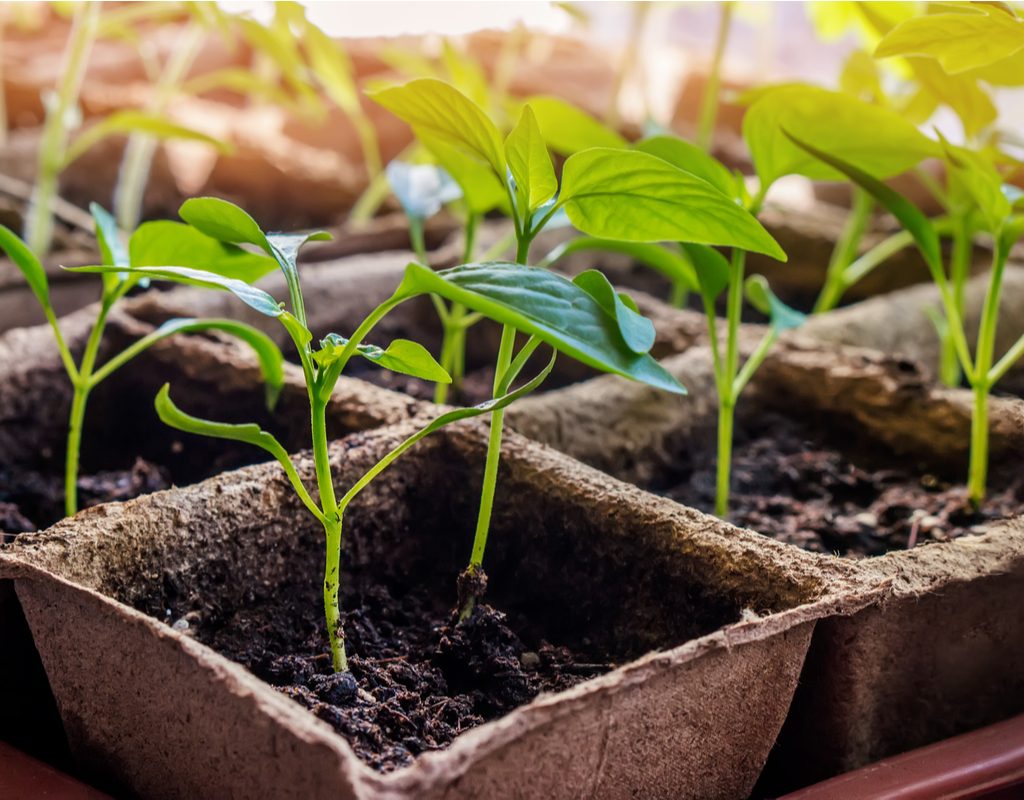
Many gardeners start seeds indoors during the last weeks of winter or early spring to get a head start on the growing season. Vegetables, flowers, and even fruit trees can be started this way. If you want to start your seeds indoors, but don’t have anything to plant them in, why not try growing your seeds in plastic cups?
Recycling these cups provides the perfect temporary (or even permanent) homes for your plants, and you’ll get the cutest container garden in the process. In this guide to easy seeds to grow in cups, we’ll explain how to choose your seeds, care for them, and avoid common pitfalls.

Benefits of starting seeds in cups
You can help the environment by recycling plastic cups
There are many benefits to planting seeds in cups. One of the best is recycling. Many of these cups are used once and then thrown away, adding to the heaps of plastic garbage in landfills and the oceans. Turning them into seed-starting cups is the perfect way to give them another life. You can use them over and over again for years. That’s a green thumbs-up from gardeners and the planet.
You can keep an eye on visual root growth
Many of these cups are clear and can show root growth. When you’re impatiently waiting for seeds to germinate, being able to see the roots forming can put your mind at ease and reassure you that your little seedling is growing up. Without that visual confirmation, gardeners often are tempted to disturb the plant by pulling it out to check on the roots. This can cause the plant to go into shock, and it might not recover. Keep plants safe and reduce the risk of losing seedlings by using clear cups to keep an eye on those precious baby roots.
Cups make succession planting easy
Whether you’re trying to time your vegetables (carrots need to be started at a later date than tomatoes, for example) or you’re succession planting to have new lettuce every week, starting seeds in cups allows you to grow plants when you want, without disturbing the other seedlings. Seed trays are large and often too big for backyard gardeners. When you already have seeds germinating and it’s time to start more, this can be a hassle. With individual cups, you can start seeds at different times without disturbing other plants that are already fragile seedlings that are just starting to take root and can’t handle much stress.
You can get started before the growing season
It doesn’t matter if your growing season is long or short; it seems that all gardeners love to take advantage of late winter and early spring to get a head start on growing seeds. Many have winterized greenhouses, but others start plants in living rooms, kitchens, or bedrooms. Using cups to start your seeds indoors can give you up to eight weeks of extra growing time. That means you might get eight more weeks of tomatoes than you would have if you had started them directly in the ground.
You’ll have a cute indoor garden
Growing in cups can also let apartment dwellers start plants even if they don’t have space outside for a garden. By using a sunny windowsill or artificial light, gardeners without access to a full-size backyard garden can still enjoy the taste of fresh produce and herbs they grow themselves. Plus, let’s be honest: all those miniature planters with little green plants will look awfully cute.
Easy seeds to grow in cups
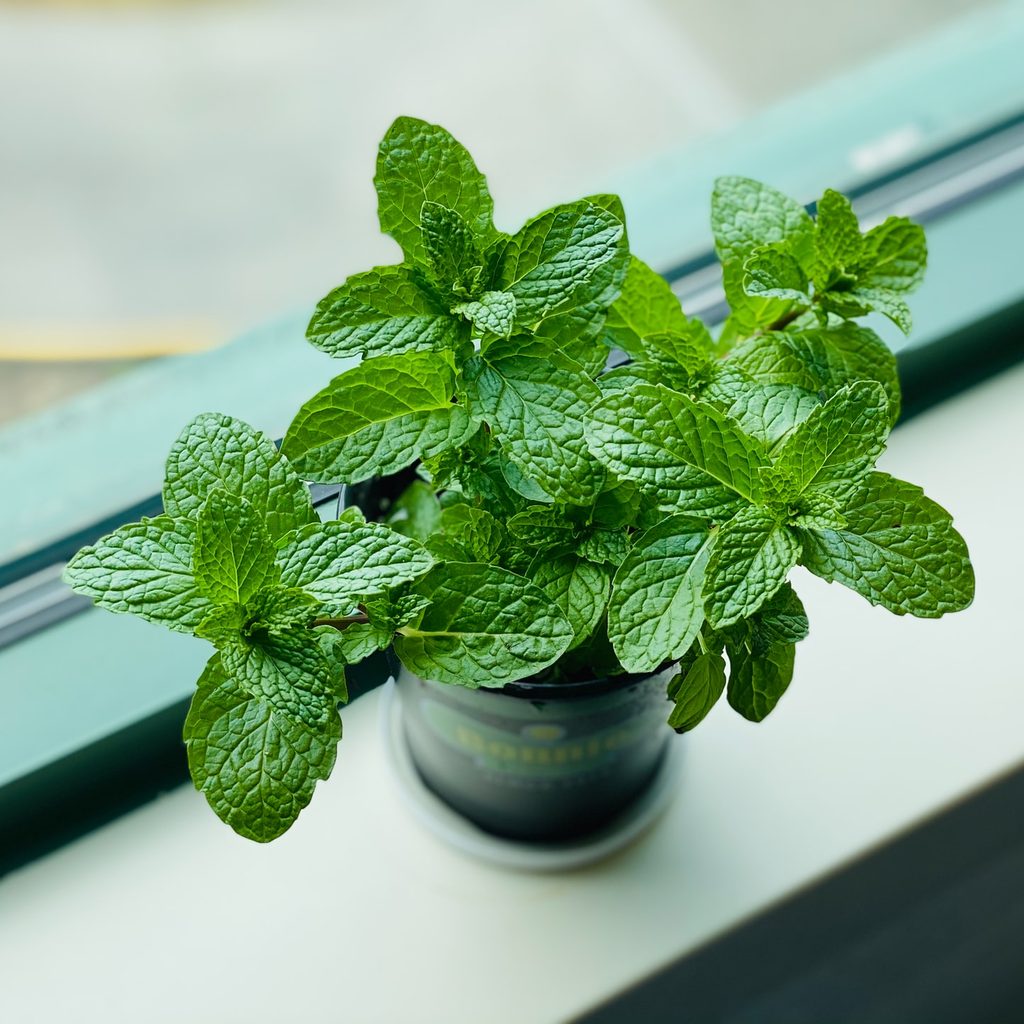
While most plants can grow in cups during the germination and seedling stages, not all will grow healthy, strong, and delicious. Most herbs will do well in cups, but larger plants will probably need to be transplanted into regular pots or an outdoor garden to grow large enough to produce edible fruits and vegetables.
Here are herbs that grow well in cups:
- Basil
- Parsley
- Oregano
- Rosemary
- Chives
- Thyme
- Sage
Other plants that can thrive in cups:
- Strawberries
- Peppers
- Spinach
- Lettuce
- Collard greens
- Pole beans
- Sugar snap peas
- Asparagus
- Green onion
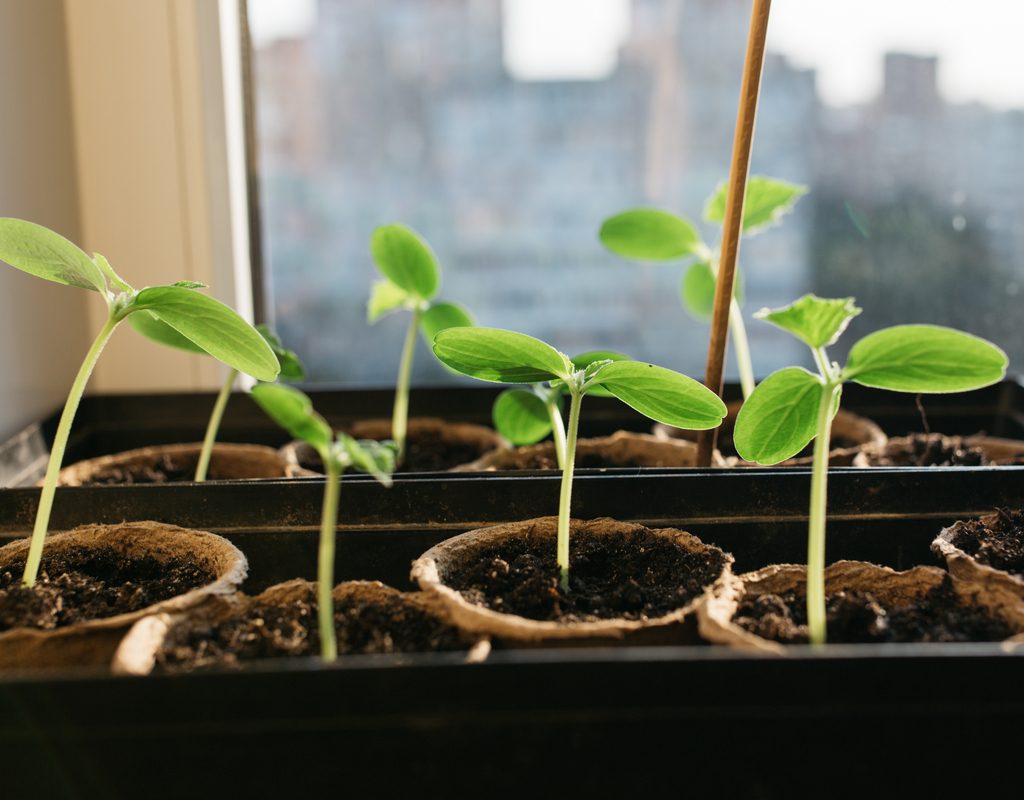
How to grow seeds in cups
Herbs are easy to grow in cups, even for novice gardeners. They don’t take up too much space, and they often can stay in a small cup and keep growing as you harvest.
However, plants such as strawberries, peppers, and asparagus will need to be watched and transplanted into bigger cups or pots once they reach maturity. You’ll know the plant is ready to be transplanted when the roots begin to swirl around the cup repeatedly. Another way to know is if the soil is drying out too quickly between waterings. Once the seedling has reached these milestones, it’s time to transplant.
First, find a pot that’s about 1 to 2 inches large in diameter and fill it with high-quality sterile soil. Next, take the seedling and gently pull it out of its nursery pot. It’s crucial to “tickle” the roots a little before placing them into a new home. This means using your fingers and gently wiggling the roots away from some of the soil. Don’t worry about removing all the dirt; just remove enough that some of the roots are dangling down without soil attached. The “tickling” method encourages the roots to reach out and explore the bigger pot. Now place the seedling into the pot and gently press the soil around the base to support the plant. Water thoroughly, and you’re done!
To ensure these plants have enough nutrients, provide them with ample light and fertilize them every month or so. Also, be sure to harvest fruit, leaves, or deadhead flowers to promote more growth.
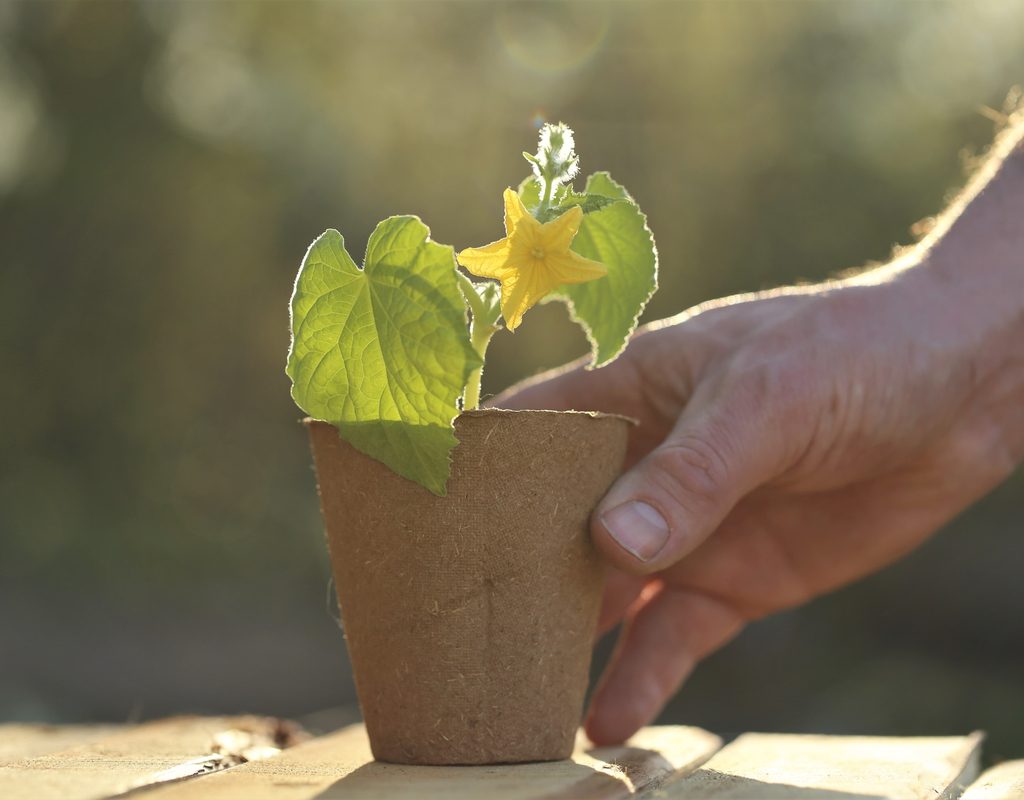
Common problems when growing seeds in cups
Like any other planting method, growing seeds in cups has its own challenges. Proper care will prevent most of them, so make sure your seeds are warm and are getting enough light and water. Additionally, if your seeds are indoora, they should be safe from most pests. Some small pests can still bother your plants indoors, so keep an eye on your plants for signs of mites or whiteflies. Using sterile, seedling-specific potting soil rather than regular garden soil will reduce the risk of pests and fungi.
Overcrowding can also cause problems for your seeds. Make sure to only plant a few seeds in each cup. Seeds with a high germination rate should only be planted one to two per cup, while plants with lower germination rates can be planted three to four per cup. You may need to thin your seedlings if more sprout than you anticipated.
Don’t feel defeated if you don’t have your own outdoor space for growing. By using cups and selecting the optimal plants, you can grow edible food for your family right inside your home.

