
Downtime projects: How to prepare soil for gardens

There are plenty of ways to garden, but, unless you plan on gardening hydroponically or have air plants, one thing you’ll need for sure is soil. Soil impacts every facet of gardening, from what types of plants you can grow to how quickly the water drains out of it and more. Some plants prefer poor soil, that’s for sure, but the majority of plants enjoy good quality soil. What does that actually mean, though? For all the answers to your questions regarding what good soil is and how to make it or make sure you have it, keep reading!

What makes good soil?

An important place to start is that good soil isn’t right for every plant, and what’s “good” for your plants may not be good quality soil. Good soil is soil that is earthy, somewhat thick, contains organic material, and drains water moderately well. There is a general ratio to work from, but it doesn’t need to be exactly precise. There is some wiggle room, so you don’t need to worry about whether or not your soil fits the exact proportions.

Recommended Videos

There are a couple ways you can tell if your existing garden soil is good soil or not. The first way is by sight or feel, which is a quick assessment but isn’t always accurate. If your soil is rocky, sandy, or thin, it may be less than good. The more reliable, but slightly slower, method is to test your soil for nutrients. Testing your soil can let you know exactly what quality your soil is and allow you to target your improvement efforts based on what specifically your soil is lacking.

Gloved hands holding soil with different colored balls of fertilizer in it
Singkham / Shutterstock

What supplies do you need?

There are only a few things you need to make good soil. First, you need a base soil of some kind. If you have access to the ground, and you don’t have only clay and rocks in your yard or garden, your garden soil will work just fine as a base. If you live somewhere without access to the ground, like an apartment, or are planning on making soil for containers, you can buy soil. Since you’re already going to improve it, you don’t need to worry about getting high quality potting soil, either!

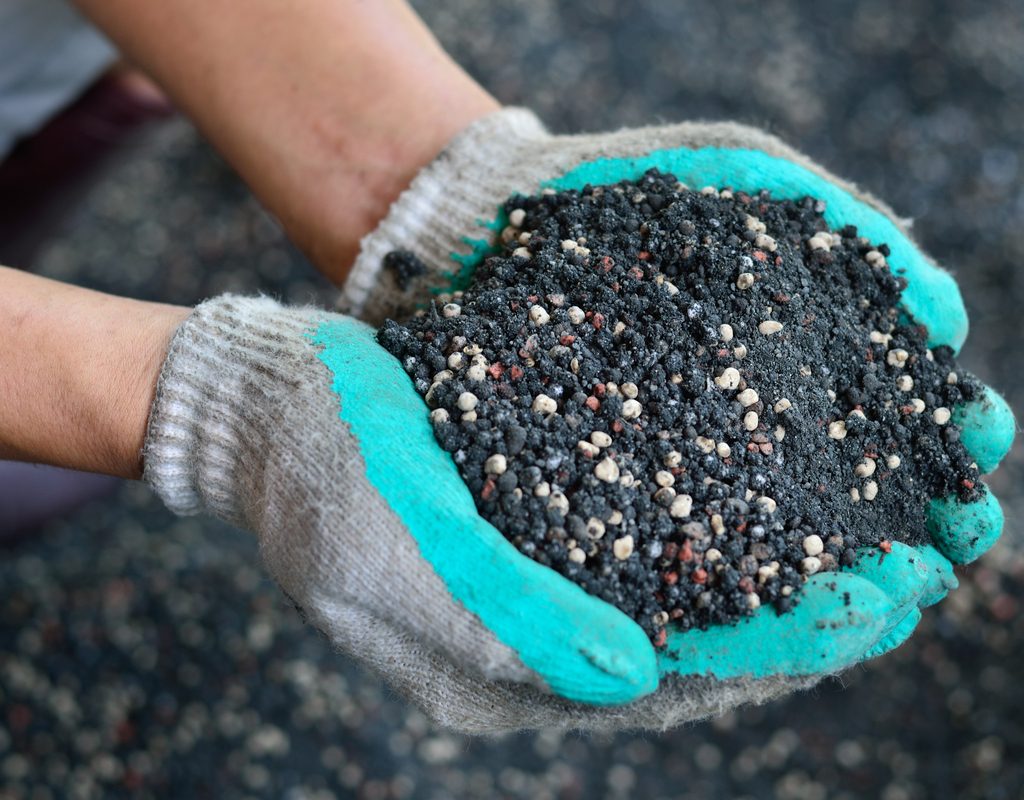
The second thing you need is the material with which you will improve your soil. Typically, this is compost or something compost adjacent. It does need to contain organic material, and compost is the easiest route, as it should be fairly balanced naturally. However, if you don’t have compost on hand, you can use a mix of some organic material, such as shredded leaves, and some balanced fertilizer.

How do you make good soil?

The simple answer is to mix your base soil with the compost, organic matter, and/or fertilizer. That isn’t exactly the most helpful answer, though, so here are a few helpful numbers for you. If you’re scientifically minded, then you can measure out the exact ratio, but otherwise you can just eyeball it.

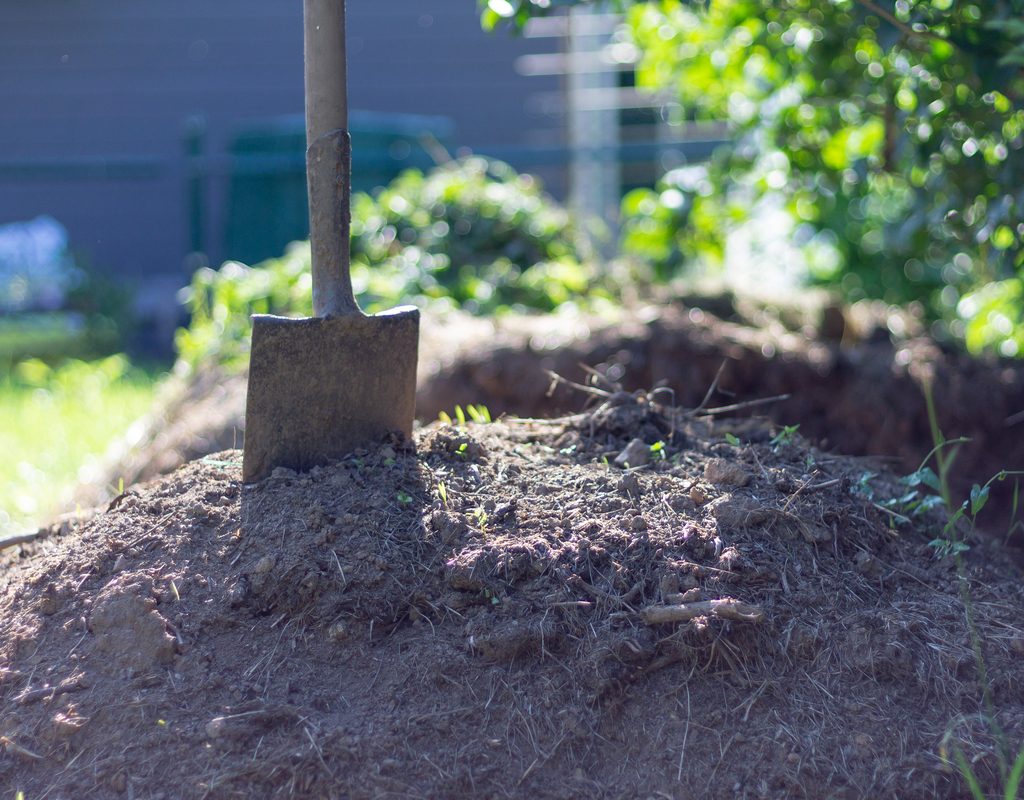
For traditional, outdoor gardens and landscapes you want to aim for about 30% compost to 70% soil. Spread a layer of an inch or two of compost or organic material-fertilizer blend on top of your garden bed and work it into the soil. You want to spread it through the top six inches of your soil as evenly as possible.

For containers and pots, the ratio is 25% compost or compost-adjacent material to 75% soil. This is easier to measure, especially for containers! Simply fill your container three-fourths of the way full with soil, then top it off with your improving material, and mix thoroughly.

Shovel in pile of dirt compost
Image used with permission by copyright holder

Can you buy good soil?

You can! There is plenty of preprepared and packaged soil that you can get online or in person. When choosing the soil you want, look for any information on the bag or from the manufacturer’s website regarding what the soil contains or any information about the types of plants or environments the soil is optimized for.

Now you’re all set to make some good quality soil for your garden! Whether you’re growing indoors or out, have compost on hand or are shredding leaves into fertilizer, or starting with your own soil or store bought, you really can’t go wrong. Just follow this simple recipe for good soil, and watch your plants thrive.

Cayla Leonard
Cayla Leonard is a writer from North Carolina who is passionate about plants.  She enjoys reading and writing fiction and…
Have more aloe plant than you know what to do with? How to propagate its pups
Propagate your aloe plant easily and successfully
A few small aloe vera plants

Aloe plants are one of the most popular indoor succulents, and for good reason! They're hardy and easy to grow, useful for treating minor skin irritation and cuts, and they have a lovely and interesting shape. Plus, it’s one of the easiest plants to propagate — and who wouldn’t want to create more aloe vera for its soothing gel that can be used to treat burns and skin irritations? If you want to learn how to propagate aloe vera, it’s not that hard. Ahead, here's what you need to know to successfully propagate aloe vera.
The easiest way to propagate aloe vera

The easiest way to propagate aloe vera is by division — that’s to say, taking an offshoot growing at the base of your aloe vera plant. You can simply pluck off a pup or use a clean knife to carefully remove it from the mother plant. The best time to remove the offshoot is when the leaves are fleshy and have formed a distinct rosette shape. It also helps if the pup already has roots connected to the mother plant. When propagating the pup, keep as much of the established root system as possible. Place your offshoot into a fresh cactus mix and allow the roots to settle after watering deeply. If you have an aloe with multiple pups, you can remove your entire plant from its planter for a better view of the roots.
How do you propagate aloe vera without roots?
It’s possible to propagate aloe vera without roots — in fact, you can even grow it from cuttings, which we’ll cover more extensively below. Propagating aloe vera pups without roots is very feasible, but you have to be careful with watering. If you find yourself with rootless aloes, you can place them onto your potting mix as usual and use stones or stakes to keep them upwards. Avoid watering them until about two weeks or whenever they have roots.
Other ways to propagate your aloe vera plant

Read more
Indoor gardening: Hydroponics growing tips for any plant
Start your hydroponic garden with these tips
Cilantro grown hydroponically

Hydroponic gardening is a unique and interesting process. Hydroponic gardening is a great way to extend your growing season by growing fruits and vegetables indoors. It flips the script on so much of what's considered traditional or standard about gardening, and having a hydroponic garden is an immediate conversation starter. It looks impressive, but that also means it can be intimidating to start. That's why we're here to help. This guide on how to start a hydroponic garden will help you get started with setting your system up and caring for your plants.
Planning

The first step is to choose your plants and the type of system you want to use. Certain plants have an easier time growing hydroponically than others, so take your time deciding. Some simple ones to start with are spider plants, pothos, mint, and lettuce, but those are by no means the only good ones to start with! Don't forget to measure out how much space you have, as that will impact the size and potentially the type of system you get.

Read more
How big do Bromeliads get?
Caring for you bromeliad so it grows as big and old as possible
Group of mature bromeliads

Bromeliads are gorgeous houseplant that are known for their vibrant flowers and glossy leaves. When getting a bromeliad for the first time, many people find themselves asking a few questions. How big do bromeliads get? What’s the average bromeliad size? How long do bromeliads live? These flowering houseplants are slow-growing, and most of the time when you buy them from the nursery they’re already blooming. That means they’re fully mature and as big as they’re going to get. However, if you want to try propagating your own bromeliad, then you'll need to know what to expect.
How large will your bromeliad grow?

Throughout their life, houseplant bromeliads can grow anywhere from 1 inch to 3 feet tall. Some won’t reach the biggest height by maturity, but some will. It’s a toss-up when you’re growing pups for how big they will eventually get, but you should plan for a 2 to 3-foot-tall plant to be on the safe side.

Read more