
Growing a new plant can be intimidating, especially plants like lettuce or collards that seem delicate or harder to grow successfully. Don’t let that stop you! We’ve put together a guide to help you grow and harvest delicious and nutritious veggies like butter lettuce or kale in your own backyard.
Tools and materials needed
Before you can start the growing process, you’ll need to make a list of the types and varieties of greens you want to try. You can use this guide to determine if organic seeds are for you. You can even check out cold weather hardy greens that you can grow into frost season.
If you already have a home garden, it’s likely that you’re equipped with all the tools necessary. But to be sure, here’s a list of the items we recommend.
- Plant seeds of choice
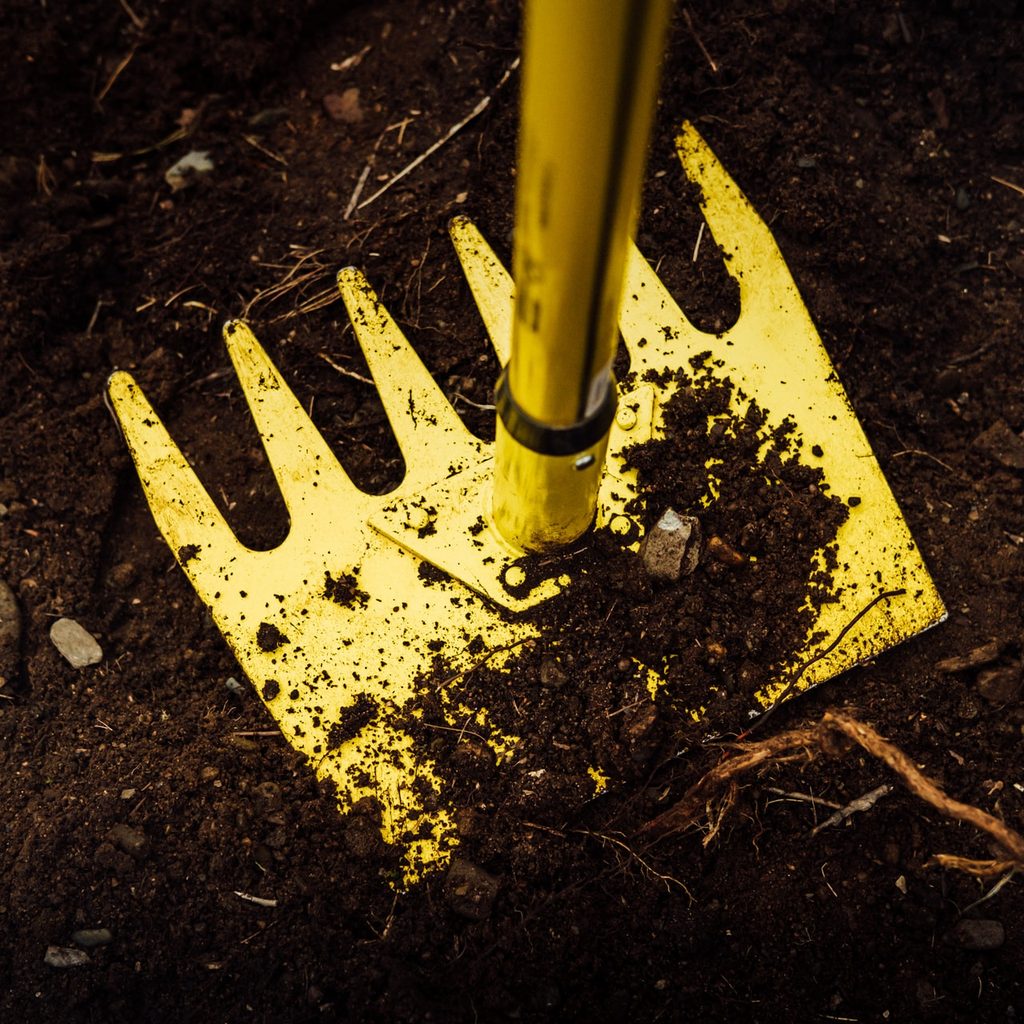
- Garden fork
- Row covers
- Row labels
- Compost
- Fertilizer
Prepare your planting site
Like most plants, greens love well-fertilized and compost-filled soil. If you’re not working with a raised garden bed, this will be the most challenging part of the process. Tilling, working, and amending the soil can be hard work, but your plants and salads will thank you.
Using a garden fork, work up the soil and add compost and your preferred fertilizer. Mix these amendments in well, and break up the soil as you go. Seedlings have delicate roots that need loose soil to grow efficiently. If there are large clumps or rocks in their way, it will make it much harder for the plants to germinate and develop strong, healthy root systems.
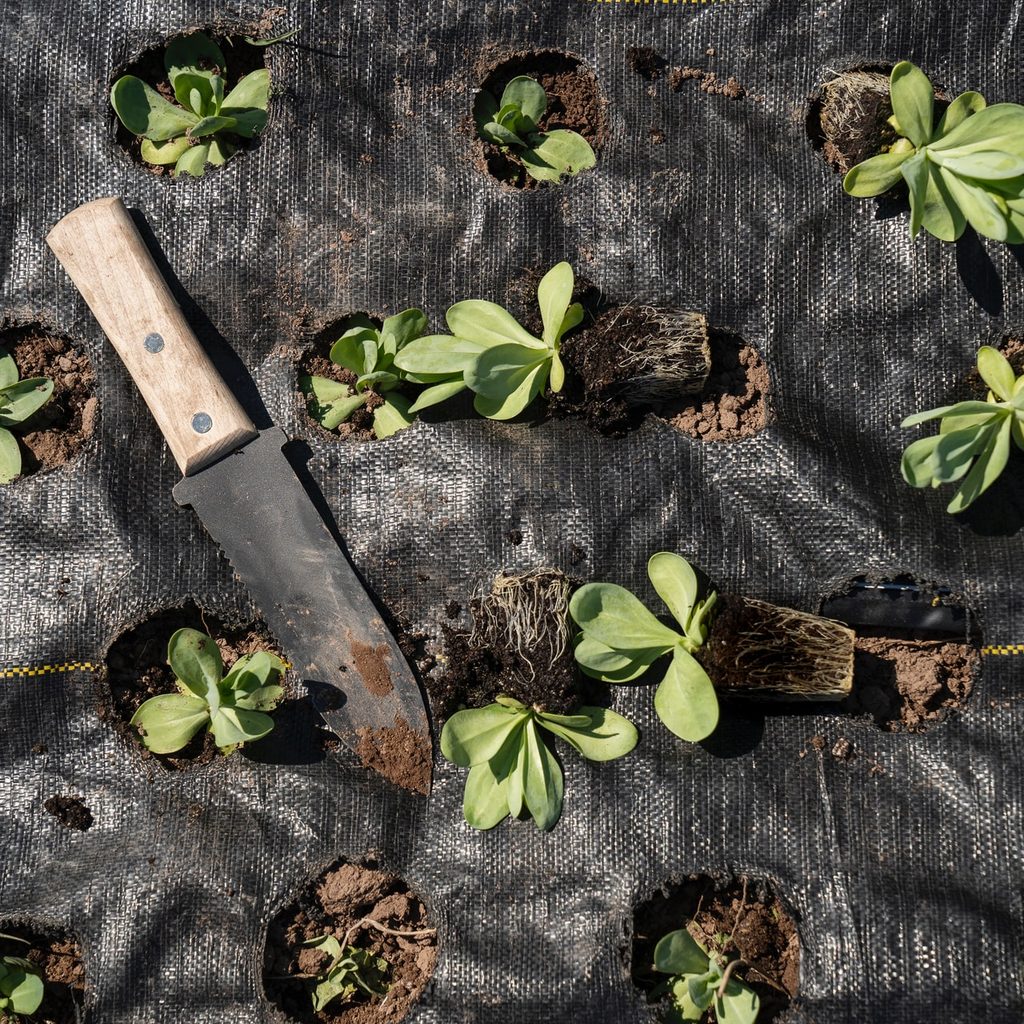
Plant your seeds
This is a satisfying but time-consuming process, depending on how many rows you have to plant. Here, you’ll be using a pen or finger to open a small hole in the ground. Go down about 1/4 of an inch and pinch in two to three seeds per hole. Use row labels to identify where you placed plants so you can identify them correctly in the future. This will also allow you to add or subtract plants you did or did not like for the next growing season.
The row cover is optional but could speed up the germination process. They can also protect seedlings from being eaten by rabbits, squirrels, and other rodents. There are gardeners who swear by them and others who say they never use them.
Cultivate the successfully-germinated seeds
Since there are multiple seeds per hole, the likelihood of more than one seed sprouting is pretty high. This is an excellent problem to have and much better than not having any seeds germinate at all!
If you’re noticing multiple seedlings growing in one hole, give them a few weeks and then cut the seedling that is the smallest so you have only one plant per 8 inches of garden space. This ensures each plant has plenty of space and available nutrients to grow and produce big, healthy leaves.
Harvest the greens of your labors
Now that it’s been several weeks and you’ve cared for and nurtured these beautiful green plants to life, it’s time to harvest. There is almost nothing more satisfying than watching seeds you planted grow and thrive into mature plants. It’s also gratifying to then gather and create a salad or other dishes with the food you’ve grown in your own backyard!
Many greens will allow you to harvest a few leaves at a time, and they will continue to produce more leaves as the season goes on. To harvest in this way, you’ll want to grab the leaf you’ll be harvesting, go down to the soil level, and cut the leaf off without damaging the rest of the plant. If you have to go higher up on the leaf, that’s okay. Damaging the plant can result in it dying or no longer producing any new leaves.
With a basket full of romaine, Swiss chard or kale, you’re ready to make the best salad or green smoothie you’ve ever tasted! Take these steps and apply them to an already existing garden or a new garden. It’s never too late to start gardening, and everyone, no matter their stage in life, can gain something from a garden — even a small garden just for salad greens!


