There are a plethora of reasons to compost, but the most important — and convincing — reason is the impacts it has on the planet, your family, and your budget. When you make your own compost at home, you are eliminating the need to buy it from the store, and you’re cutting down on the waste your household creates by recycling it into a compost pile. Of the many ways you can help the environment in your garden, composting is certainly one of the easiest. Plus, your plants will love the boost they get from it! If you want to try composting at home but aren’t sure how, we’ll walk you through it.
What you need

It doesn’t take too many extra gadgets to get a compost pile up and running. To get started, all you need is a kitchen bin to hold all the scraps until you get a compost pile set up outside. An outdoor compost comes in many different shapes, sizes, forms, and types. The basic pile is just that, a pile. Some choose to use pallets to create a three-sided structure to hold the pile together, and others purchase plastic or metal boxes and barrels to keep the pile in a completely enclosed structure. These options are fine; just find whatever works best for you and the space you have.
Get started
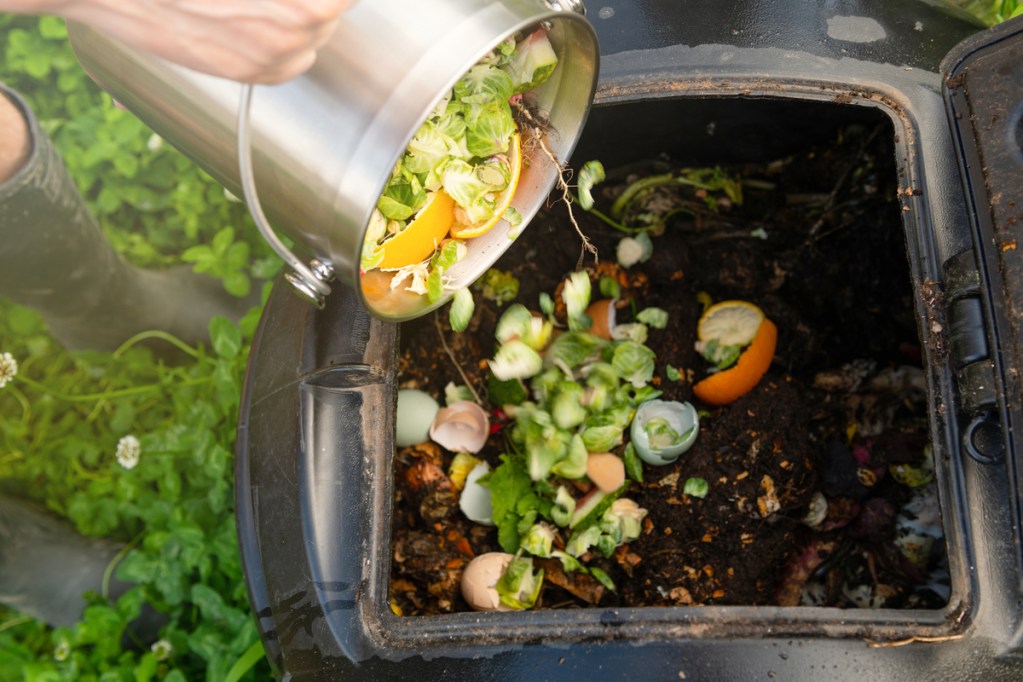
Starting compost is as easy as saving your kitchen scraps and throwing them in the compost pile or container. However, for the best results, there are a few rules to composting to keep in mind.
First, it’s essential that you keep the ratio of green material and brown material around 50/50. This means for the same amount of fresh kitchen scraps you add to a compost pile, you should also be adding an equal amount of leaves, cardboard, and sawdust. The bacteria that breaks down the compost needs both of these types of materials to thrive and create rich and healthy compost.
Second, your compost pile needs to be watered just like your garden. This isn’t as much of an issue in climates where regular rain and snow can dampen the compost pile. When your area doesn’t get a lot of rain or snow, or the compost pile is closed off to the elements, a problem arises. A compost pile that is too dry will not break down, and you will be left with a stinky pile of random kitchen bits and leaves.
The third and last thing to remember about compost care is turning it. Like a good chili, you want your compost pile to mix and meld all its flavors together. There are times when worms and other beneficial creatures in your compost bin will favor one area more than another or water may pool in one section while leaving another area dry. Mixing and turning a compost pile prevents this from happening and ensures the compost is decomposing equally throughout.
What can you compost?
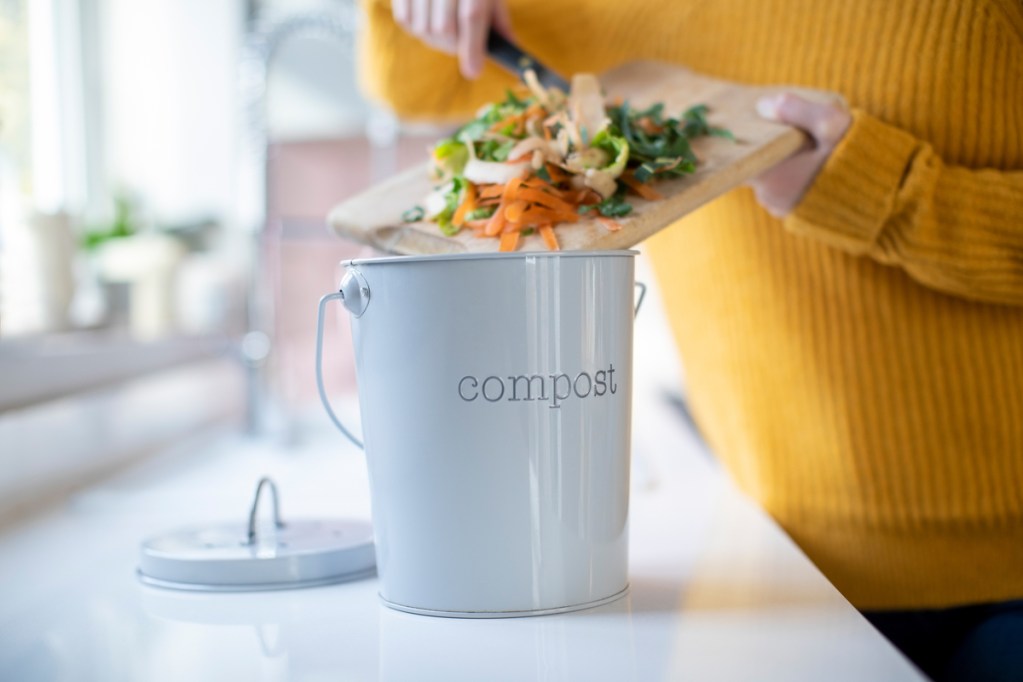
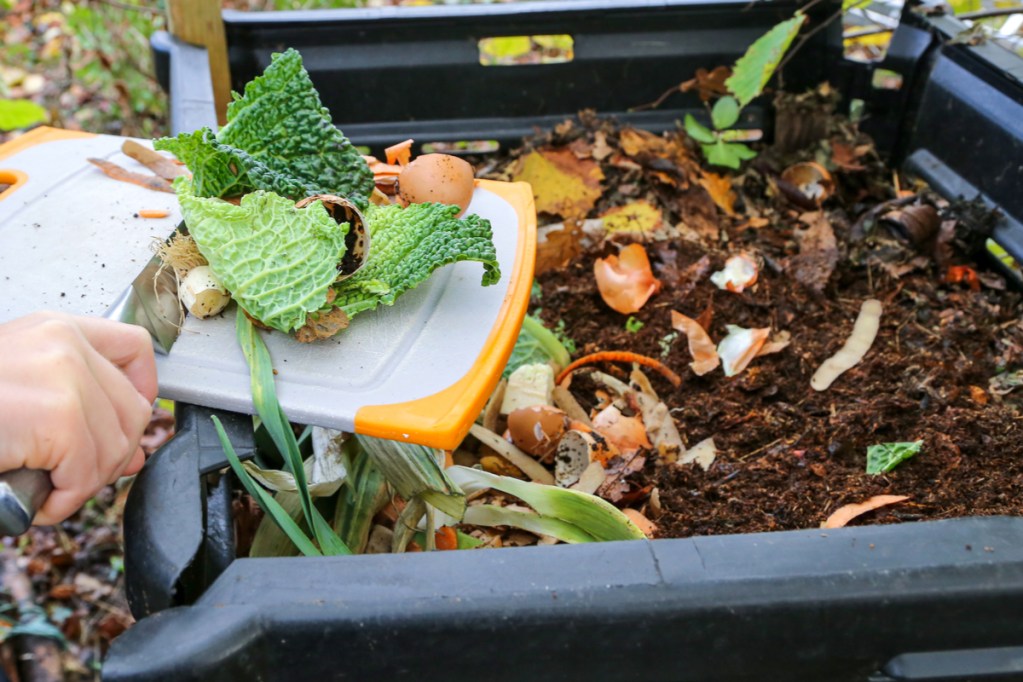
The majority of what you can compost will be kitchen scraps. This includes garlic paper, the cut-off ends of veggies, onion skins, wilted herbs or lettuce, banana peels, apple cores, and veggie peels. There are more items in your kitchen that you can compost than you might think. In addition, you can compost other things like coffee grounds, tea bags, leaves, sawdust, garden scraps, crushed eggshells, and grass clippings.
What can’t you compost?
It can sometimes get confusing on what you can and cannot compost. The general rule is if it comes from an animal, then you shouldn’t compost it, but even this can get confusing when you realize you can compost feathers and eggshells. Here is a list of the most common household items that should not make their way into your compost pile.
- Meat or fish
- Bones
- Leftovers that aren’t veggies or fruits
- Greasy food scraps
- Dairy products
- Fat or oil
- Branches
- Garden scraps that have been sprayed with pesticides
- Weeds
- Diseased plants
Using your compost
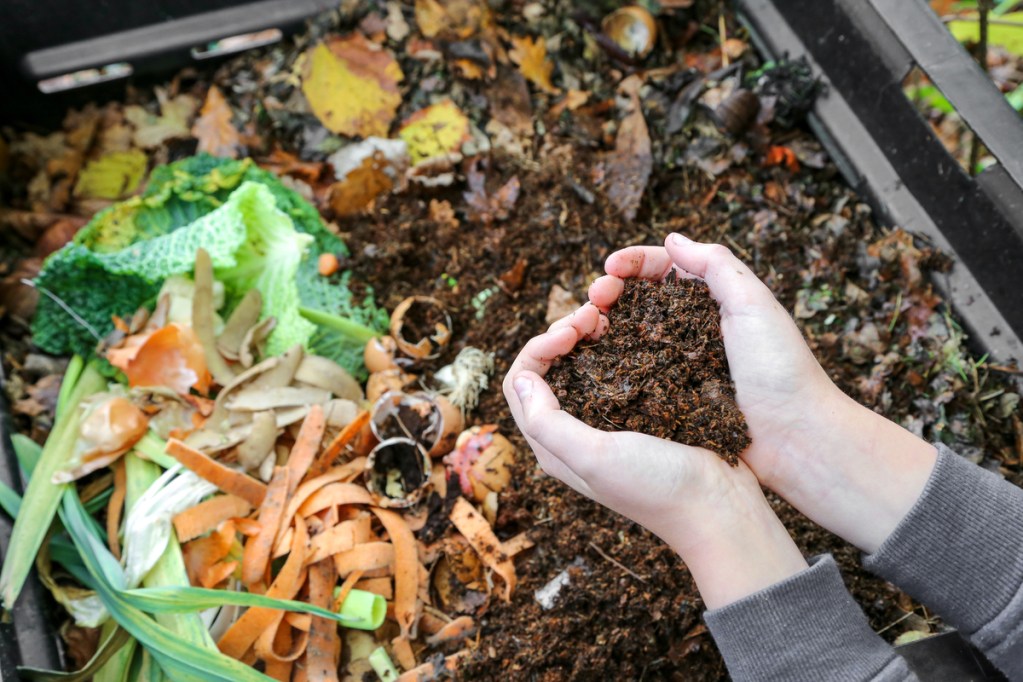
Your compost is ready to use when it looks, smells, and feels almost exactly like dirt. It should be brown or black, crumbly, and earthy. If you can still see pieces of food or other composted material, or it still smells like rotting vegetables, then it isn’t quite ready yet. Give it a turn and wait a little longer. Depending on the size and type of compost bin you have, it can take a few months for your compost to be complete.
Compost is typically added to gardens in spring, but it can also be used in summer or fall. Winter isn’t an ideal time to add compost, since your plants will mostly be dormant. In spring, mixing a few inches of compost into the soil gives your new plants a strong foundation of nutrients to grow from. In summer, the compost acts as a gentle fertilizer, giving your plants a boost. In fall, the compost can be used as a mulch to keep your plants’ roots warm during winter.
Quickly creating a compost pile is an excellent way to save money when fertilizing your garden and reduce your household waste by reusing kitchen scraps that would traditionally end up in a landfill. Even if you don’t garden, composting can still reduce your waste and be a fantastic addition to recycling.