Gardening is a relaxing hobby and a great way to brighten your yard. If you aren’t sure how often to water seedlings or when you should transplant them, then these questions can take some of the relaxation out of gardening. There are a few ways to grow plants, from sowing the seeds directly into your garden to buying an already-mature plant. Arguably the most popular way, though, is to start your seeds indoors.
The beginning is easy, but what happens when your plants start sprouting? Whether you’re just starting your garden or trying out a new way of gardening, here is everything you need to know about taking care of seedlings.
How often to water seedlings
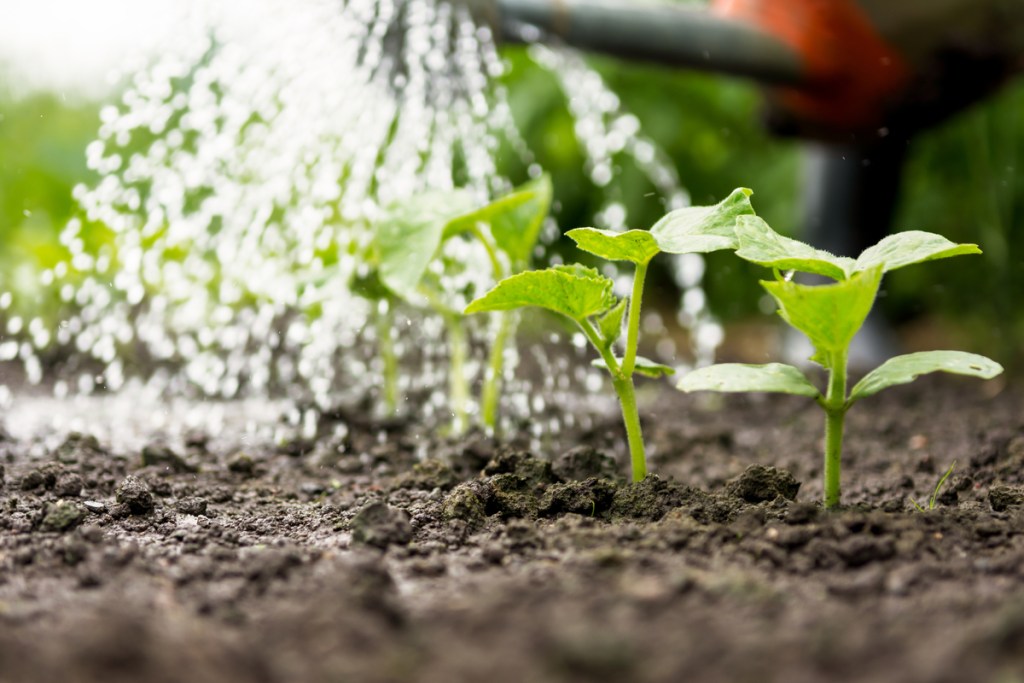
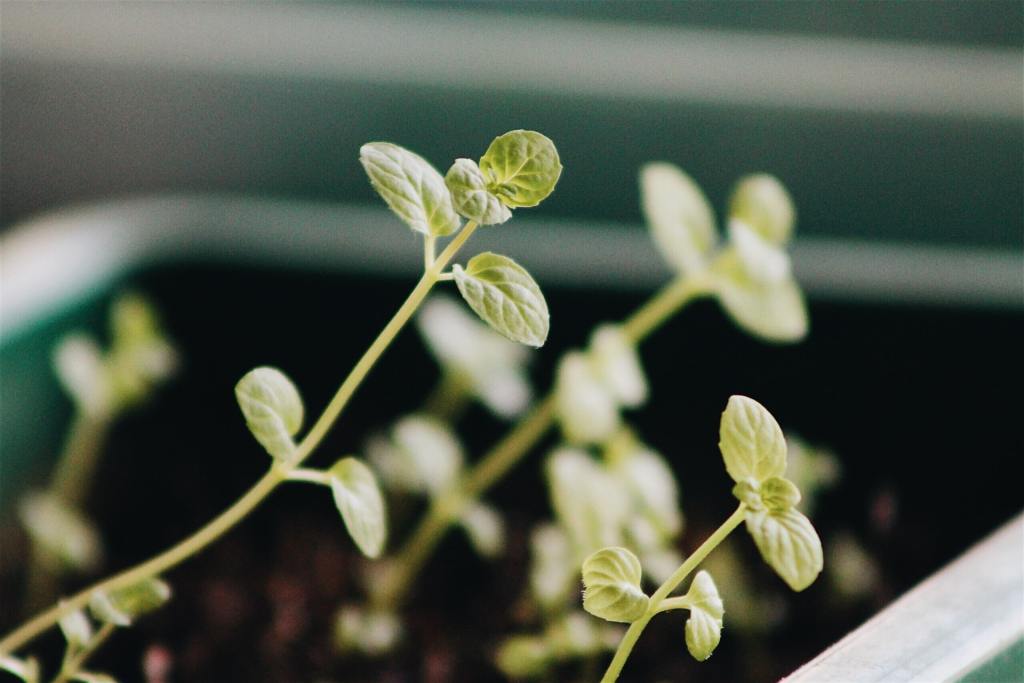
Seedlings aren’t able to store water for very long, so they need soil that is constantly moist. This means watering them a few times a day, depending on how quickly they dry out. Test your seedling’s soil with the end of a finger to about an inch deep. If the soil is dry, your seedling needs water. If the soil is soggy, your seedling has been overwatered. If your seedlings have already sprouted, pay attention to their color. Yellow seedlings are seedlings that have been overwatered, while seedlings that are limp and pale may be underwatered.
How to keep seedlings alive
Aside from water, the most important thing for your seedlings is sunlight. Seedlings need roughly 10 hours of light a day, so finding the sunniest part of your house is important. Depending on where you live, you may need to supplement your natural light with artificial light. That said, there are a lot of products available on the market, so you can light your plants no matter your budget.
If your plants are getting leggy or growing sideways, this is a sign that they either aren’t getting enough sun or the light is hitting them at an odd angle. Plants move toward the sun, so the best way to get nice, even growth is to position the light above them.
Where should you grow seedlings?
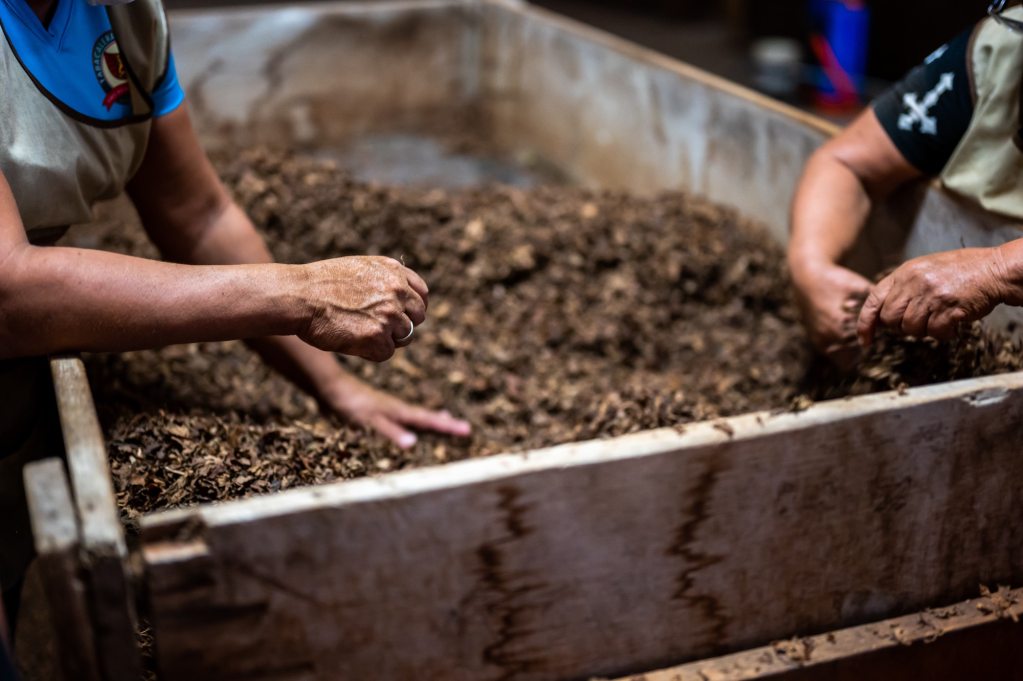
When you’re thinking of the right home for your seedlings, you want to consider both the growing medium and the container, as these two things will impact how well your seedlings take up water. You can buy a ready-to-go seed-starting mix from brands, such as Espoma and Burpee, but it’s also possible to create your own growing medium.
Generally speaking, seed-starting mixes don’t contain any soil. You’ll usually find a blend of moisture-retentive organic matter (such as coco coir, peat moss, and compost) and drainage-providing materials (such as perlite and sand). Most DIY seed-starting mix recipes feature equal parts coco coir, perlite, and compost, but ratios may vary.
Container tips
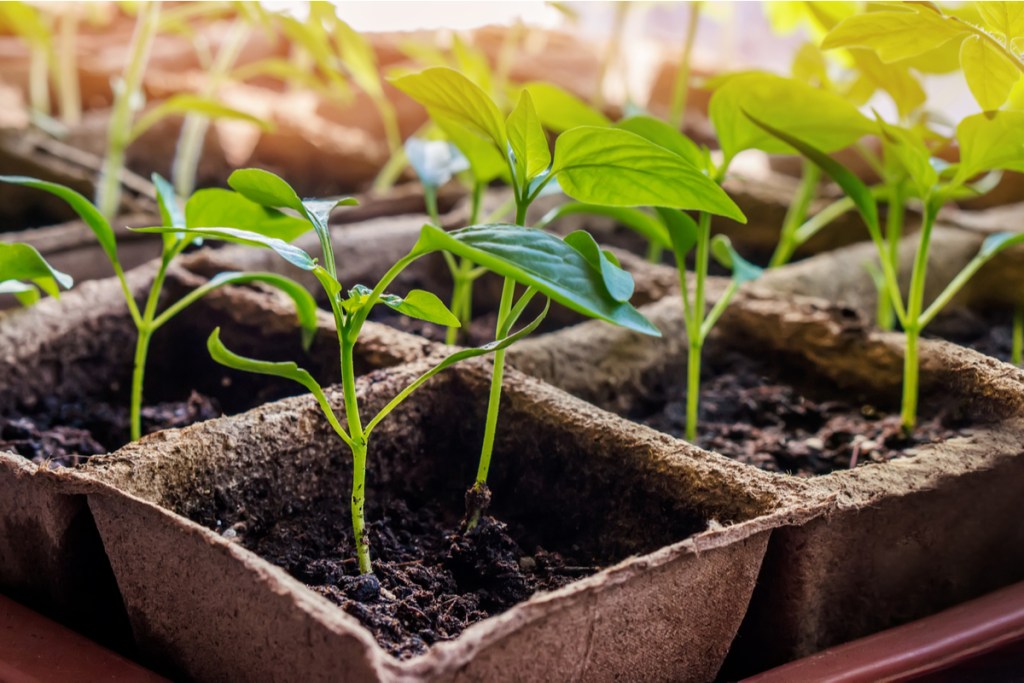
Your seedling trays should be wide and flat containers that give the roots (when they begin to grow) enough space to avoid overcrowding. Another container tip for keeping your seedling alive is to use plastic rather than clay or another material when you’re starting seedlings, as plastic retains moisture more consistently. Some people also upcycle party cups or DIY seed-starting vessels from toilet paper tubes or newspapers. For a biodegradable option, you could also pick up peat cells from your local nursery.
When you plant your seeds, you should add a humidity dome made of plastic over your container of choice. This creates a greenhouse environment for your seeds, which you can remove when they sprout.
What should you do once seedlings sprout?
Once your seedlings sprout, you can slowly remove the humidity dome. Create a few ventilation holes in the dome, so a sudden change in air temperature and humidity doesn’t shock the sprouts.
Continue checking on the soil’s water content. Growing plants need a lot of water to fuel their growth, which means they’ll be absorbing water more quickly. The soil will dry out faster, so you’ll need to water more frequently or begin bottom watering.
Bottom watering means pouring the water into a dish or tray on which the individual containers sit. This allows the plants to absorb water through their roots at a more even rate. If you bottom-water your seedlings, only add enough water to cover the holes in the bottom of the seedling container. Remove any water that’s left standing for more than half an hour to avoid an increased risk of diseases, pests, and root rot.
If your seedlings have sprouted and there is more than one in each cell, you’ll need to thin them. Multiple seedlings in a single cell compete for resources, which often results in both seedlings dying or being severely weakened. Once your sprouts have grown a few sets of leaves, choose the strongest seedling in each cell and leave them. Gently pinch the seedlings you need to cull and pull steadily up. The roots will likely come with it, but if they don’t, don’t worry about it too much.
How long can seedlings stay in trays?
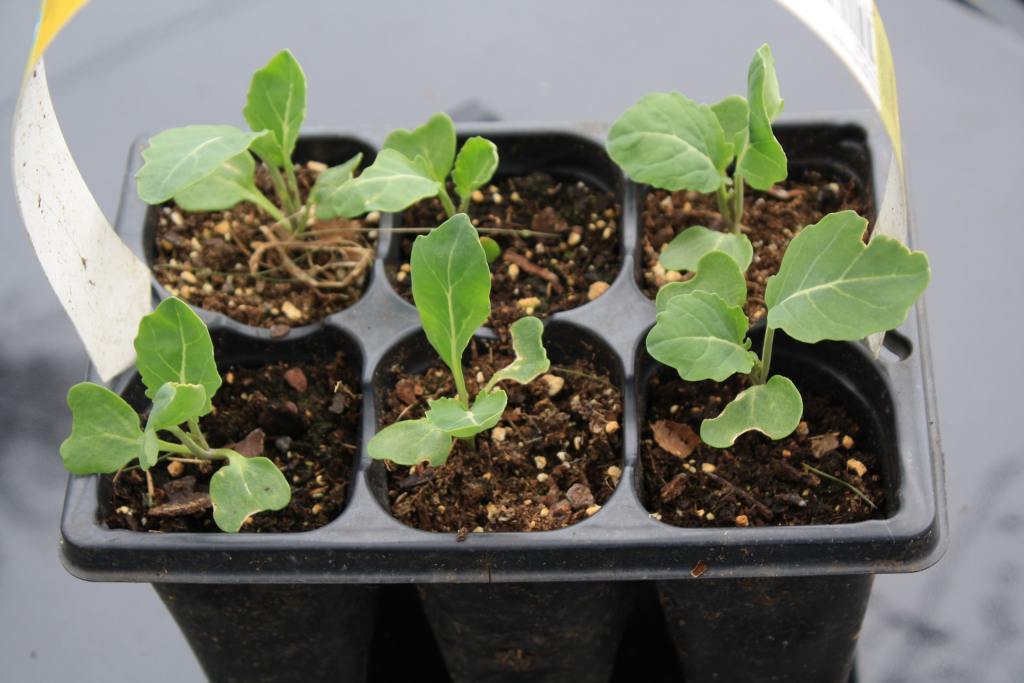
Seedlings are ready to move out of the trays when they are twice as tall as the tray they’re in. Once they reach that height, you have a couple of weeks of wiggle room to prepare a pot or start hardening them.
Hardening is a crucial step if your sprouts are going to be outside in your garden. It helps your plants adjust to their new environment, giving them a greater likelihood of survival. When the temperature outside consistently reaches 50 degrees Fahrenheit or more, start leaving your sprouts outside for 3 or 4 hours every day.
You should pick a spot that is shaded and protected from the elements, then gradually move them into the sun. When the nights are consistently above 45 degrees Fahrenheit, your sprouts can stay outdoors overnight.
When should you plant the sprouts?
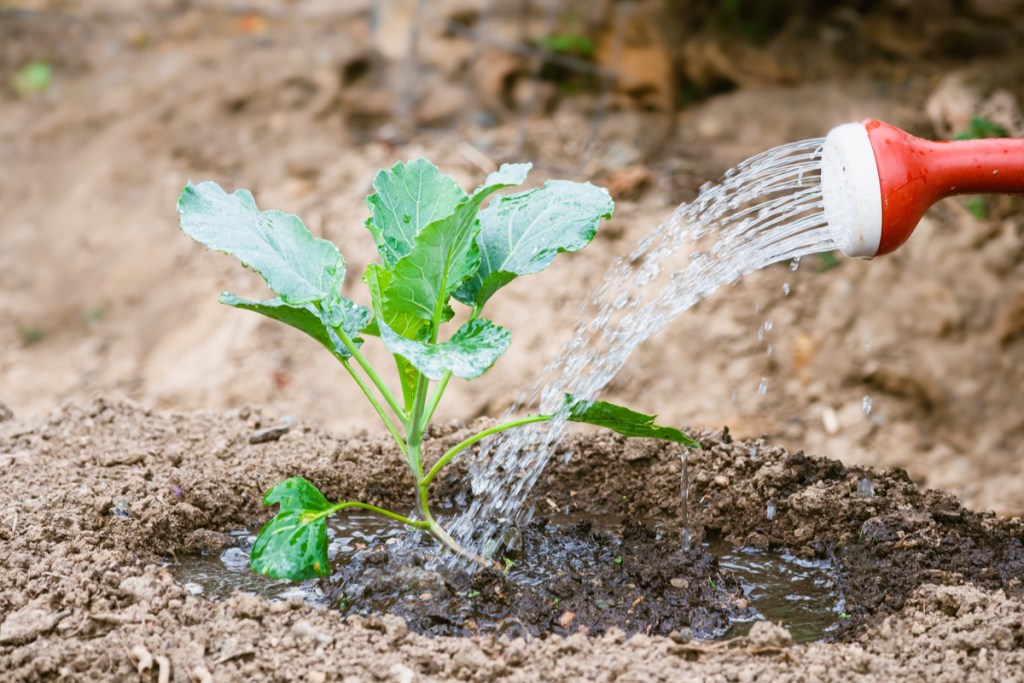
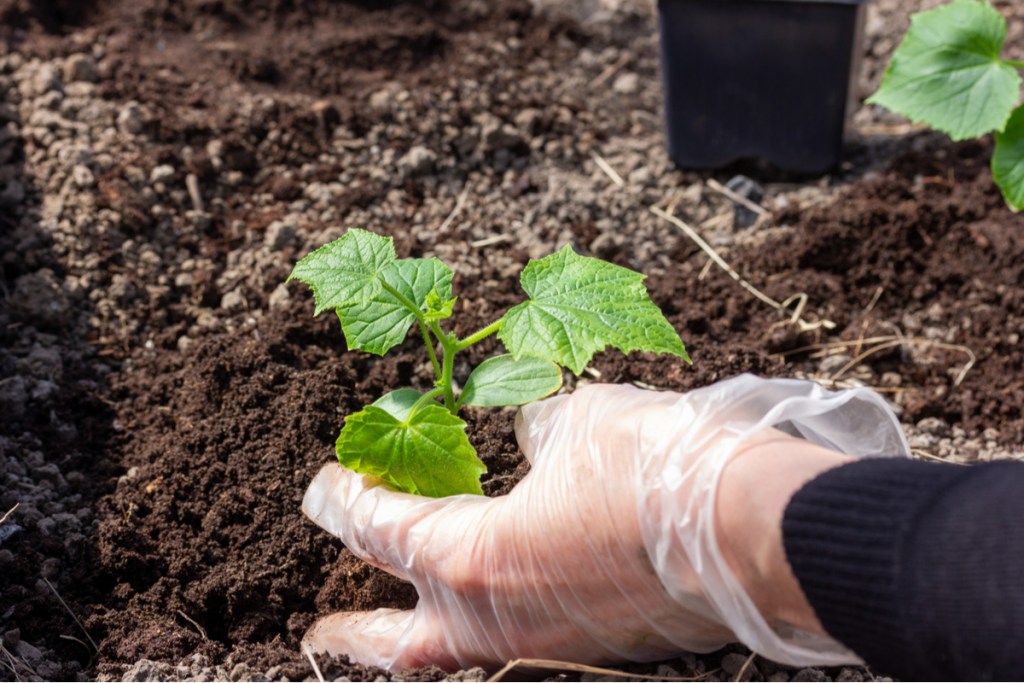
Now you’re ready to plant your sprouts. Planting should occur in spring, although the exact time depends on the type of plant you have. A cold-weather plant, like most leafy vegetable plants, can be brought outside about two weeks before the last frost, while warm-weather plants, like most flowers, shouldn’t be planted until after the last frost of the season. Water your plants in, and you’re done!
Now you know all the potential pitfalls of raising seedlings, and you’re prepared for what may come! Watching the little green shoots poke out of the soil is exciting, and successfully transplanting your seedlings is incredibly satisfying. So enjoy your gardening experience!
Meanwhile, if you’re looking for more, take a look at our tips for growing houseplants from seeds.
