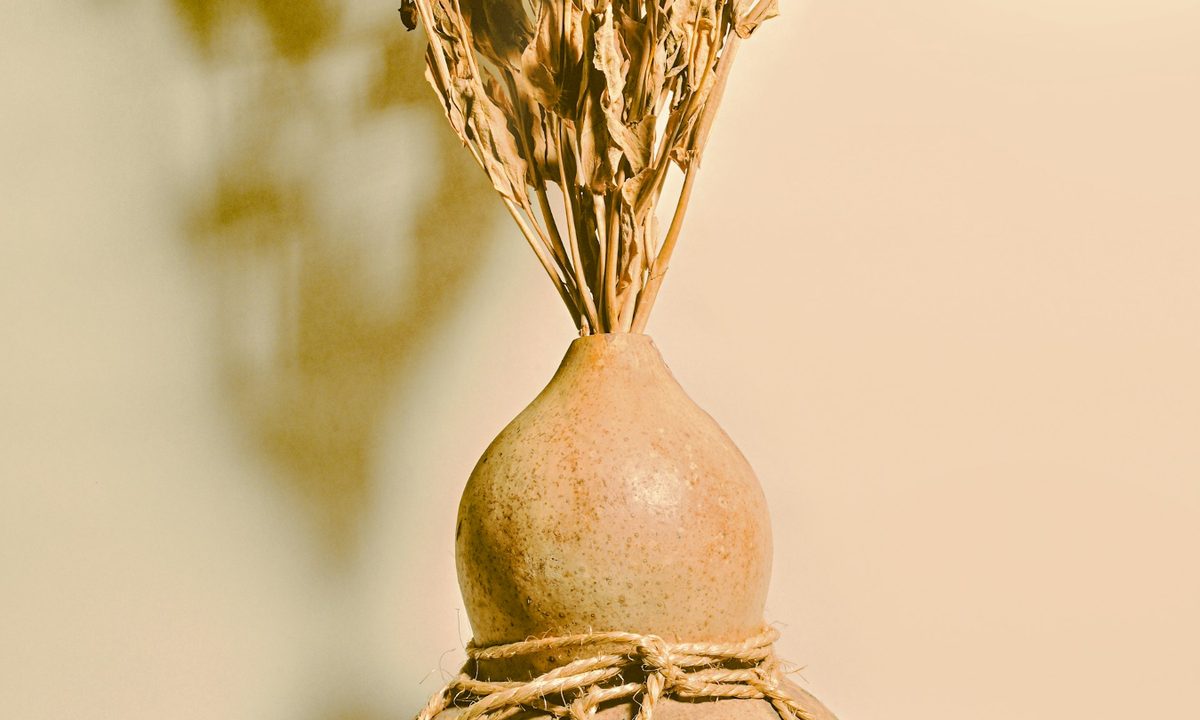
Gourds, especially pumpkins and squash, make excellent decorations due to their thick shell-like skins. You can carve them into lanterns, turn them into instruments, or simply paint them to match whatever occasion you choose. Unless you’re carving them, though, it’s best to dry them first. Drying helps preserve the gourd and stop it from decaying. Want to learn how to dry gourds at home? It’s surprisingly simple, even for people without much experience. To help you get started, here’s our easy walkthrough explaining how to dry gourds at home.
Choosing the best gourds for drying
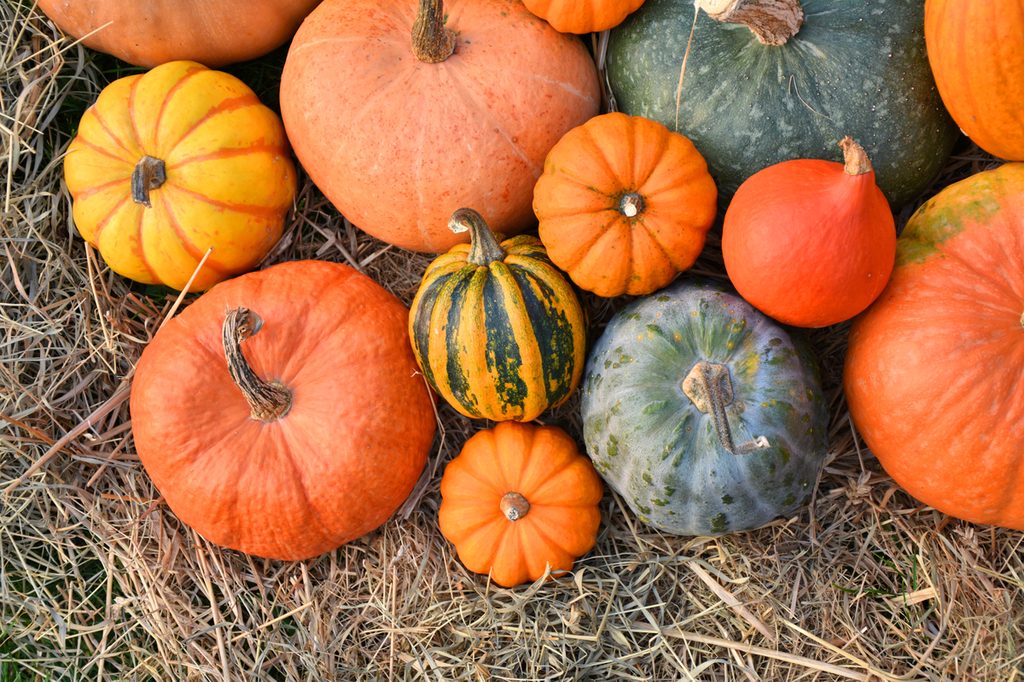
The gourd you choose to dry should be fully mature, so their skins are properly hard. Before they mature, gourds have softer skins, which can interfere with the drying process. Smaller gourds will dry faster than larger ones overall, and while larger gourds can dry at home, they are more time consuming.
Additionally, make sure the gourd is in good condition. Check for cracks, broken skin, or holes in the gourd. Your gourd may still dry properly with these minor issues, but depending on where they are and how extensive the damage is, it could cause your finished gourd to be more fragile. If the gourd has soft spots or mold, it will not dry properly, as it’s already in the process of rotting.
Finally, choose a gourd that fits your finished design. For example, if you know you want to make a rattle or shaker, choose a gourd that is smaller and has a longer neck that fits comfortably in your hand. If you want your finished gourd to sit up on its own after drying, choose a gourd with a flat bottom. If you aren’t sure what you want to do with your dried gourds, we recommend drying a variety of sizes and shapes, so you have options.
Preparing your gourd
Preparing your gourd for the drying process is simple. Wash the outside. Use plain, warm water and a gentle soap. Avoid scrubbing too hard, or you might damage the outside. Also, avoid soaking the gourd stem, as it will be slower to dry than the gourd’s peel. This is simply to remove any dirt or fungal spores that might be lingering on the outside of your gourd.
Once washed, let most of the water dry. Rubbing the surface of the gourd with a small amount of vinegar or rubbing alcohol can help kill any bacteria or spores that made it through the wash. Now, your gourd is ready to begin the drying process.
Drying the gourd
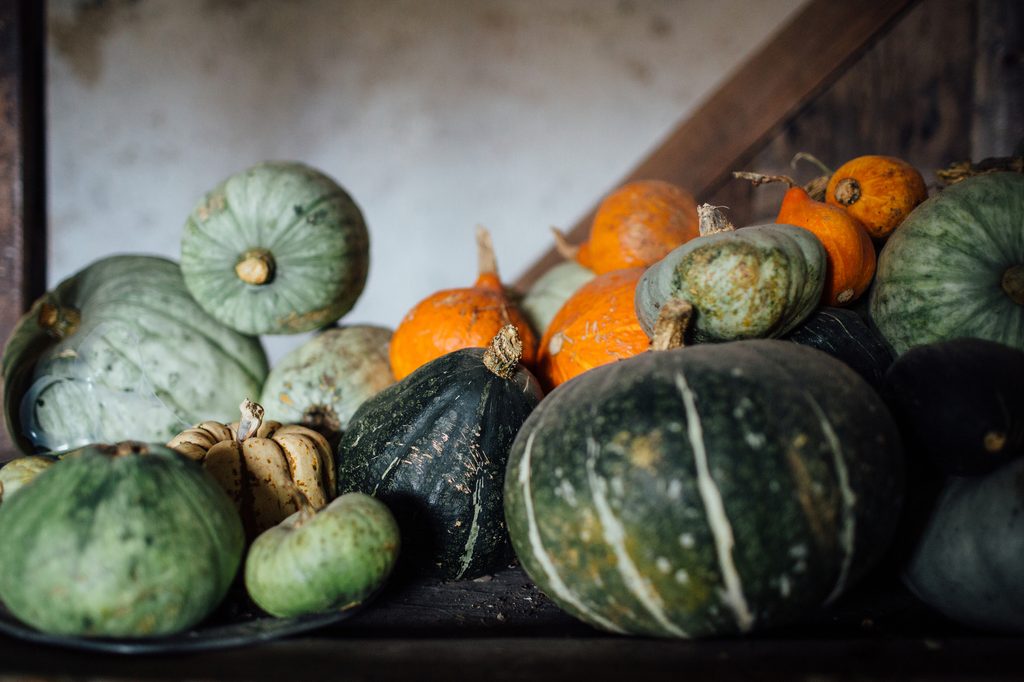
Drying your gourd is not difficult, but it does take quite a bit of time. First, you’ll need to find an appropriate place to dry the gourd. The area should be dry, but fairly dark, and have good airflow. It is critical that the place you choose fits these criteria, as moisture or lack of airflow promotes mold growth, and sunlight can cause uneven drying.
Your gourd can be on the ground or on a shelf, but be sure it isn’t touching anything else around it, including other gourds. Leave your gourd where it is for up to six months, rotating it occasionally to ensure it’s drying evenly and not sticking to the surface it’s on. Whenever you rotate it, check the gourd for signs of mold. If you notice any soft spots or visible mold, throw out the gourd.
Depending on the size and type of gourd you’re drying, it could take up to six months to dry fully. Larger gourds may take longer. You can check your gourd by picking it up gently. A completely dry gourd will feel light and hollow, and you should be able to hear the seeds rattling inside.
Displaying your gourds

Once they’re dried, your gourds are preserved but not fully protected. They can still get damaged, so treat them gently. If you’re displaying your gourds outdoors, keep them somewhere they will have shelter from the weather. A covered patio or porch is a great place to keep your gourds.
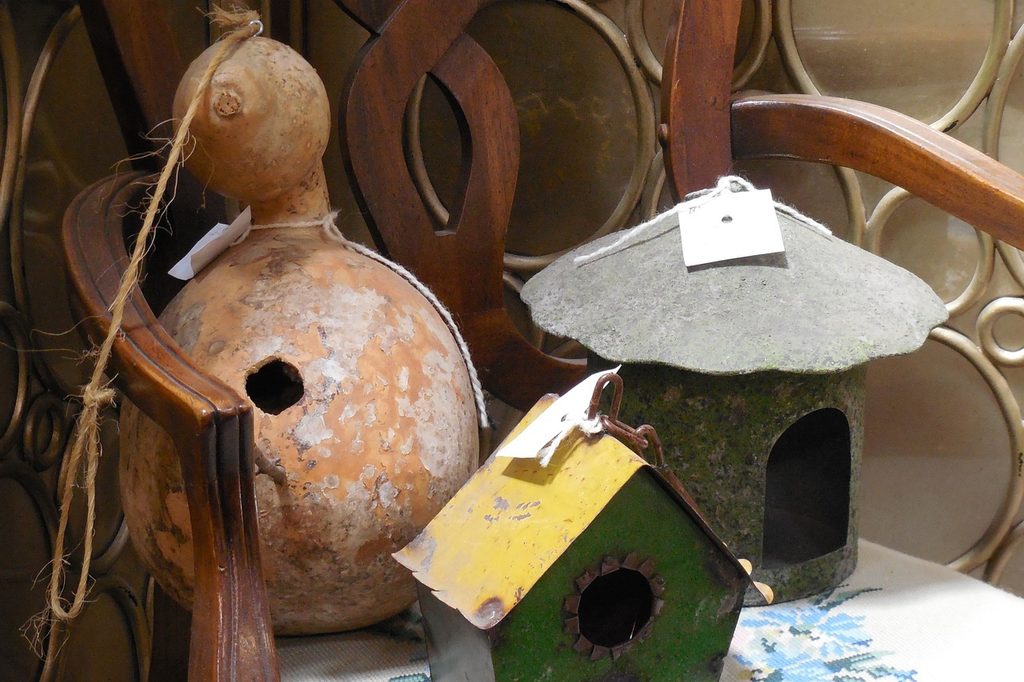
If you choose to paint your gourds and want to display them outdoors, it’s a good idea to apply a clear sealant to the outside of the gourd after painting them. The sealant protects the paint from the elements and keeps the paint from peeling or flaking off. You can also cut a small hole in the top or side of the gourd once it is dry, turning it into a vase or birdhouse.
Drying gourds may take a while, but it’s well worth the effort. Once they’re dry, you can do almost anything with them, from painting to wood burning. With proper care, these dried gourds can last for years. Whether you want to create a lovely seasonal display for your own home or create a unique gift for a loved one, dried gourds are a fun and beautiful option.