Save money on your water bill: How to make a rain barrel

Tips for setting up a rain barrel in your yard or garden

Overflowing rain barrel in a garden
Anton Dios / Shutterstock

Gardening is a soothing hobby, but it can also put stress on your wallet. While many gardening practices are meant to help you save money by growing your own food, all those plants still need to be watered, leading to a higher water bill. You can lessen it by growing a drought-tolerant garden, but what if the plants you want to grow simply aren’t the drought-tolerant types?

Installing a rain barrel and collecting rainwater for later use is an easy way to water your garden without impacting your wallet. Here’s how to get started!
Recommended Videos

Difficulty

Easy

Duration

1 hour 30 minutes

What You Need

  • Large solid barrel with a lid and spigot

  • Bricks, flat stones, or cinder blocks

  • Saw

  • Flexible elbow pipe

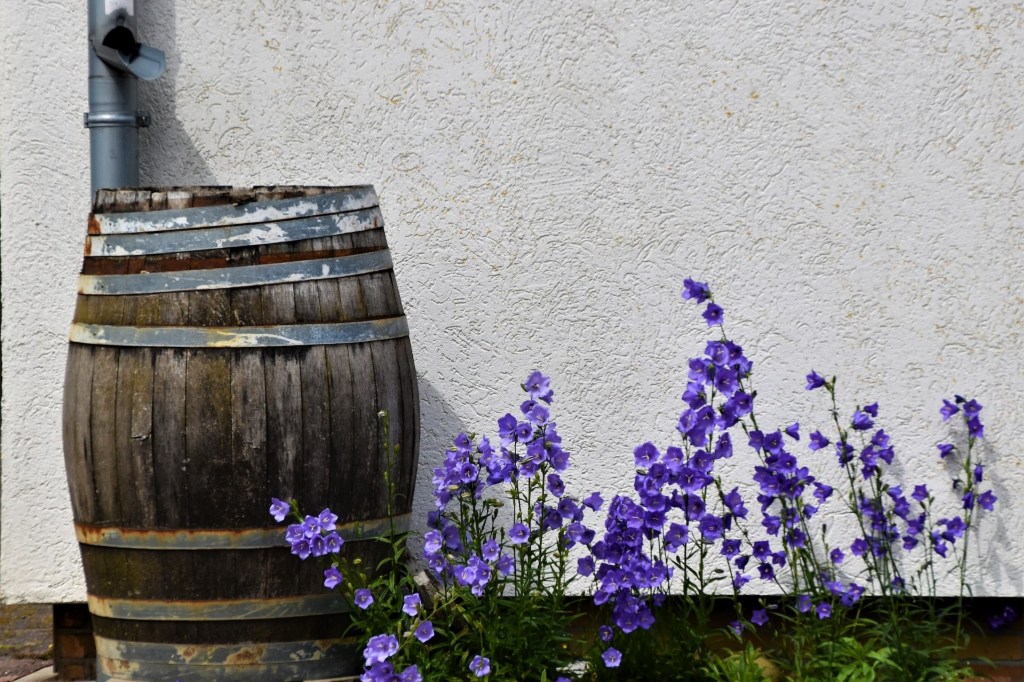
A rain barrel next to purple flowers
Waldemar / Unsplash

What are the benefits of a rain barrel?

Rain barrels aid in water conservation efforts, since you’re using stored rainwater rather than tap water. This lowers your water bill, but it’s also good for the environment. Tap water comes from lakes, rivers, groundwater, and reservoirs, which can drain quickly during a drought.

Using rainwater relieves stress on these water systems. Rain barrels require no electricity or chemicals, so they’re eco-friendly, and they allow you to care for plants in droughts.
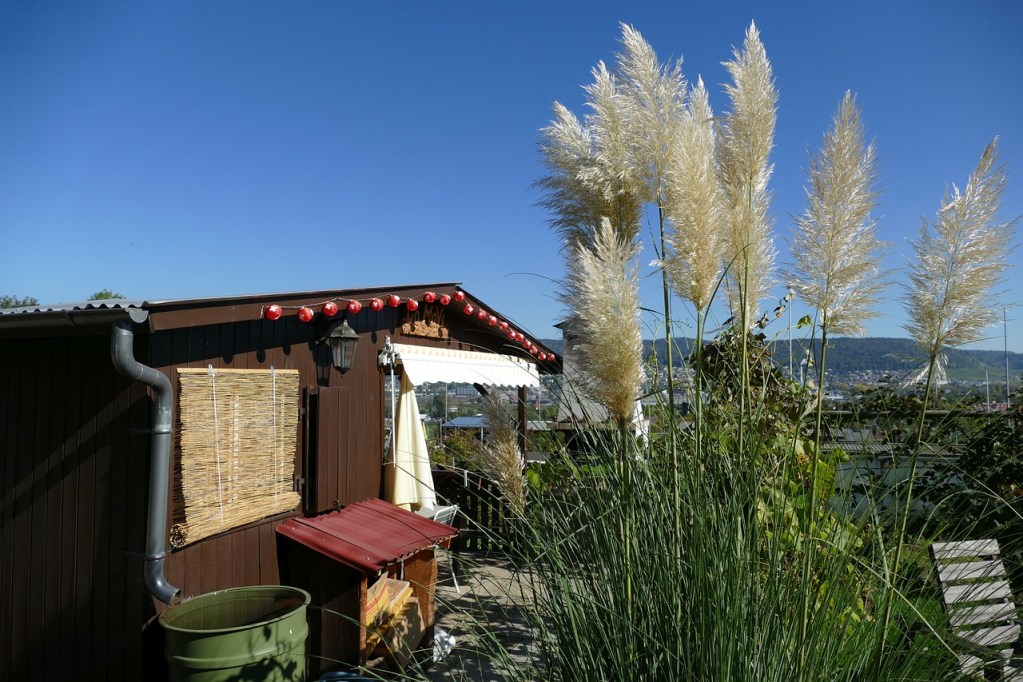
A garden shed with a green rain barrel
ramboldheiner / Pixabay

How to set up a rain barrel

There are a few different kinds of rain barrels and rainwater collection systems, but here is how to set up the simplest one:

Step 1: Choose a large, solid barrel.

Plastic barrels are popular, as they are lightweight, easy to find, less expensive, and easy to modify. You can also find a barrel specifically made to be a rainwater barrel at many hardware or home improvement stores.

Step 2: Add a lid and a spigot or tap on your barrel.

Lids help keep mosquitoes and debris out and can be a screen or solid type. A spigot or tap helps you fill buckets more easily for watering cans. However, you can always choose to remove the lid and fill your containers by dipping them instead.

Step 3: Choose a location with relatively flat ground that is in front of a downspout and that is near where you will be using the water.

Step 4: Elevate the rain barrel using bricks, flat stones, or cinder blocks.

This gives the barrel stability, helps with water pressure, and gives you easier access to the collected water. Make sure the rain barrel is as close to the downspout as possible.

Step 5: Measure where the rain barrel comes to on the downspout, marking the place.

Step 6: Cut the downspout where you marked using a saw, removing everything below the mark.

Don’t discard the section you remove! When the rain barrel isn’t in use, you can replace it to keep the downspout functional.

Step 7: Attach a flexible elbow to the downspout, angling it to direct water into the rain barrel.

Rain barrels are useful tools that help you conserve water. Whether your interest is in reducing your water bill, helping your garden through a drought, being more eco-friendly, or a mixture of all three, setting up a rain barrel can help. This relatively simple tool can have a big impact!

Cayla Leonard
Cayla Leonard is a writer from North Carolina who is passionate about plants.  She enjoys reading and writing fiction and…
Cordyline care: How to make your cordyline plants thrive and bring the tropics indoors
Make sure your cordyline thrives with these tips
Potted green cordyline plants on the ground

Cordylines are beautiful tropical plants native to the Pacific Islands and portions of Southeast Asia. With their striking colors and vibrant leaves, they can add some color to any garden. However, tropical plants are not always easy to grow outdoors. Unless you live in a tropical region or have a greenhouse, you'll need to grow cordylines indoors. Luckily, these plants are fairly easy to grow indoors and add both color and interest to your houseplant collection! This guide to indoor cordyline care will help ensure your new cordyline thrives.

Read more
How to propagate your jasmine from cuttings to spread the fragrant love
From cutting stems to air layering, here's what you need to know about propagating jasmine
Crepe Jasmine flowers

A lovely note in floral perfumes, jasmine is one of the most fragrant plants out there and features a light, sweet scent when in full bloom. If you need more jasmine in your life, then you'll be thrilled to learn that jasmine is simple to propagate. There are three different methods for creating more of this beautiful, fragrant plant. Interested in learning how to propagate jasmine? Then this is the guide for you! We'll explain the three simple methods you can use to fill your garden and home with jasmine.

When should you propagate jasmine?
The ideal time to propagate jasmine is right after it blooms, which is usually during the spring or summer. Around this time of year, you'll likely be pruning your plant anyway, so it's an opportune time to pick out some cuttings from fresh stems while you're shaping your jasmine.

Read more
How to press roses and save your treasured memories
Here are 3 easy ways to press roses
Pressed flowers

Roses make lovely additions to gardens, but they’re also great for bringing your craft projects to the next level. In most cases, you’re probably not going to be using fresh roses, so pressed ones are the way to go. Pressed roses can add a whimsical, elevated feel to many DIY ventures, and they’re pretty easy to make. If you’re wondering how to press roses, then read ahead to learn three different methods for preserving your treasured memories.

3 methods for pressing roses
1. How to press roses with a book 
Pressing your roses between a book is perhaps the most traditional and least hands-on way to go about preserving them. All you need is a heavy book, your roses, and two sheets of paper — you can use blotting paper, paper towels, or newspapers. Gently arrange your flowers as you wish, then place them between the two sheets of paper. For the heaviest weight on the flowers possible, choose a section toward the end of your book, and then put the covered roses in between the pages and close the book.

Read more