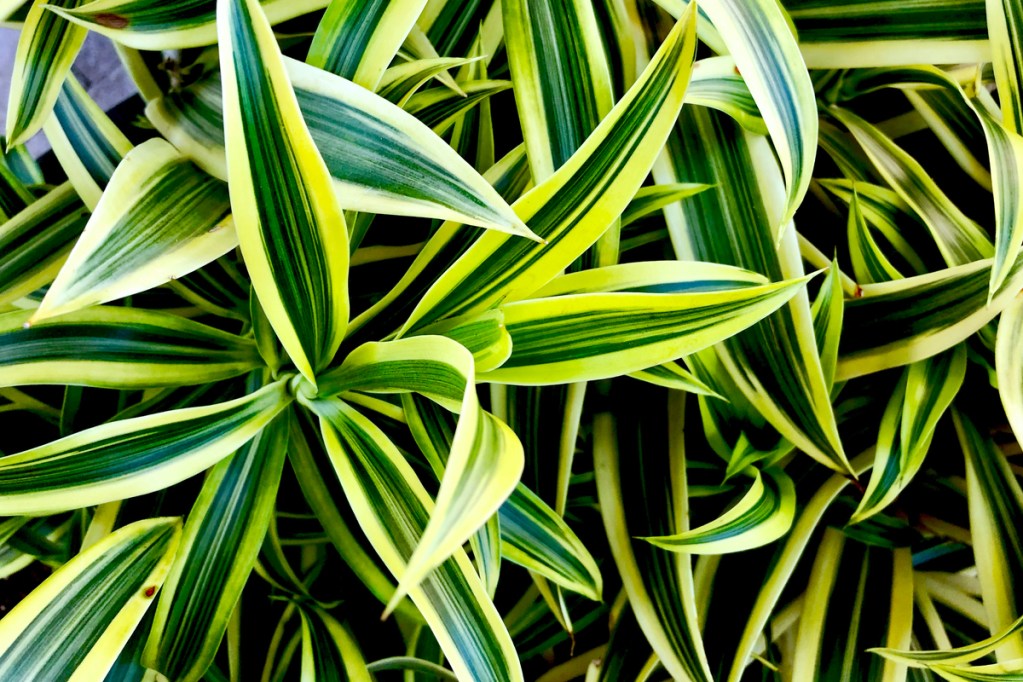
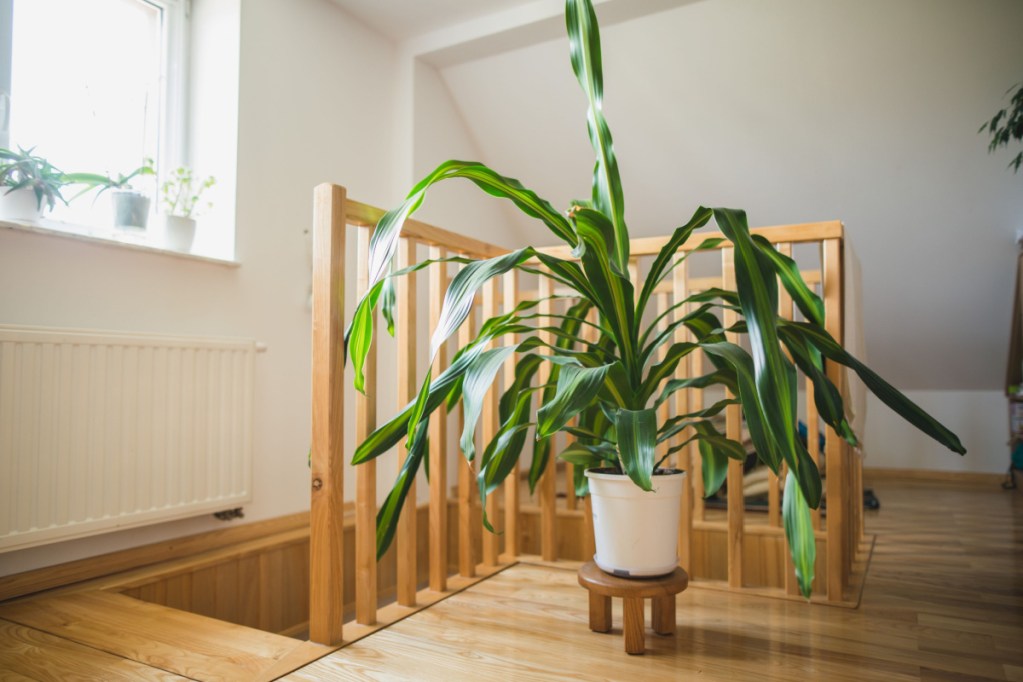
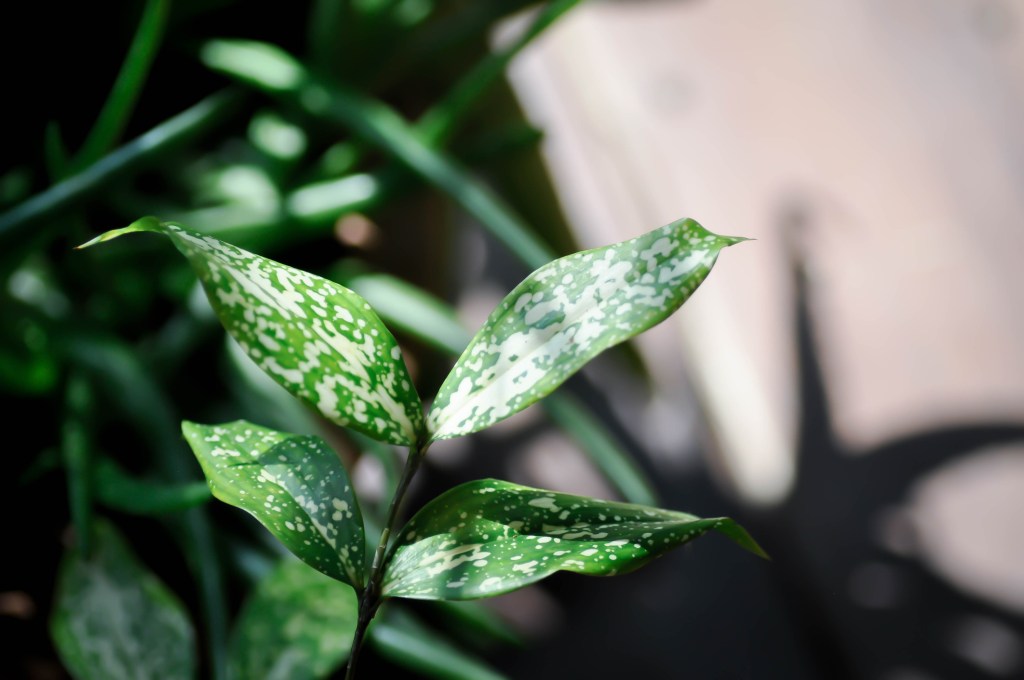
The dracaena is an interesting plant with many unique varieties. It can be either a tree or a shrub, and it comes in several different shades of green, plus a few shades of red. This easy-to-care-for tropical plant is a big hit for both indoor and outdoor gardens. If you already have one, you might even be itching for a second or third dracaena. Of course, you can get an entirely separate dracaena plant, but you can also propagate your own dracaena at home. Not sure how to get started? We’ll help you out with this step-by-step guide on how to propagate dracaenas from cuttings.
Why and when should you propagate dracaenas?
The why is easy to answer: Because it’s a great way to get more dracaenas! Propagation works by cloning the parent plant, often, but not always, through a cutting. The cutting grows into a second, separate plant that is genetically identical to the parent plant. This means that you have a second plant of the same type, to plant, give away, or propagate further as you wish.
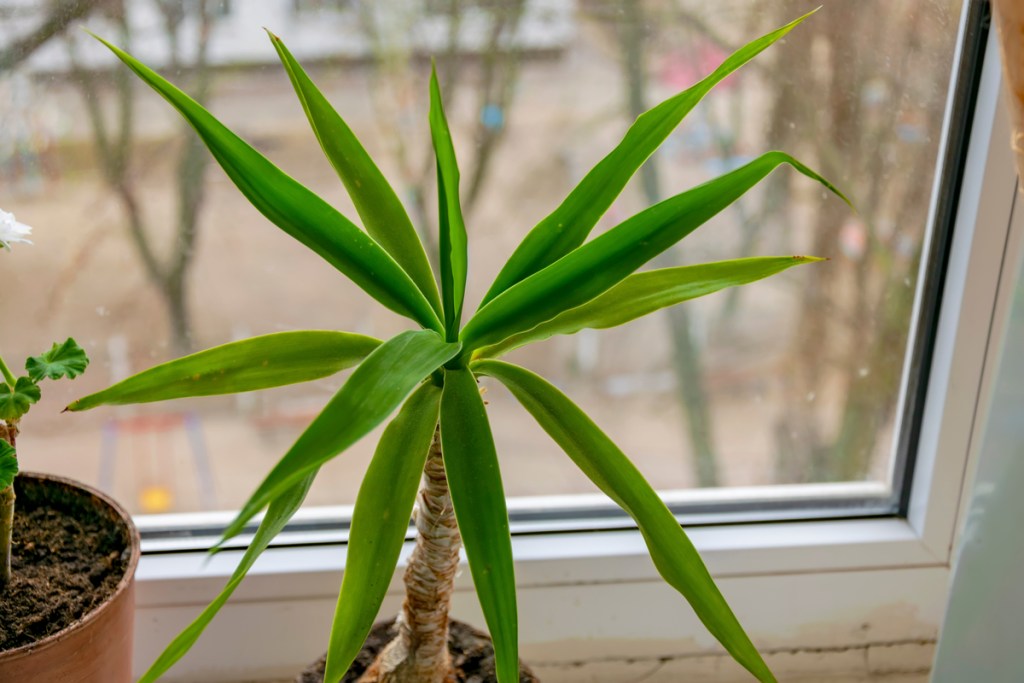
Your dracaena should be a mature plant when you begin to propagate it, but you can propagate it during any season. It’s easiest to propagate dracaena during spring and summer, when new growth is naturally occurring. However, if your dracaena is an indoor plant, or you live somewhere with warm temperatures year round, you can propagate your plant in fall or winter with few issues. Your cutting will just take longer to root.
Taking a cutting from your dracaena
There are two different ways you can take your cutting, but there’s something to keep in mind for both methods. You’ll need to use a sharp, clean knife or garden scissors. Dull blades require more pressure to cut, making them both more likely to slip and cause injury and more likely to crush the dracaena’s stem instead of cutting cleanly through.
The first method is to fully behead your dracaena. Yes, this can seem a little drastic, but the parent dracaena will grow back from the stem, as long as you continue to care for it. Make the cut below the leaves that have already grown, and include a couple growth nodes. These are the small bumps on the sides of the stem, from which new leaves and roots grow. Nodes at the top will grow into leaves, while nodes at the bottom will grow roots. Getting a few of these in your cutting will encourage it to keep growing.
The second method can be used to propagate your dracaena after you try the first method. This method uses stem cuttings. Once the top of the plant has been removed, you can cut additional sections of the stem. These cuttings can vary in length, but they should be roughly 8 inches long with at least two growth nodes. Be sure to leave at least 8 inches and two growth nodes on the original plant so that it too can continue to grow.
Rooting the cutting
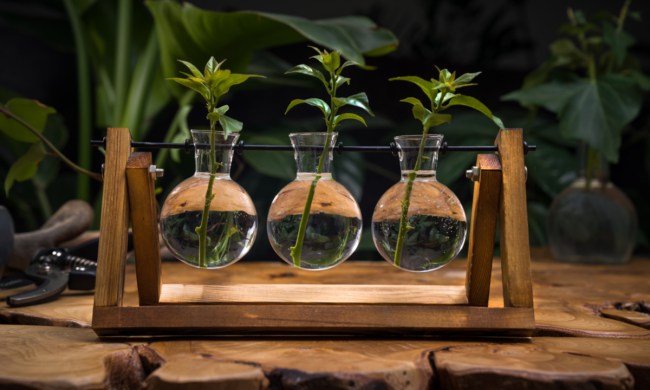
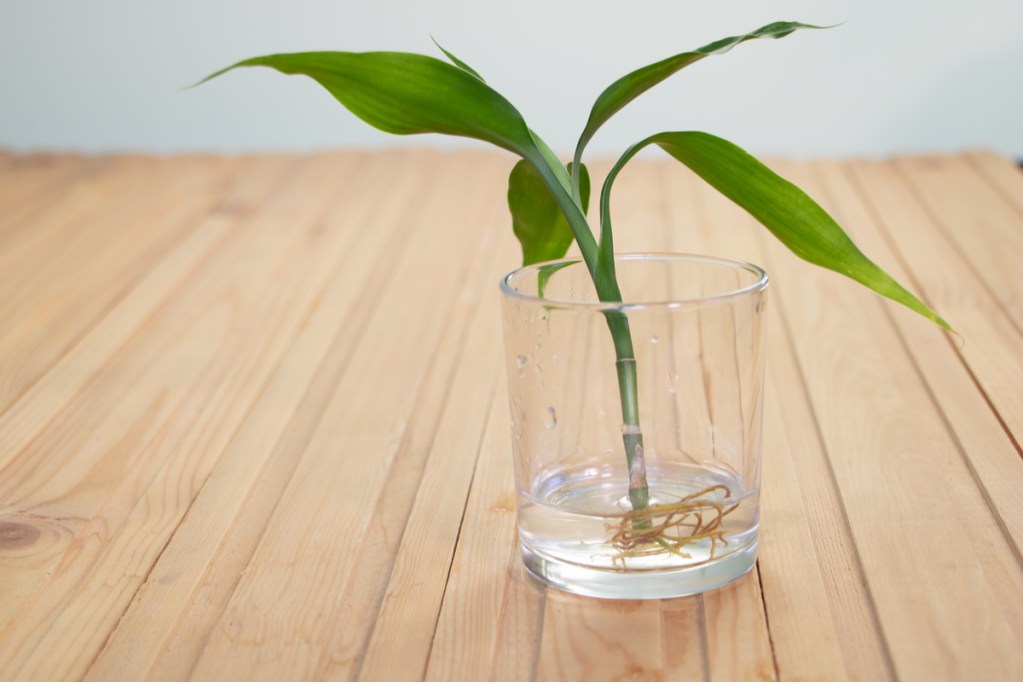
You can root your cuttings in either water or soil. Rooting in water is fairly quick, and, since water is clear, it’s easy to keep an eye on your progress. However, the transition from water to potting soil can be difficult for some plants, leading to a slightly lower success rate. On the other hand, rooting in soil can take a little longer and is harder to track, but has a slightly higher success rate, since the cutting won’t need to be transplanted for some time.
Rooting hormone can help speed things up, but it isn’t strictly necessary. If you’re using rooting hormone, brush it on gently before setting your cutting in the growing medium. For water rooting, use clean, cool water. Set your cutting near a window where it will get plenty of light and stay warm. If you’re propagating your dracaena in winter, you may need to use a grow light. Cuttings rooted in water can be moved to soil when the roots are several inches long.
Can you propagate dracaenas from seed?
Theoretically, you can grow dracaenas from seed, but it’s not very typical to do so since they don’t often produce flowers or fruits as houseplants — you’d likely have to go to a special supplier to procure seeds. While some dracaena seeds grow into seedlings quickly, it can still take about 2 or more months for seeds to germinate, so growing your plant from seed can be a time-consuming process.
If you did want to propagate a dracaena from seed, you’d want to soak your seeds in water for 3 to 5 days before planting them. Keep them in a warm, humid environment and make sure that your seed-starting medium stays moist.
Caring for the new dracaena
Dracaena plants prefer consistent moisture and warm temperatures. Although they need consistent moisture, they can be sensitive to overwatering, so plant them in well-draining soil. Keep your cutting by a sunny window, but, once it begins to sprout leaves, move the cutting out of direct light. Direct bright light can burn or fade the leaves. Once the dracaena has reached maturity, you can begin fertilizing it in the spring and summer.
Using this simple guide, you can easily double or even triple the amount of dracaenas you have in your garden. In just a matter of weeks, your dracaena cuttings should be rooted and growing. Remember to leave plenty of the parent plant behind so it can continue growing. Let it grow back fully, then you can propagate it again. As long as you have a mature plant, some water or soil, a sunny window, and patience, there’s no limit to the number of dracaenas you can have.