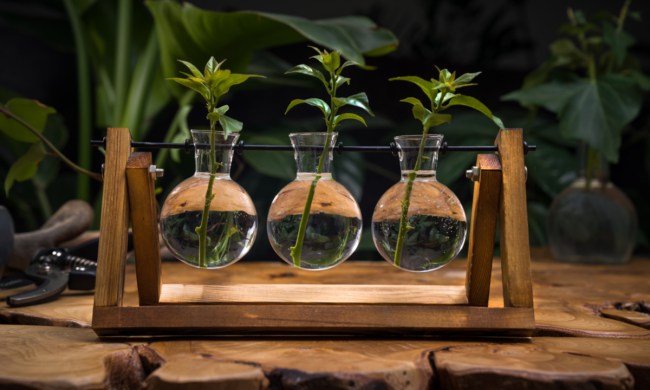
There’s always something new to try in the world of gardening. Whether it’s a trick for keeping away gnats, or in this case, a unique alternative to soil. While many of us have probably only ever grown in the soil, it’s not uncommon for gardeners to use other mediums. Hydroponics has been around for centuries and is a very effective way to grow plants. So what’s the deal with LECA, and should you consider switching over?
What is LECA?
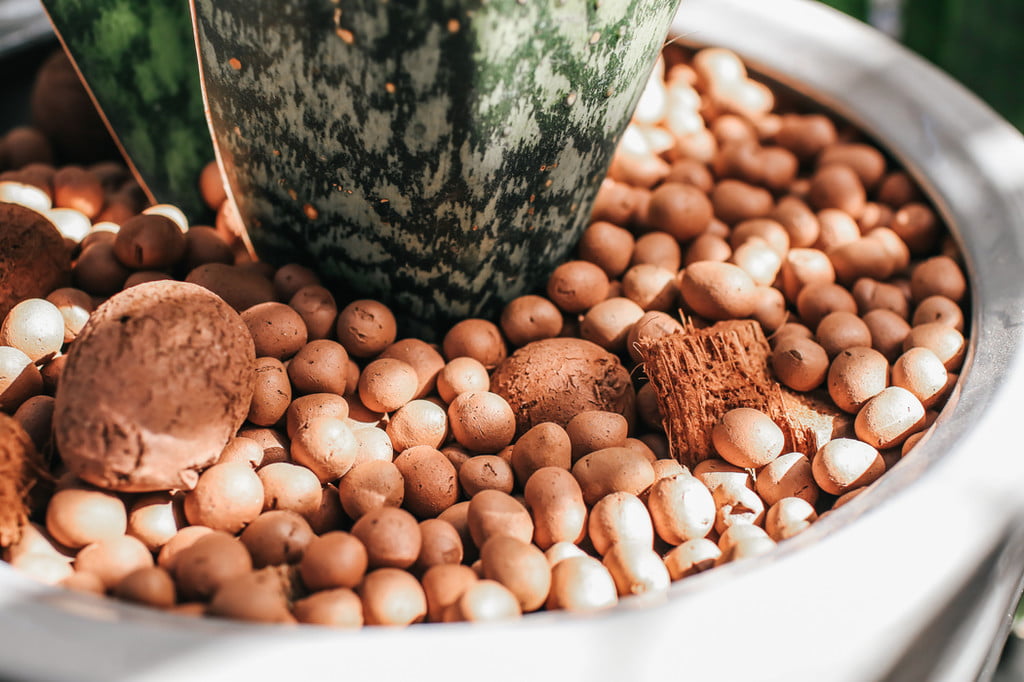
LECA is an acronym for lightweight, expanded clay aggregate. They make it by heating clay to around 2,190 degrees until the gasses within the clay expand with thousands of tiny bubbles. This creates a honeycomb structure within the clay ball, which is what the lightweight growing medium is.
Why use LECA over soil?
There are several reasons why some growers are switching over to LECA. Here are some of the most popular.
Reduces the risk of overwatering
LECA has thousands of small bubbles that create a honeycomb structure within the clay ball. These bubbles can absorb and distribute water to plant roots without suffocating the plant. This will reduce the risk of overwatering your plants, which can be a common mistake made with plants living in soil.
Almost eliminates pests
It’s every houseplant parent’s worse nightmare to see a fungus gnat flying around the house. This could be a thing of the past if you switch over to LECA. Gnats and aphids love damp and rotting matter, which is precisely what a well-watered plant lives in. With LECA, there’s no place for those nasty pests to make a home, so they can’t kill your plants or annoy you with their constant buzzing.
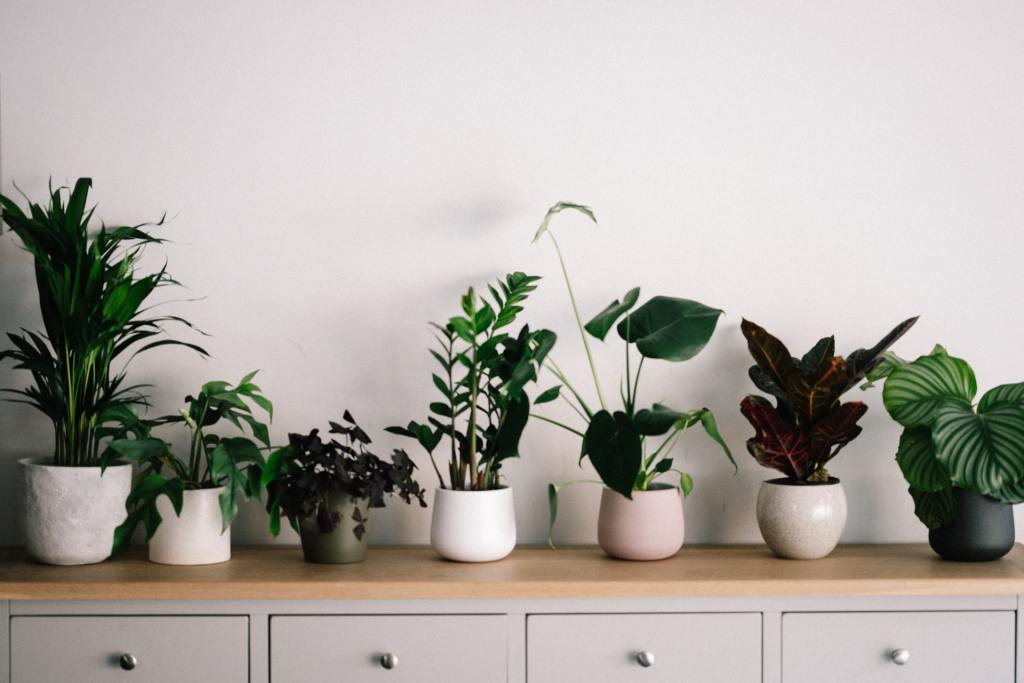
No need for multiple types of soil
With soil, you have to purchase multiple types for different kinds of plants. For example, you need a cactus mix for your succulents and an orchid mix for your more tropical plants. This means you have a corner or closet or bin in the garage with four or more bags of soil just in case you might need it. With LECA, almost any plant will grow and thrive, and you only need one bag. It’s less storage!
It’s cleaner than soil
One of the biggest reasons many urban houseplant growers love LECA is that it’s way cleaner than soil. If you drop a handful of soil on your floor, it’s a huge mess that might require a mop. However, with LECA, if you drop a few on the floor or the counter, you might have a bit of clay dust to clean up, but other than that, you just pick up the balls and you’re good to go.
It’s a greener option
Once soil has lost its nutrients, it’s almost useless and needs to be thrown out or added to the compost pile. LECA, however, can be reused until it starts breaking down, which takes a long time. This means you might buy a bag of LECA and use it for decades. So not only is this better for the planet, it’s better for your wallet as well.
Why LECA might not be for you
LECA might be starting to sound perfect for growing houseplants; however, there are downsides.
It’s more of an investment
Compared to conventional soil options, LECA is more expensive. In some cases, it costs three times to invest in LECA over a bag of soil. Remember that it’ll last much longer, but that doesn’t make the initial sting any easier.
Needs specific fertilizer
Although you probably buy fertilizer for your soil growing plants, LECA plants will need a specifically hydroponic fertilizer to ensure they’re getting everything they need in a way they can absorb. Unfortunately, this means you’ll have to learn something new, which can cause anxiety and trepidation.
New pots and tools might be needed
Unlike plants growing in soil, you don’t want a pot with drainage holes for plants growing in LECA. Unfortunately, switching to LECA might mean you have to purchase all new pots. You’ll also have to be more diligent about pH levels, requiring a tool to measure and monitor those levels.
Transitioning soil plants is risky
Lastly, one of the most significant issues is the risk of switching plants from soil to LECA. Some might make the transition just fine, but others might not, and you could lose a few plants in the process.
How do you use LECA?
Potting up a plant in LECA is the same as it is in soil. Dump a few inches of LECA into the bottom of the pot, then hold the plant at the height you want it, and backfill the pot with LECA. To maintain constant absorption and give your roots plenty of water, you’ll want to keep the pot about 1/3 full of water. Read up on the plant’s specific nutrient needs, then apply a hydroponic fertilizer at the recommended rate. Lastly, you’ll need to keep the pH at a healthy level, so be sure to purchase a pH tool and maintain a good eye on that.
You don’t have to switch all your plants over to LECA at the same time. Either switch them over slowly or just start using LECA with any new plants you bring into your home. There are many benefits, but it’s not for everyone, so be sure to try it out on a small scale before fully committing.