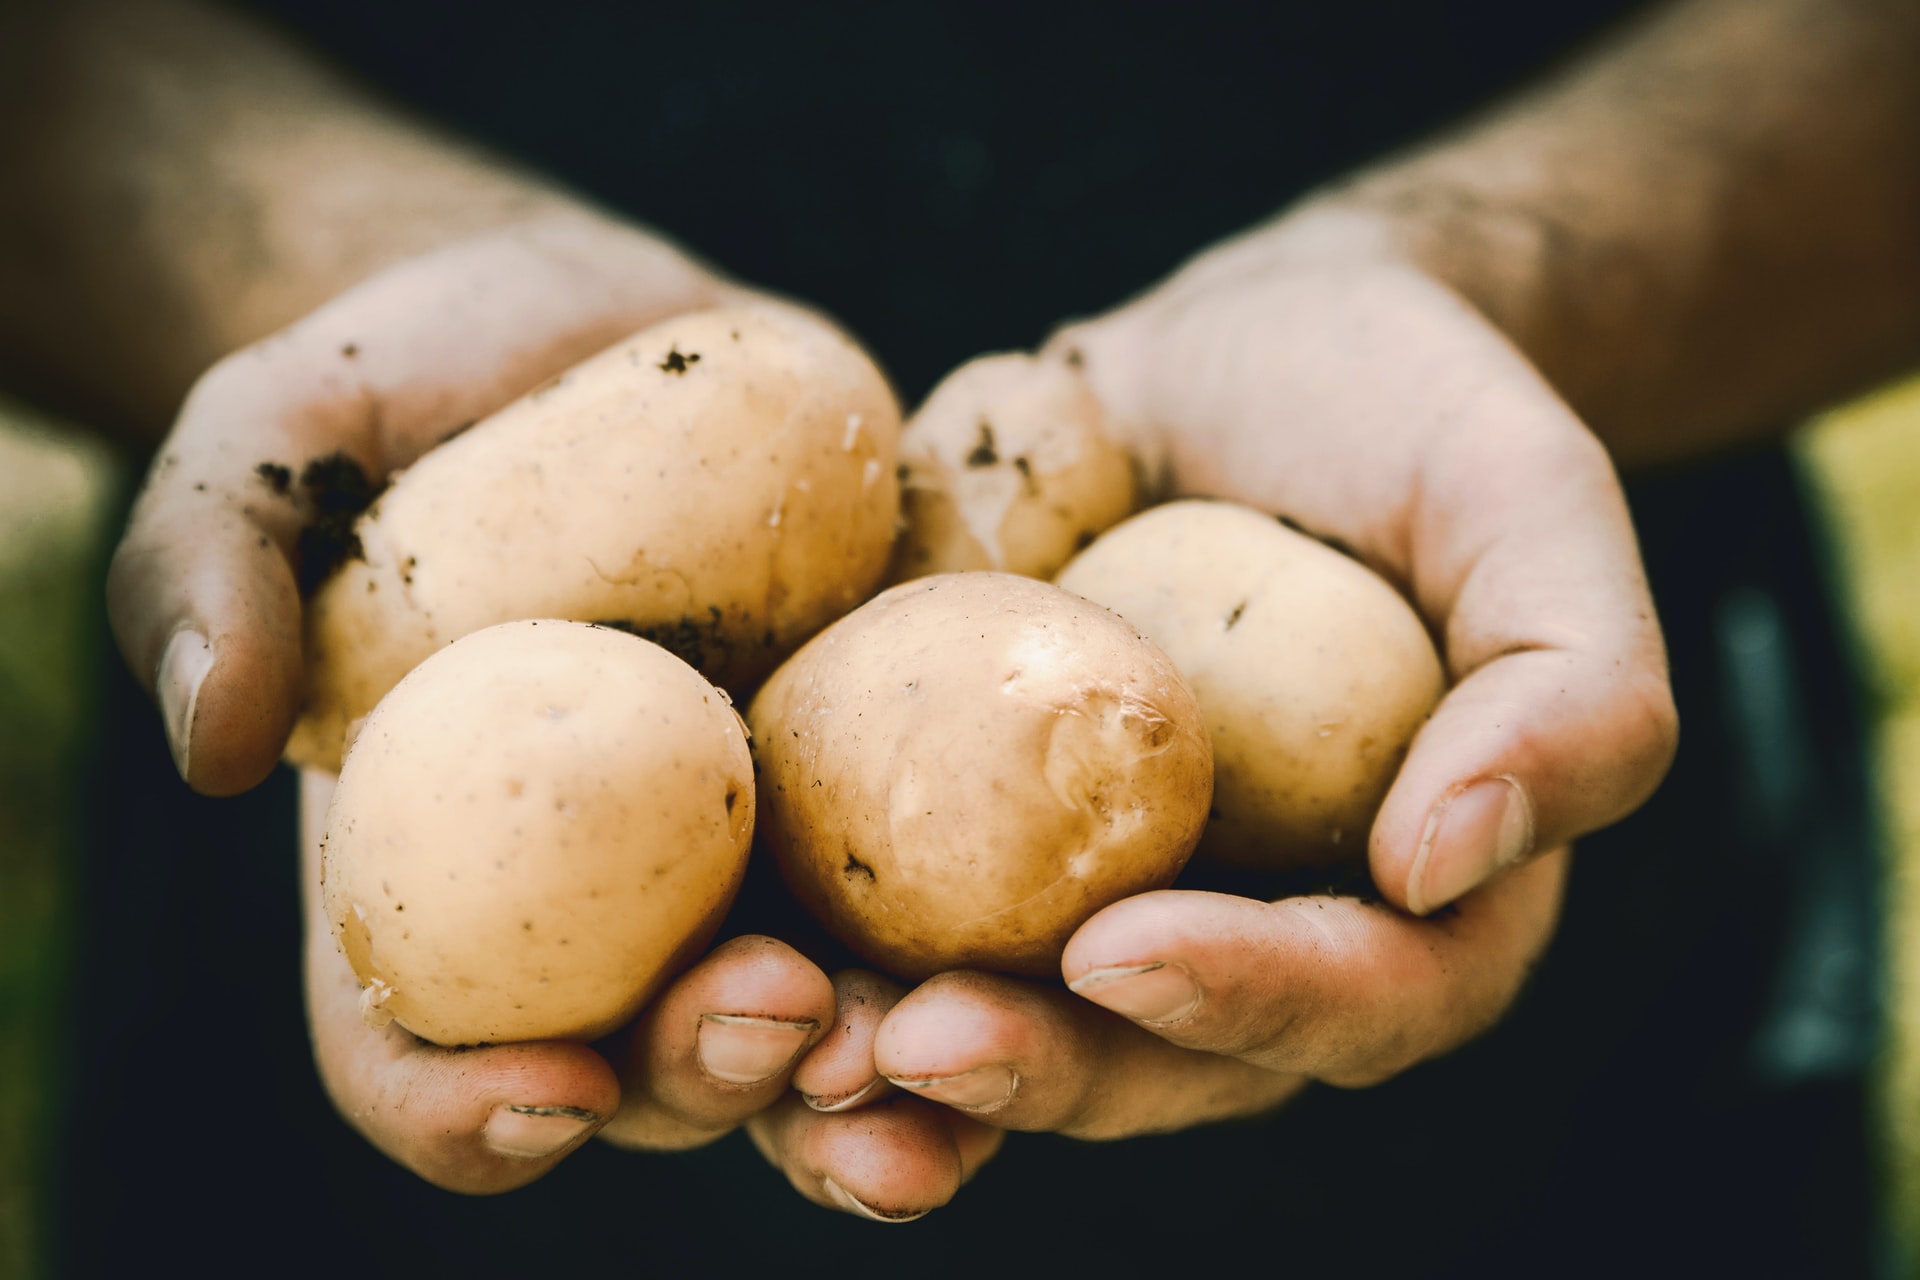
Potatoes. They seem like a really simple tuber to grow until you actually start to plant them. You may be left standing, staring at a patch of soil, holding a potato wondering, “Do I … do I just stick it in the ground?” If you’ve ever been in a similar position, or maybe you’re there right now, don’t worry! Here is every single thing you need to know about growing organic potatoes!
What is the best fertilizer for potatoes?
The best fertilizer for potatoes is fertilizer that is balanced but has a bit of sulfur in it. Potatoes do well in acidic soil, and pests generally don’t. Fertilizer with natural sulfur is almost a two-in-one pest control and fertilizer.
Be careful not to overfertilize, though! Too much fertilizer can lead to a sick plant, as fertilizer encourages upward growth that isn’t necessarily healthy for potatoes. Add a little bit of fertilizer when you plant your potatoes, then switch to compost for the majority of the growing season. A little bit more fertilizer at around the one month mark can help increase your harvest without causing problems.
Are organic potatoes better?
Organic vegetables in general are better, but it does depend on how you’re measuring it. Organic gardening is much better for the environment than gardening that uses chemicals, but other gardening practices matter, too. Growing native plants, containing soil erosion, and growing plants from ethically sourced seeds are also better.
In terms of nutrition, organic vegetables are not really any healthier than nonorganic vegetables. However, there can be a mental health benefit for some people. Organic gardening is good for the environment, and doing good things can make you feel better. It isn’t a solution for everything, but it can be an improvement!
What nutrients do potatoes need?
Potatoes need a mix of nutrients, in differing amounts. It’s important to test your soil before adding nutrients, as too much of any nutrient can cause problems for your potatoes.
Nitrogen, magnesium, and phosphate serve to promote growth in all stages of potato development. Calcium helps the skin of the potatoes form, as does zinc and manganese, while potassium jump-starts early growth. Many of these nutrients can be provided through compost if they aren’t already in your soil.
The best ways to plant and harvest potatoes
The first thing to do is get a seed potato. Seed potatoes are mature tubers that have eyes, or buds, on them. Organic seed potatoes are easy to find, and any organic garden supply store will likely have some or be able to get some for you. There are plenty of varieties, so test a few and see which you like best! You can save seed potatoes from your own garden, too. Look for a potato that has eyes and is firm and healthy.
Cut your seed potato into chunks, so that each chunk has one or two eyes. Plant your chunks roughly 1 foot apart and a couple inches down. They can be planted in little mounds, raised beds, or containers. Containers are especially good if you’ve had difficulty with pests or disease in your garden before. They also make harvesting a little easier.
Potatoes need soil that is well-drained, but moist. You don’t want standing water, as this leads to rotten potatoes, but potatoes do need fairly consistent moisture. They also need six to eight hours of sun each day, so take care when selecting a place for your potato patch. Potatoes grow best in mild temperatures, above freezing but below 80 F.
Once your potatoes are in the ground, watch closely for growth. When the above-ground portion of the plant begins growing, gently layer more soil or compost to cover it. Keep doing this until the plant has 6 to 8 inches covered this way.
Organic material, like compost, works well as an organic pest control. If you do find yourself with pests, other options are pyrethrin and neem oil. Both are derived from plants with natural pest-repellent properties, so they are natural, organic, and effective!
Harvest can begin as soon as three months after planting, for small potatoes, and four to five months for fully grown potatoes. When harvesting, dig gently. You don’t want to cut or damage the tubers. Don’t wash the potatoes until you’re ready to eat them, and store whatever you don’t eat in a dark, cool, dry place. They can last for several months when stored properly, so don’t worry if you have too many potatoes.
There it is! Now you’re ready to plant, care for, and harvest your potatoes. There are a lot of varieties, so take your time choosing the best one for you, or maybe even plant more than one! Nothing can stop you from growing your favorite tubers. However, if you are interested in growing other types of plants like rosemary, check out this amazing article on how to grow herbs in a greenhouse.