Everyone knows that kale and spinach are healthy, leafy greens that should be in your daily diet. But after a while, they can get pretty dull. That’s where Swiss chard comes in! This leafy green is a colorful and healthy alternative that’s delicious in many different kinds of dishes. Read on to find out more about Swiss chard, how to grow it, and ways to cook and eat this attractive and nutritious plant.
Facts about Swiss chard
The perfect alternative to spinach or kale, Swiss chard is crunchier than spinach but softer than kale. It also comes in a range of colors. While the leaves are always a deep gorgeous green, the stems and veins of the plant can range from bright yellow to deep pink. They are packed full of vitamin C and A and will count towards your daily vegetable needs.
Technically speaking, Swiss chard is a part of the beet family. However, unlike the traditional beets you’re used to, Swiss chard doesn’t grow a bulbous root. And while the name might suggest its original location was in Switzerland, it’s actually from Sicily, Italy. It’s said that it got its name from a Swiss botanist who was responsible for determining the scientific name of the plant. The good news is if you get tired of that name, Swiss chard has a crazy amount of nicknames, including white beet, strawberry spinach, sea kale beet, lead beet, Sicilian beet, spinach beet, Chilean beet, Roman kale, and silverbeet.
In ancient times, Swiss chard was actually used as a medicine to heal ailments like allergies, constipation, and general pain. They’re incredibly high in vitamin A and C, as mentioned above, and in vitamin K and antioxidants. These are great for healthy digestion, immune function, and the eyes, skin, and heart.
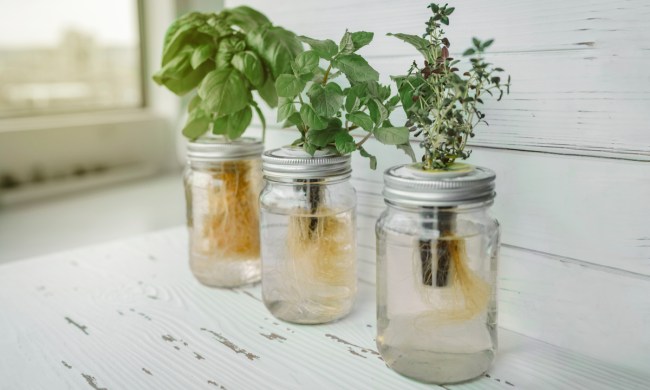
How to care for Swiss chard
Now that we know more about this underrated plant, let’s dive into how you can successfully grow tasty Swiss chard in your backyard garden.
Light
Swiss chard loves sunshine, and while it can survive in partial shade, you’re likely to have more success if you can find a section of your garden that gets full sun almost all day long.
Soil
It’s a pretty resilient plant and will tolerate not-so-great soil; however, for best results, amend your soil if it lacks nutrition with some compost and be sure that it’s well-draining. Swiss chard won’t want its roots to sit in water, so if your garden holds onto too much water, you might want to add other amendments to enhance its drainage.
Water
Remember to let the soil dry out a bit between waterings to ensure the roots of your plants don’t develop root rot. Nothing will kill a plant faster than “wet feet.” If you aren’t sure if the soil is dry enough, stick your fingers into the ground and feel for yourself. You might have to shove your whole hand down there to be sure.
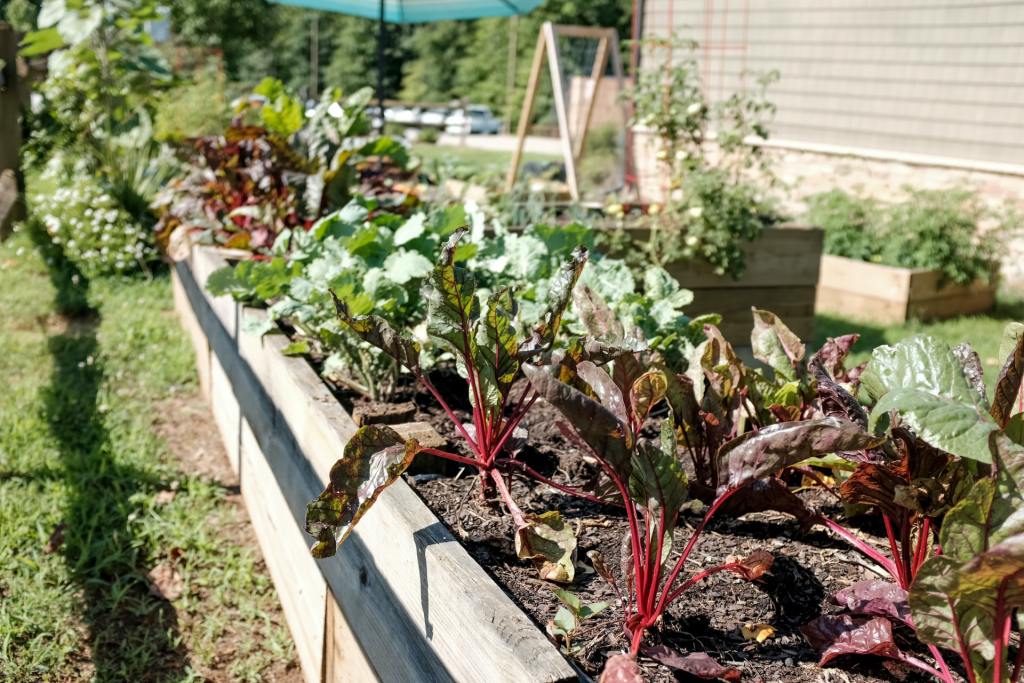
Planting
When planting your Swiss chard, plant the seeds about half an inch into the soil and space each seed about 4 to 6 inches apart. You can put two or three seeds per hole to ensure at least one of them germinates, but when the seedlings are about 2 to 3 inches tall, you’ll want to cut down the smaller of the bunch to ensure the plant has enough space and resources to grow big and healthy.
To ensure you have enough Swiss chard throughout the season, you can succession plant, which means planting seeds one week, then planting more the next week, and so on. This means you’ll have a batch of Swiss chard ready to harvest each week.
Harvesting
Once your Swiss chard plants have reached 9 to 12 inches in height, you can begin to harvest the outer leaves. While you can harvest the whole plant at once, it’s best to leave the inner leaves so they can continue to grow and mature. Then you can keep harvesting the outer leaves until the plant is done.
Just be careful! Swiss chard can grow up to 2 feet if given enough water and left alone. They don’t get tastier as they get bigger, but they will start to lose their flavor after reaching the 12 inch mark.
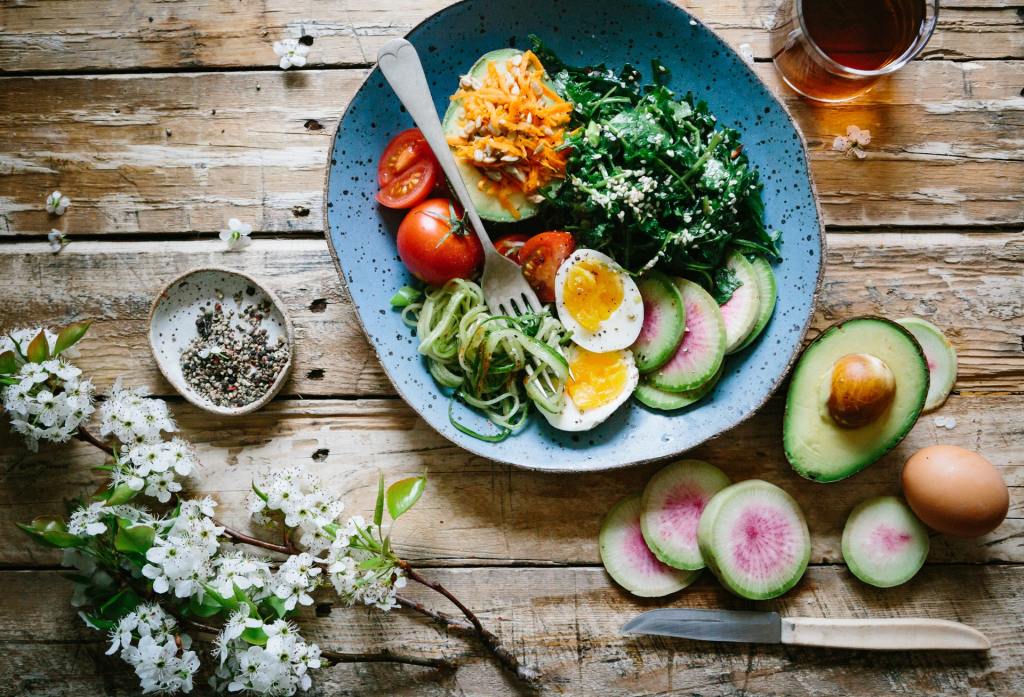
Ways to cook and eat Swiss chard
Swiss chard can be cooked and eaten in almost every way that spinach and kale can be. However, unlike spinach, this plant isn’t too enjoyable to eat raw. The stalk makes it bitter. To remove the bitterness, it’s best to cook Swiss chard if you’re going to leave the stem on. The most popular and delicious way to eat it is sautéed with garlic and onions as a healthy green side to accompany chicken or any other protein. There are plenty of recipes out there to help you on your Swiss chard journey, including soups, casseroles, stir-fry, and salads. Just be sure to remove the stalk and veins if you’ll be eating it raw to avoid the bitter flavor those hold.
While Swiss chard might not get as much publicity and attention as the famous spinach and kale, it’s just as good for you and just as easy to grow. Introduce this lovely plant into your life and benefit from its stunningly colored leaves as well as its natural healing properties.