
Whether you're an indoor or outdoor gardener, having a plant hobby means investing in decent plant accessories. While certain things may require you to make that inevitable trip to a big-box home improvement store, you can actually get creative with recycling home goods for your plants.
If you're interested in learning how to repurpose mundane items into helpful plant tools, we've got the details ahead! From takeout containers as planters to wreath forms as trellises, we'll help you cut back on spending while making cool houseplant pieces. These garden upcycling ideas are a win-win situation for you and the planet.
Turning takeout containers into planters
One thing we don't love about the typical nursery planter is that it tends to be opaque, so you can't detect any root issues unless you pull your plant out of its container. If you're interested in seeing your roots grow over time, placing it in a clear container can help you discern any root or pest problems before they occur. Plus, a clear container allows you to see if your soil is thoroughly watered.
If you've ever gotten takeout of soup or curry, chances are you have reusable takeout containers lying around. For the purposes of this project, any clear plastic container that's deep enough to be a planter will do — even old ones of hummus or yogurt! All you need to do is make drainage holes. You can use a hot nail to make your holes, but a hot glue gun will allow you to exert the most control.
Step 1: Thoroughly clean your container with soap and water, scrubbing it to remove any residual grease or food.
Step 2: Make drainage holes by heating up the tip of a hot glue gun and pressing it to the bottom of the container. The holes should be about a quarter-inch big.
Step 3: Repeat the step above two or three times for more drainage holes. Space the holes as you see fit, but try not to make them too close to one another.
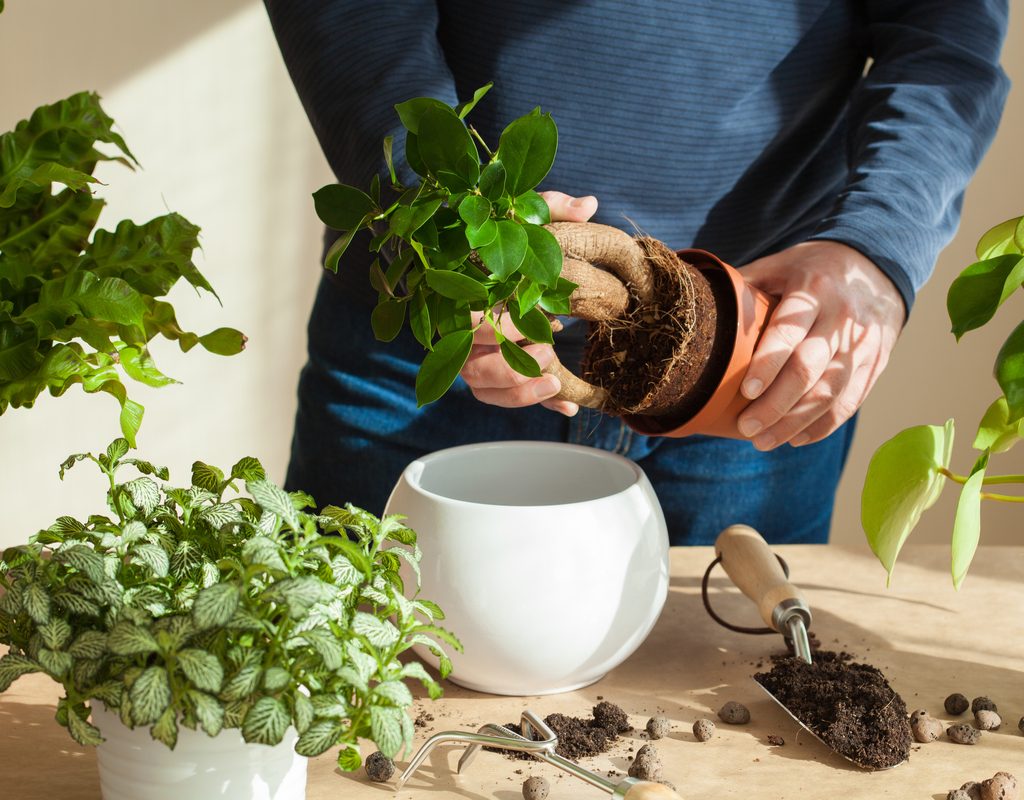
Step 4: Carefully remove your plant from its original pot and place it in the new planter.
Step 5: Place the repotted plant in a cachepot. You can also use the container lid as a saucer to hold water.

Using bowls and dishes as saucers
Given that every container plant you have needs a drainage hole to avoid root rot, you might find yourself in need of a saucer to avoid cleaning up water or spilled soil.
Most of the saucers out there aren't great for conveying personal style, especially plain terracotta saucers or flimsy plastic ones. You can definitely add personality to your plant space by using various dishes and bowls as saucers. If you're worried about spilling, a bowl will keep water contained and is even helpful for bottom watering. Just keep in mind whether it'll look too bulky in your space.
Step 1: Measure the diameter of the bottom of your planter that needs a saucer.
Step 2: Find a dish or bowl that's about 1 or 2 inches wider than your planter. Look at your own houseware inventory or visit a thrift store for unique pieces.
Step 3: Place your planter on your bowl or plate — it's really that simple!

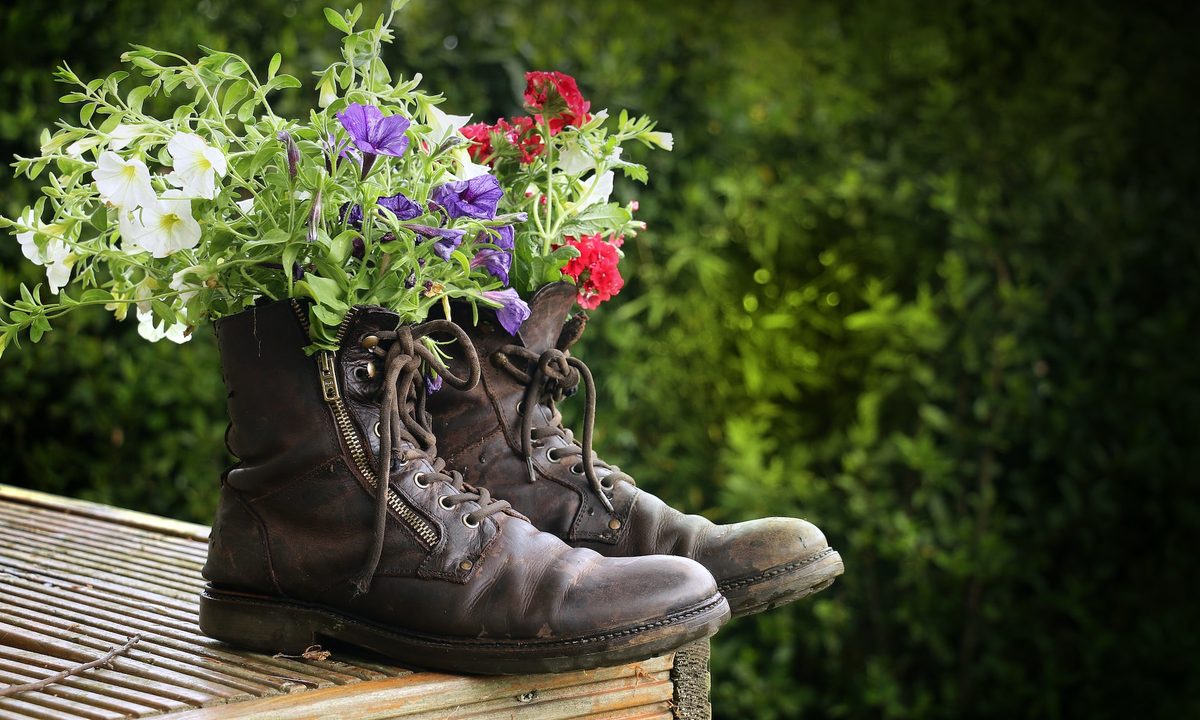
Repurposing old shoes into planters
When it's time to retire your old shoes, why not turn them into charming garden planters? If you have cute gardening clogs or stylish rain boots, they can easily make for unique landscape decorations. As long as you have an opening or openings in your shoes, you'll be able to create an arrangement of plants.
When it comes to the plants that go inside your shoes, consider succulents and leafy herbs, as these have relatively shallow roots. Here's how you can get started with a shoe planter.
Step 1: Clean out your shoes with soap (or even bleach) and water, especially if they're well-traveled footwear.
Step 2: Drill the bottom of your shoes to create drainage holes. You can also use a layer of gravel or coir to protect the interior or improve drainage.
Step 3: Add your potting mix of choice, as well as your plants. Remember to give your plants root space to grow to avoid overcrowding plants.

Making trellises out of wreath forms
By the end of the holiday season, you may have wire wreath forms lying around, whether they're traditional circles or festive snowmen — they're usually in craft stores and dollar stores around Christmastime.
Of course, these aren't just handy for fake pine garlands and flowers. You can actually use them for real foliage that's in need of some support. Great contenders for a trellis wreath form include trailing plants such as hoyas, pothos, or philodendrons.
Step 1: Shape your wreath form as desired so that it fits into your planter. You may need to use a wire cutter, so be careful.
Step 2: Place your trellis wreath form into the soil in your planter. You may need to get creative with excess wire or stake poles to stabilize your wreath.
Step 3: Wrap the leaves of your trailing plant around the form.

Make propagation vessels with old candle jars
If you've got a ton of old glass candle jars lying around, they'll make great plant supplies, especially if you use them as propagation stations or even planters for LECA-grown plants. In fact, many candles also have beautiful labels that give your green collection more personality!
Although ready-made propagation vessels tend to look like high-end accessories, they're also generally small and expensive. The trickiest part with repurposing old candle jars is cleaning them out (especially if you don't have a wax melter handy), but we'll give you tips ahead.
Step 1: To reuse your jar, add boiling water to the wax and pull it out after loosening it from the glass. Alternatively, you can pop it in the freezer overnight and pry out the wax with a butter knife.
Step 2: Remove any residual wax from the glass. With warm water and soap, clean the jar's interior with a bottle brush, toothbrush, or Scrub Daddy sponge.
Step 3: To use the jar as a propagation station, fill it with clean water and add in a stem cutting.
Step 4: If you're using the jar as a planter, you need to carefully drill a hole in it to give it drainage. To protect yourself, wear thick gloves, safety goggles, and a mask.
Before throwing anything out or sending it to a secondhand shop, consider whether you can give it a little more life as a plant accessory. Of course, repurposing home goods into gardening items doesn't need to be strictly functional and utilitarian. You can get creative with making your repurposed items look as beautiful as possible by getting crafty with how you decorate or arrange them. Remember to have fun as you're saving money and reducing waste!


