One zany, helpful YouTube channel that indoor plant enthusiasts should check out is Betsy Begonia. Since August 2018, the titular Betsy has been posting charming plant care videos full of humor and detailed information. She’s based in Lille, France, but her houseplant tips are applicable no matter where you live. If you’re wondering where to start when checking out her channel, here are four of her best videos and the helpful tips they offer.

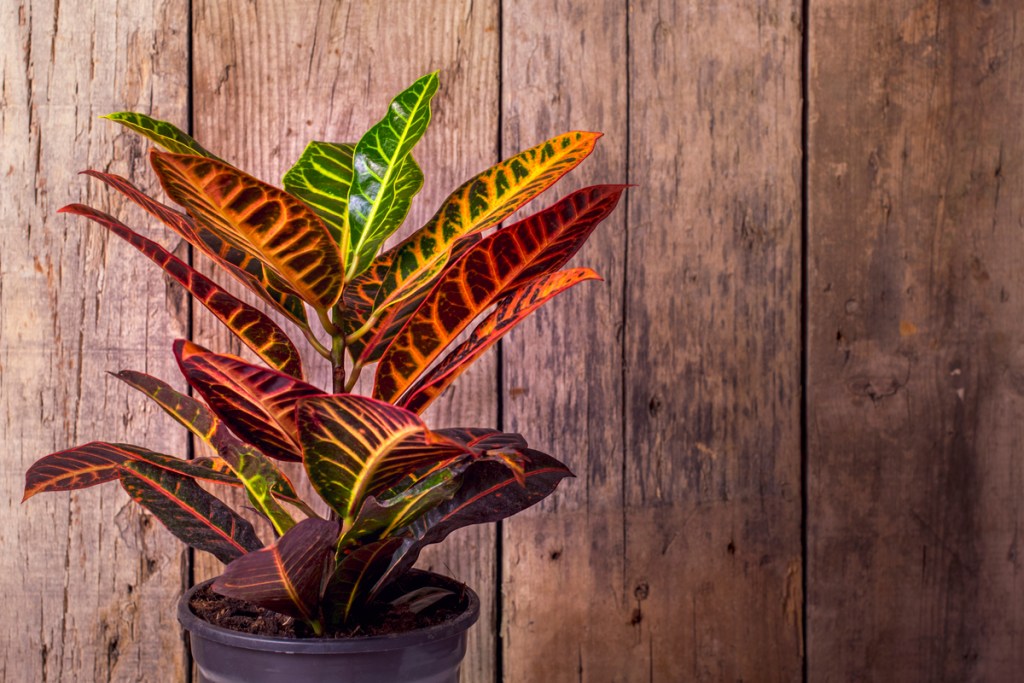
Common houseplants can be cool – even crotons.
Much of Betsy’s channel focuses on common houseplants and plant care tips. One plant that she has a deep love for is the croton, which is a plant that doesn’t get too much love in the indoor plant community. Betsy devoted an entire video to why this bold and colorful plant is so great. While the croton may be ubiquitous and has a reputation for being finicky, it’s an easy-care and rewarding plant once you understand its needs.
The croton will communicate with you what it wants — which is perhaps why it’s such a popular plant. It’s a fan of bright indirect light, so its yellow, orange, and red leaves will revert to green without bright light. It also appreciates consistently moist, well-aerated soil — its leaves become slightly droopy if you underwater it. As for temperatures, it thrives indoors around 70 degrees Fahrenheit; just don’t leave it near drafty cold windows, or else leaves may drop.

Don’t be afraid to prune and propagate your showstopping plants.
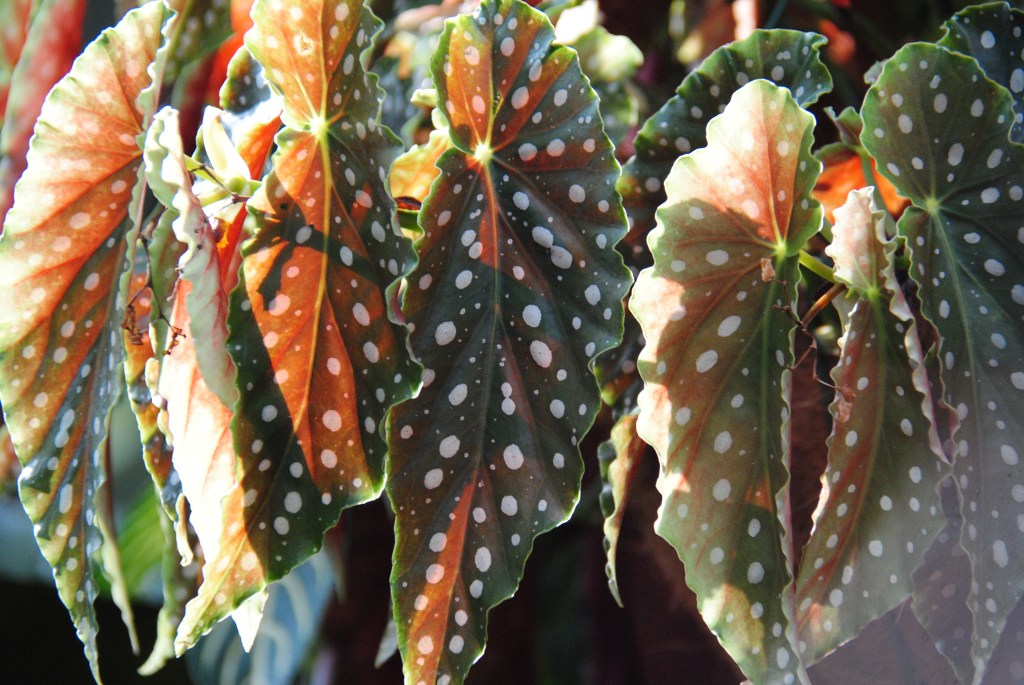
In one video, Betsy repotted her famous polka dot wing begonia. Of course, this video’s lessons aren’t limited to begonias, but the begonia is a helpful example because it tends to have a small root system and needs regular pruning to avoid becoming top-heavy.
The purpose of her pruning session here was to keep her plant from toppling over. However, she didn’t let her cuttings go to waste, salvaging them by sticking them in water to create more begonias. If you’ve got a big, beautiful plant that needs repotting, take advantage of your repotting session to also prune and propagate your plant as Betsy did here.

Pests are less complicated to take care of than you think.
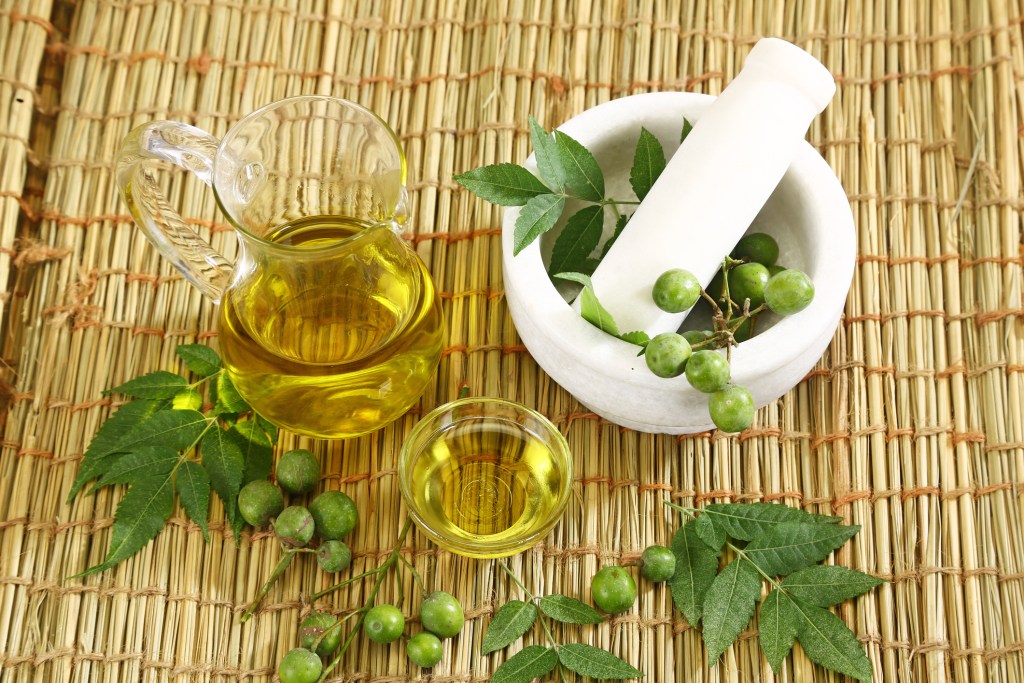
No plant parent wants to think about dreadful pests. But if you’ve had plants long enough, you’ve likely encountered these creepy crawlers at some point. In this video, Betsy breaks down tips on preventing and managing pests. To prevent a pest infestation, start with a healthy plant from the store. This means inspecting the stems and undersides of a plant carefully before bringing it home. If you happen to buy a plant online, look for reputable sellers. After getting your plant, keep your air humid, water your plant consistently, and dust leaves regularly. You could even use a gentle insecticide solution on vulnerable plants once a month, which we’ll discuss below.
So, what kind of solutions do you have to work with? When you first see pests, Betsy suggests blasting them off with water. Then, apply a solution of neem oil (1.5 teaspoons), mild dish soap (1.5 teaspoons), and water (1 liter) onto your leaves. The neem oil should slowly mess with the pests’ hormones to keep them from reproducing. If you don’t have neem oil on hand, you could always add in one tablespoon of isopropyl alcohol to get rid of creepy crawlers. In some cases, you might have to resort to horticultural oils or even throw away your plant. More often than not, however, a simple weekly application of the neem oil or alcohol solution should get rid of your pest issue.

Sometimes, propagating a plant with root rot may be your best option.
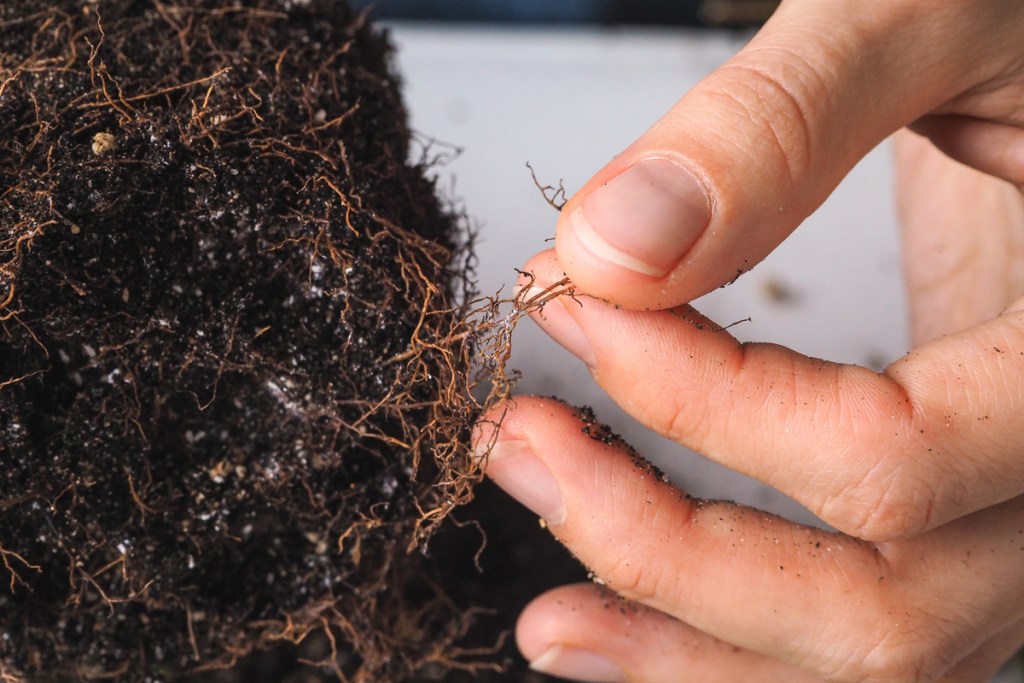
Root rot is dreadful and its primary cause is, as most gardeners know, a fungal or bacterial infection from overwatering. But that might not always be the case. In a video about all things root rot, Betsy talks about how letting your plants dry out too much to the point of the roots shriveling could also be problematic. If you let roots dry out too much, they could be overwhelmed when you water them again. A telltale sign of overwatering is that leaves look dry despite consistent watering — decaying roots prevent proper water uptake!
In the best-case scenario, all you have to do is remove dead roots, change the soil, and switch your pot. But sometimes, a damaged root system isn’t healthy enough to support your plant. If you notice root casing peeling back significantly, consider taking cuttings of your plant and propagating them. This isn’t always a bad thing — once the roots establish, you could put all your propagations in a single pot for a fuller, healthier plant.
Plants are fun at the end of the day, so why not tune into some humor and wit when learning about them? Betsy Begonia’s concise, lighthearted videos are great for beginners who want to know more about the basics, from root rot to pest control. Plus, her videos remind us that even the most common plants — such as begonias — can be pretty cool!


