Above-ground pools are a cost-saving way to still enjoy swimming in the summer. You don’t have to worry about excavation, and they’re often considered a safer option as the walls prevent kids and pets from easily falling in. Although you can opt to have professionals install it for you, it’s possible to do a DIY above-ground pool installation. You may need a bit of help from friends and family along the way, so let’s talk about how to build an above-ground pool from scratch.
Choose your ideal pool shape
DIY above-ground pool installations will go much smoother if you choose a common shape. More people are likely to have done them or helped with them, and you’ll have an easier time finding guides and help if you need it. Plus, the less complicated the shape, the less complicated the installation process. The two most common above-ground pool shapes are round and rectangular, so choose whichever one you like best/fits your space the best.
Keep in mind that within those two shapes, there are still many different sizes. Not only do you need to decide whether a round or rectangular shape works best in your yard, but you need to assess the size that fits your wants and needs. Round above-ground pools start at 12 feet in diameter and go up to 33 feet. Rectangular pools can be as small as 9×18 feet or as large as 15×25 feet. Depending on what works for you, you have a fair pick of sizes to choose from within those two shapes.
Installing your pool safely
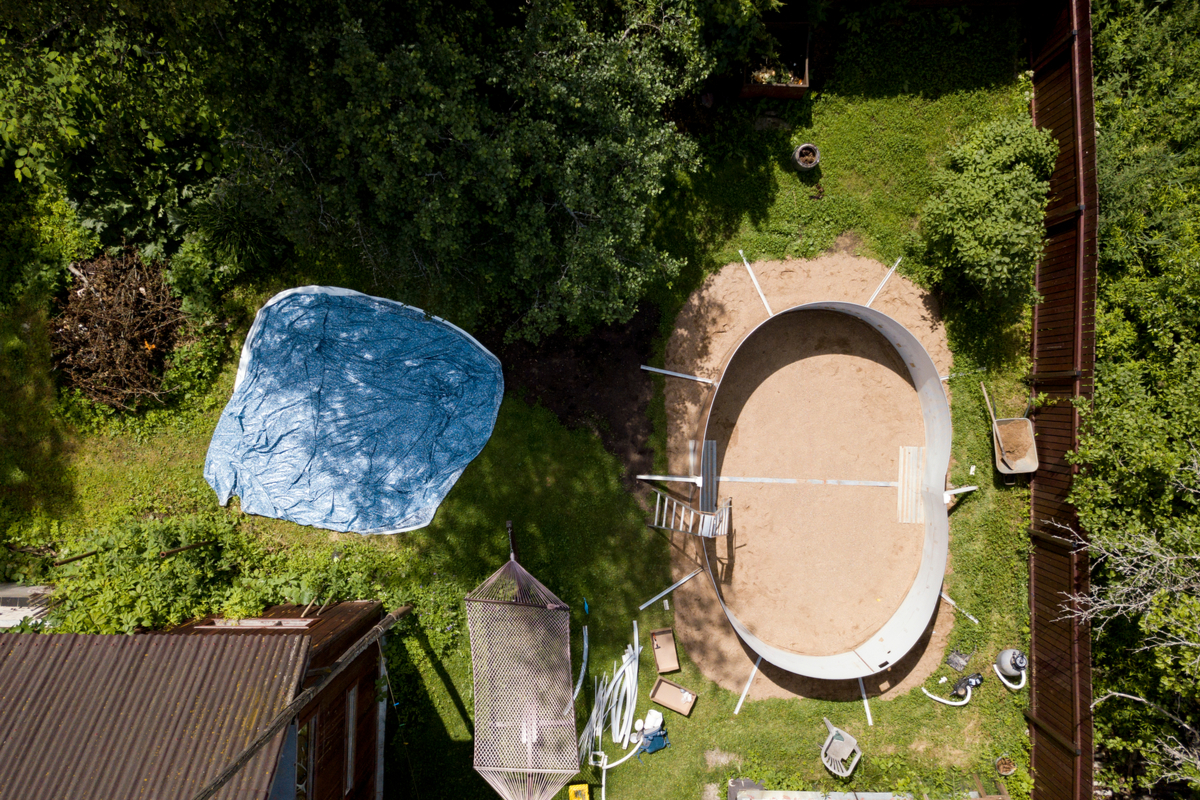
DIY above-ground pool installations are often done with kits you can get from a local pool store. As we mentioned earlier, if you need additional help, most professionals who work at those stores are able to assist you with installation at an additional cost; however, if you truly want to do it yourself with the help of friends and family, it’s possible to build the kit on your own. You’ll need to start with a spot of level ground that fits the size of your pool, so you may need to do a little excavation to level the space (but it’s much less than you’d need to do if you opted for an in-ground pool).
Choosing and leveling a location
If you already have a large, flat area, it’s best to start there. It will be much easier to level out an already-flat area than it will be to level out a hill or incline of some kind. It’s important that this area is free from roots, rocks, and other things you might find in a yard. (You don’t want a tree root trying to burst its way through the bottom of your pool, and rocks are not only uncomfortable to walk on but affect the structure of the pool.) When leveling and clearing the land, be sure to always dig the higher spots down. It’s safer for installation to dig down the high points than build up the low points.
In addition to being clear of roots and rocks, make sure the area you choose doesn’t have any utility or electric lines running under it. There’s a chance those will need to be accessed at some point, and building the pool on top of them will be a hazard. Pools should not be built on asphalt or tar, and you’ll want to double- and triple-check that your building plans and locations comply with your local codes prior to installation.
Follow the guide as close as possible
The best way to make sure your pool is installed safely and will last is to follow the included guide and ask for help when you need it. Most above-ground pools have a standard installation process that’s possible to do on your own; however, make sure you don’t skip steps that you don’t think are necessary. They’re often ones that are integral to your pool and its longevity and safety.
Before beginning, make sure you have a few core pieces of hardware and tools on hand to make the process smoother. These include wrenches, screwdrivers, shovels, duct tape, sand, and box cutters. From there, the first thing you’ll do is to measure out the space you need for your pool, clear the area, and level the land.
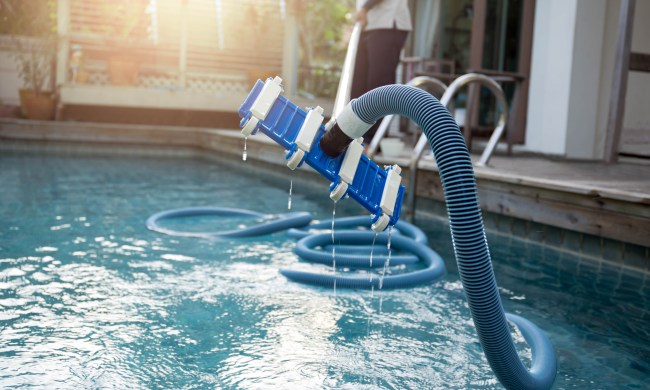
After that, you can begin building the pool by following along with the kit instructions; you can always call your local pool shop to ask questions. Remember that part of having a successful pool is maintaining it! Buy a cleaning kit and any needed chemicals to keep the water and liner clean, and you’ll be set all summer long. Come winter, you will need to close the pool and prepare it for the harsher weather if you live in a colder area.
Spruce up the space around your pool
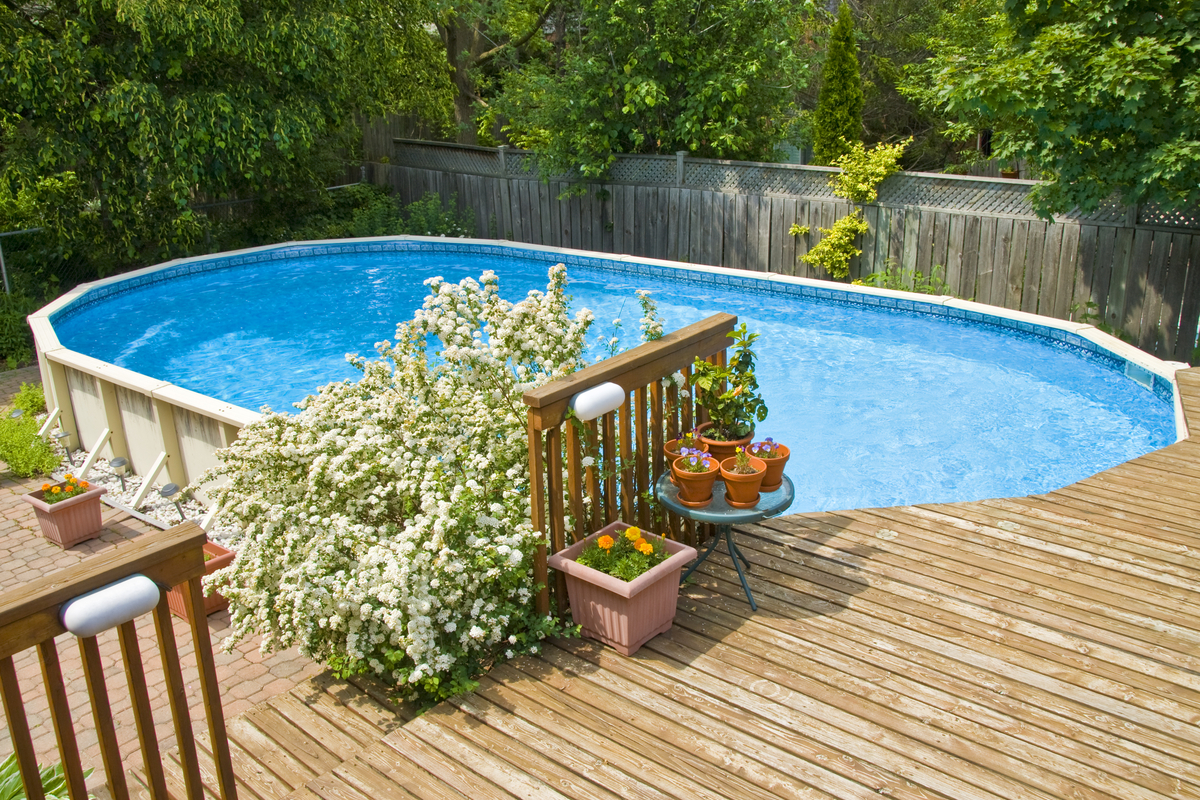
For some, all you want is a ladder in and out of the pool. If you’re on a budget, keeping it simple like this for the first year or two is the best way to go; however, if you’ve got the funds to spare, you may want to consider building a deck around your pool. These can be built in so many different styles, so it comes down to the look and feel you want and what you want to be able to do with your deck.
Some people choose to have wrap-around decks for their pools while others build a deck that can hold some pool toys and a few chairs. Most decks are built with the intent that the ladder will go from the deck into the pool, and for safety you can opt to have a gate at the entrance of your deck.
Building a DIY above-ground pool will take some time and require some assistance from friends and family — or you can always ask professionals to step in and take over if you decide it isn’t for you. Whatever happens, at the end of it all, you’ll have a wonderful above-ground pool to enjoy.
