You’ve brought home a brand new piece of outdoor wood furniture, but you have no idea how to make sure it lasts for many years. You might know how to clean your cushions and other furniture, but wood pieces? Not so much. Thankfully, it’s not terribly hard to keep your new furniture beautiful for a long time. With a combination of covering, cleaning it, and conditioning it, your wood furniture will stay health, keep its wonderful warmth, and always look expensive. Discover what it takes to maintain your wood furniture throughout the years:

Understand the types of wood
You can break down wood into two types: softwood and hardwood. Maybe you have already guessed by the names, but hardwood is the better product. Softwood, obviously, is softer and far less expensive than hardwood. Softwood is usually painted or treated, and owners usually need to keep it clean and fresh by applying a new coat of pant and finish once a year. Despite the more expensive costs, hardwood is the way to go and will ultimately be a smart investment because of the potential for longevity by withstanding the elements, insects, and decay.
However, left alone to the elements, hardwood furniture will eventually weather to a silver grey. Don’t worry, this is normal. The process takes between 6 and 12 months, depending on the climate of your location, and how much the furniture gets exposed. Over time, the imperfections and natural beauty of the wood will become more pronounced. If you’re in a humid climate, the wood will expand and contract, causing the grain to rise. All of this is a natural process for outdoor wood furniture. You can further break down hardwood into 3 major categories:
Shorea
Shorea is a tropical hardwood that has a high oil content, allowing the wood to resist water, making it less likely to rot. Shorea can also withstand multiple types of weather and also fend off invasive species of insects. Like typical hardwood, shorea will eventually weather itself to a silver grey color. This type of wood will also feel slightly rough on the surface for roughly a year before the weathering process settles down.
When you first set up your shorea furniture, lightly spray it with water to remove any dust. After that, the only maintenance that is usually required is a light seasonal cleaning. Rinse the shorea with a light spray from the hose then use a sponge or soft bristle brush to clean the furniture with mild detergent and water. After, rinse again with clean water then let dry completely. If you ever get tired of the silver grey, you can return the shorea to its original brown color by using a high-quality hardwood or teak oil every season to maintain and preserve the color.
Teak
Teak is incredibly similar to shorea. It is a popular hardwood with many of the same qualities, with one main difference. If you live in an extremely arid or dry climate, use teak oil routinely on your teak furniture to prevent staining from food, drinks, and other natural elements. Cleaning teak pieces is the exact same as shorea.
Ipe
Ipe is a South American hardwood that can go by other names, including Brazilian walnut, ironwood, or pao lope. Originally from Brazilian forests, ipe is roughly 3 times harder than teak, although it shares many of the same weathering characteristics as teak and shorea. When ipe starts to look dull – every 3 months in mild climates, more often in harsher locations – use hardwood or teak oil to restore its luster. However, the wood may need some light sanding if there are stains before applying the oil. Even if you use the oil on a quarterly-or-more schedule, the ipe will more than likely turn the now-familiar silvery grey. Cleaning procedures are the same as teak and shorea.
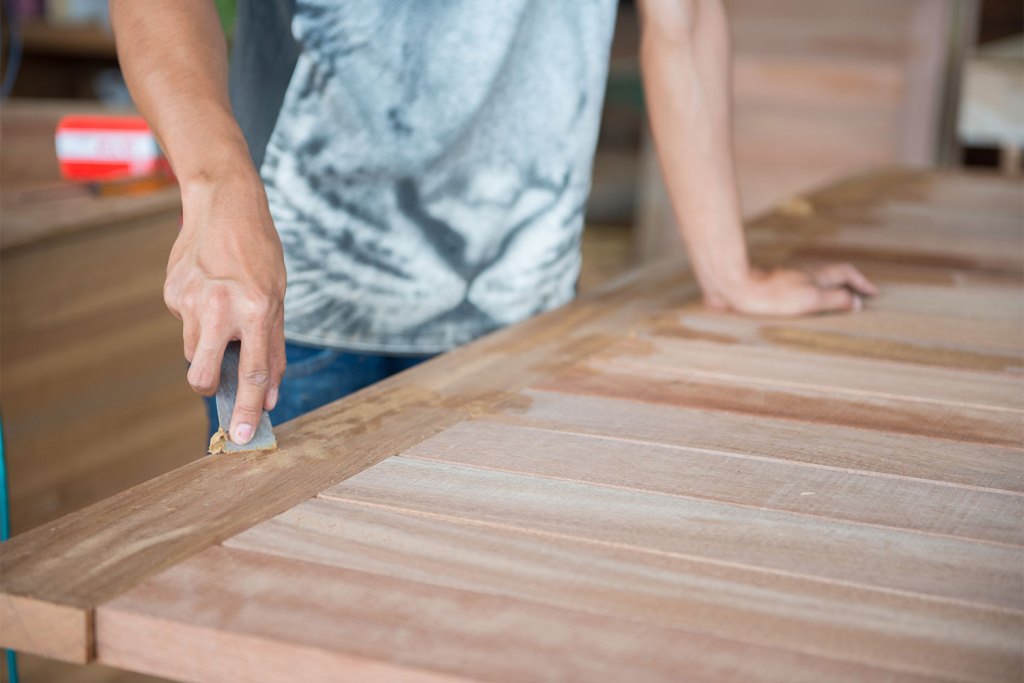
When wood needs more than cleaning
Sometimes, your outdoor wood furniture will require more than a light cleaning. It might have have cracks and deep grooves from over-weathering. When that happens, it’s time for sanding and refinishing. If you have a power washer, use it on the “light” setting to break off embedded dirt and oil. If that does not work, use dish soap and water to loosen the debris and then try the power washer again. Allow the furniture to dry overnight then use a light-grade sandpaper tool, one section at a time. Once again, spray the furniture down to remove the dust then let dry overnight (again). Finally, the next day, use teak oil by rubbing in the direction of the wood grain. After, maintain the health and beauty by applying a hardwood oil.
Wood furniture comes in different types, but with proper maintenance and care, your pieces can last for many years. Hardwood is the smartest investment, with shorea, teak, and ipe as the main types of wood. Thankfully, no matter which one you go with, they all have similar cleaning procedures. Even if you neglect your furniture, you can always bring back the pieces original luster.