The best part about outdoor furniture is being able to sit out in the sun and enjoy nature without having to sit on the ground. People will spend a fair amount of money to invest in their outdoor seating; after all, you want to be comfortable. Then comes the moment when quality breaks down, and you need to decide whether to refinish old furniture or buy new. But what should you do when you ultimately decide to refinish your outdoor wood furniture?

What breaks down outdoor furniture?
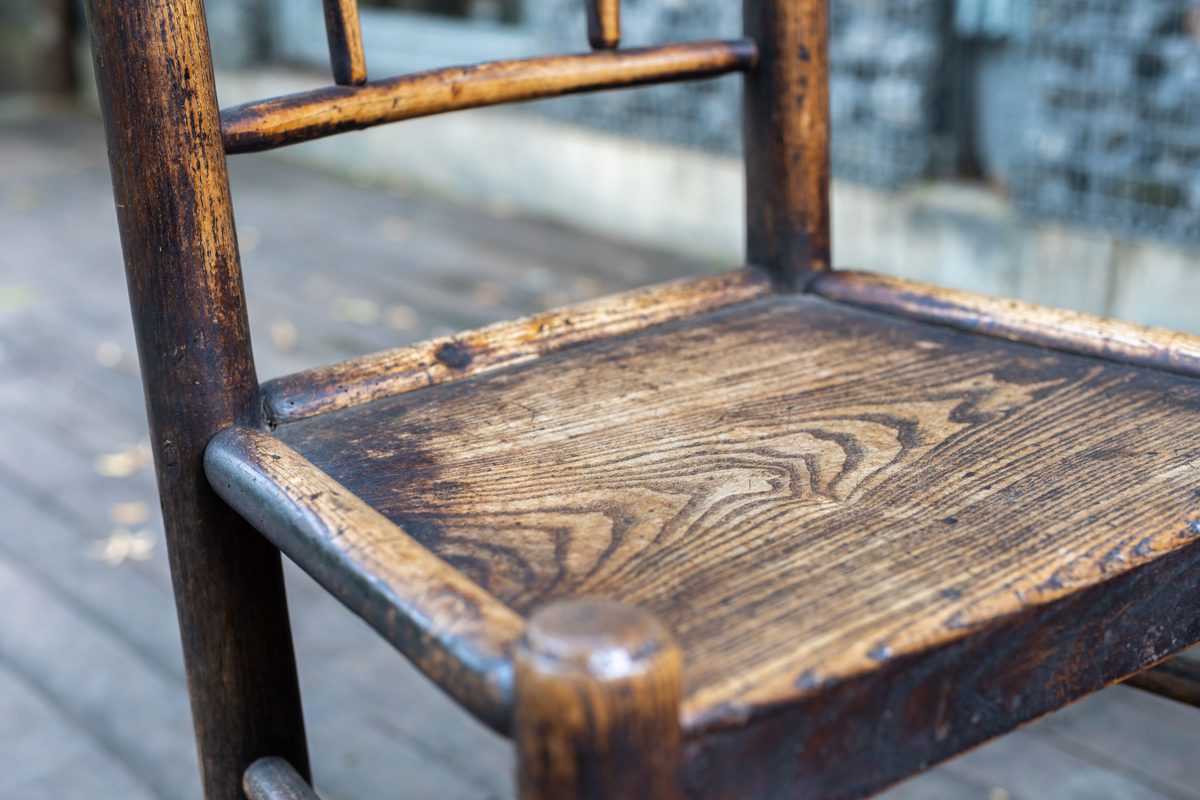
Outdoor furniture, whether we like it or not, is subject to elements out of our control. For wood furniture specifically, UV rays from the sun break down the lignin (which is what holds the fibers together and strengthens the wood) and can cause the wood to be more susceptible to rot. Rot can happen to any wood furniture, though, if left out in the rain or wet climates for too long without having a chance to dry out. You can identify a breakdown of lignin if your wood is turning a gray color and cracking.
If you have furniture made from a harder wood, you may find the graying and cracks aren’t as much of a problem because of the wood’s density; however, it’s still best to limit and mitigate the effects of outdoor conditions as much as possible. Wood rot acts fast and will destroy your furniture if you don’t get it under control. But not to worry! It’s fairly easy to prevent.
Wood rot is caused by fungus that thrives with four specific needs: Moisture, wood, oxygen, and a temperature between 40° and 90°. When you take away one of those conditions, you’ve slowed (if not stopped) the growth of the rot and have a chance to save your furniture. So let’s talk about how to restore weathered wood furniture.
What tools and products will you need?
The tools you’ll need will depend on the type of furniture you’re trying to refinish. Most often, you’ll be looking to refinish your outdoor wood furniture. You’ll need seven specific tools to prepare for refinishing, along with some smaller things that are good to have (though you may be able to repurpose some items that are already lying around).
As you prepare for your project, make sure you have some markers, stirring sticks, painter’s tape, pencils, disposable cups, wood glue, and nails. You may not need all these things throughout the process, but they’re good to have close by just in case.
Paint and finish removal
For removing coats of paint, you’ll want to make sure you get a goopy product that clings nicely to the wood. Otherwise, you’ll struggle to remove it all and lengthen the process (possibly getting discouraged). For removing finishes, any good finish removal will do. It doesn’t need to be particularly strong as long as it gets the job done. Using a finish removal is as easy as brushing it on. It should dissolve the finish; just be sure you have the piece of furniture on a cloth to catch any drips.
Power sander and/or sandpaper
Before you even think about staining or finishing your wood, you’ll need to sand it down. If you don’t, the surface of your wood won’t absorb the paint/finish well, which could result in uneven coating. In a similar vein, you don’t want to use a sandpaper that’s higher than 120-grit because that could over-sand the wood, which comes with the same risk.
Ideally, you’ll use a sandpaper disc for your power sander that’s 80-grit. Power sanders are often utilized in larger jobs (i.e., if you’re sanding a big piece of furniture and/or multiple pieces of furniture), but they can be an added cost. If you’re on a tight budget, you can always sand by hand using sandpaper between 80- and 120-grit. Sanding by hand may not be as even, but it will get the job done and get it done affordably.

Stains, finishes, and cloths
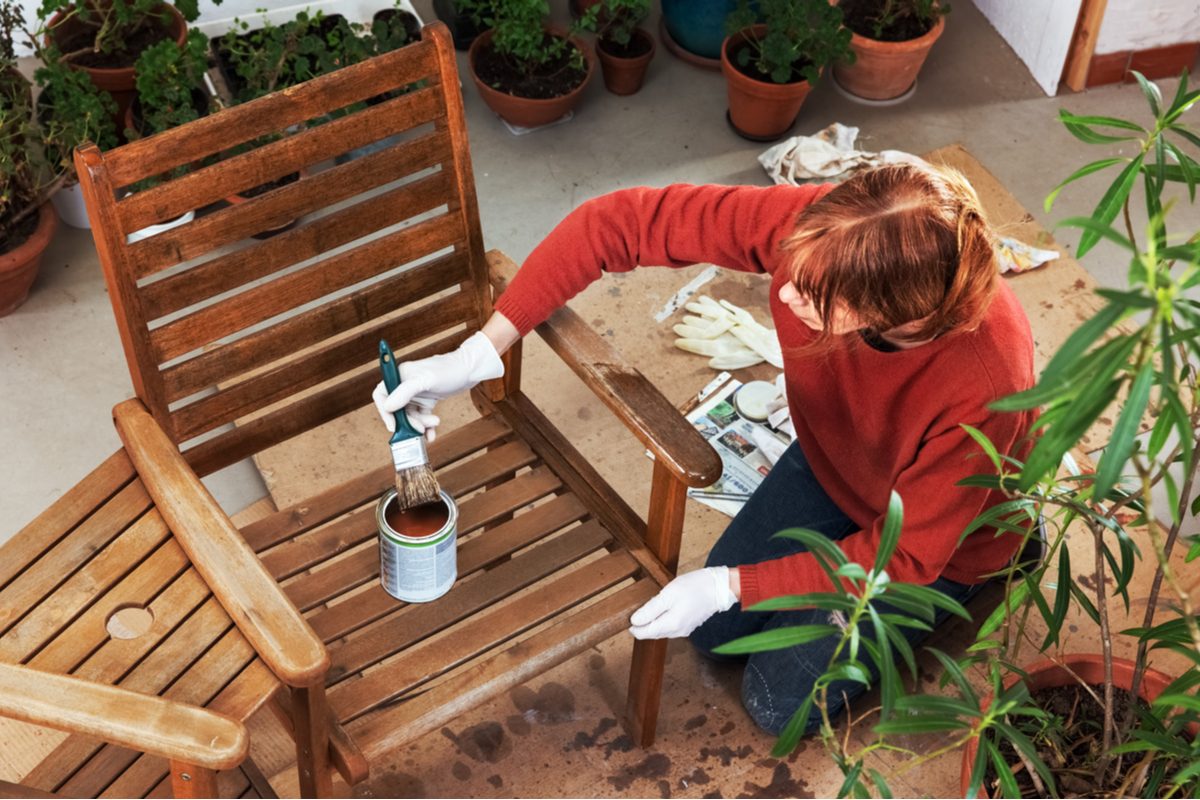
If you’re a beginner at refinishing wood furniture, you’ll get the most even application using wipe-on products. You won’t have to worry about uneven coating, brushstrokes, or drips, and you can apply the stain easily with a cloth. The best part of all is that you don’t need to buy new cloths if you don’t want to or want to save the money. You could easily use an old, soft cotton towel or T-shirt to apply the stain. Just make sure it’s clean and free of lint.
As far as picking out a stain or finish, that’s entirely your preference. Make sure it’s a good quality (doesn’t have to be the most expensive) and fits the look you want for your wood furniture. Some stains are light, some are dark. If you have other furniture, you can always pick one that pairs well with the other items you have.
Take advantage of tool rentals
For the most affordable option when refinishing your furniture, you may find it’s better to use a tool rental department from a home improvement store. It’s a perfect option if you don’t have a huge array of tools or have no need for the tool beyond the initial purpose of refinishing the furniture. Home Depot has a tool rental center that’s often stocked with everything you could need for a project, and they ensure that their rented tools are in top shape before renting them out and after getting them back.
Of course, it’s always about research. You may find that there’s an affordable option you could purchase as opposed to renting a slightly higher quality version. Both will get the job done, so it’s about what you want, what you can afford, and what method (purchase vs. renting) you prefer.
Maintaining your refinished furniture
As far as maintaining your newly refinished wood furniture, the focus will be on caring for it and preventing rot. Because the fungus that causes rot needs a 40° to 90° temperature to thrive, rot often occurs in the warmer months when there’s a lot of moisture. Most people don’t have indoor storage to move their wood furniture to, but there are other things you can do to provide preventative care.
Covering the furniture is a good alternative to bringing it indoors. It won’t be foolproof, but a weatherproof cover will help mitigate the effects rain and humidity can have on wood. You should also try to have it long-term in a spot that isn’t on the lawn because the wood can absorb moisture from the ground; however, one of the best things you can do is move it into the sun after a bout of rain. Keeping wood furniture in the shade post-storm won’t give the wood a chance to dry out. So, if you need to temporarily put it on the lawn to let it dry out, that’s perfectly OK.
As long as you take preventative measures to protect your wood, you shouldn’t have to refinish it again for a while. Upkeep is part of the maintenance, so if you see the slightest bit of wear, you may want to consider refinishing to prevent it from getting even worse. Once you know how to refinish outdoor wood furniture, the process will get easier every time.


